Deploy a SingleInstance Database with a dynamically allocated Block Volume
Introduction
Dynamic Persistence
In this lab we'll use Dynamic Persistence Provisioning, a persistent volume that is automatically provisioned by mentioning a storage class. As we are running on Oracle OCI, we'll use the oci-bv storage class. This storage class facilitates dynamic provisioning of the OCI block volumes. The supported access mode for this class is ReadWriteOnce. For other cloud providers, you can similarly use their dynamic provisioning storage classes.
We'll also specify the Reclaim Policy of the dynamically provisioned volumes as Delete. In this case the volume is deleted when the corresponding database deployment is deleted.
Estimated Time: 20 minutes
Objective
- Create a database running on Kubernetes, using a block volume as persistency store
Prerequisites
- You have executed Lab 2: Install the Oracle Database Kubernetes Operator
Task 1: Store passwords in Kubernetes Secrets
When creating a database we will need a few passwords:
- Your Oracle Account password to pull the DB docker container from the Oracle Container Repository
- The Admin password of the database we'll be creating
In kubernetes we store these passwords in secrets.
In the Cloud Shell, log into the oracle repository with the below command :
docker login container-registry.oracle.comYou'll be prompted for your username and password, please enter your Oracle website username and password (not your OCI Cloud username !) If all goes well you'll get a
Login Succeededmessage.Now use the local config file to create the secret we'll pass to the operator:
kubectl create secret generic oracle-container-registry-secret --from-file=.dockerconfigjson=.docker/config.json --type=kubernetes.io/dockerconfigjsonPlease note we're assuming you are in the home directory of your cloud shell, if not please make sure to correct the path to the .docker directory accordingly.
Let's now create a secret containing the admin password we'll want to specify for the new database:
kubectl create secret generic admin-secret --from-literal=oracle_pwd=Your-DB-PasswordReplace
Your-DB-Passwordwith a password of your choosing, it should be 12 characters long, have letters, numbers and Capitals
Task 2: Create the DB Config file for the Operator
To initiate the creation of the database by the Operator we'll have to create a config file describing the desired database setup. For this lab we'll use the file singleinstancedatabase-create.yaml which contains a configuration ready to use for this part of the lab.
We'll be highlighting some of the sections of this file below, no need to do any edits in this Task :
In the top level section of the file, the parameter
kindrefers to the type of database to create, in this case we will be launching a DB in a container running on the Kubernetes cluster, known as a Single Instance Database. Other possible choices are to use an Autonomous DB on OCI, to use a, external Container database, and more. The parameternamedefines the oracle database name we'll be creating, as well as the name used to refer to the database via the variouskubectlcommandsapiVersion: database.oracle.com/v1alpha1 kind: SingleInstanceDatabase metadata: name: sidb-test1 namespace: defaultsecretNamedefines the name of the secret containing the database password. You can specify to remove this secret after creation for enhanced security using the parameterkeepSecret.adminPassword: secretName: admin-secret keepSecret: trueThe
imagesection specifies where to pull the database container image from. In this case we use the default image, you could build a custom image and refer to that image instead. The parameterpullSecretsrefers to the name of the secret where we stored the credentials of the container repo, in this case the Oracle Container Repository.image: pullFrom: container-registry.oracle.com/database/enterprise:latest pullSecrets: oracle-container-registry-secretThe section
persistencedefines the type of persistent storage to use. In this case we'll use the classocito use an OCI Block Volume. The parameteraccessModespecifies this is a block volume that can only be mounted on a single node of the cluster. In the next lab we'll be using an NFS volume which can be mounted on multiple nodes at the same time.persistence: size: 100Gi storageClass: "oci" accessMode: "ReadWriteOnce"And finally the parameter
replicasspecifies how many pods we want to have up and running. As this is a block-based volume that can only be mounted on a single node of the cluster we are using 1.replicas: 1
Task 3: Launch and track the DB creation
Launching the creation of the database is done through a single command applying the config file on the cluster. Next the operator will initiate the necessary operations to spin up the database, and this will take approximately 15 minutes in a fresh environment - as for example the images have to be copied over from the container repository.
In this section we'll explain a number of commands that allow you to track what is happening during this creation process and how to debug issues you might encounter.
Apply the config file to initiate the DB creation :
kubectl apply -f https://c4u04.objectstorage.us-ashburn-1.oci.customer-oci.com/p/EcTjWk2IuZPZeNnD_fYMcgUhdNDIDA6rt9gaFj_WZMiL7VvxPBNMY60837hu5hga/n/c4u04/b/livelabsfiles/o/developer-library/singleinstancedatabase-create.yamlValidate the instance definition was submitted to the operator:
kubectl get singleinstancedatabase sidb-test1This will result in the following output:
NAME         EDITION      STATUS    VERSION       CONNECT STR   OEM EXPRESS URL
sidb-test1   Enterprise   Pending   Unavailable   Unavailable   Unavailable
The object was created, but the db instance is not yet available.
We can use the below command to see more details:
kubectl describe singleinstancedatabase sidb-test1Output of the command at this stage:
Oem Express URL:     Unavailable
  Pdb Connect String:  Unavailable
  Pdb Name:            orclpdb1
  Persistence:
    Access Mode:    ReadWriteOnce
    Size:           100Gi
    Storage Class:  oci
  Release Update:   Unavailable
  Replicas:         1
  Role:             Unavailable
  Sid:              ORCL1
  Status:           Pending
Events:
  Type    Reason            Age                From                    Message

----    ------            ----               ----                    -------

  Normal  Service creation  43s                SingleInstanceDatabase  successfully created service type LoadBalancer
  Normal  Database Pending  13s (x4 over 43s)  SingleInstanceDatabase  waiting for a pod to get to running state
We see the operator is waiting for the pod to become available.
We can check the status of the pod where the db will be launched, and follow the different steps of the creation process:
kubectl get podInitially this command will report the following:
NAME               READY   STATUS     RESTARTS   AGE
sidb-test1-xe06x   0/1     Init:0/2   0          82s
To get more details on the creation, you can issue the following command, replacing the exact name of the pod with the name in your environment:
kubectl describe pod sidb-test1This will allow you to see the events happening on the pod level - and any issues, like for example an incorrect password for the container registry
You can execute this command a few times to see the evolution.
While the pod is starting up, you can check the creation of the block volume and a load balancer that were specified in the config file:
- Navigate to Storage, then under Block Storage select Block Volumes. You will see a new block volume has appeared :

- Navigate to Networking, then select Load Balancers. You will see a new load balancer serving the EM and SQLplus ports of the DB:

By now the pod should be running, but not yet ready : re-issue the command below:
kubectl get podYou'll see:
NAME               READY   STATUS    RESTARTS   AGE
sidb-test1-xe06x   0/1     Running   0          5m26s
We can now re-issue the describe command against the database entity to see more details on the database creation :
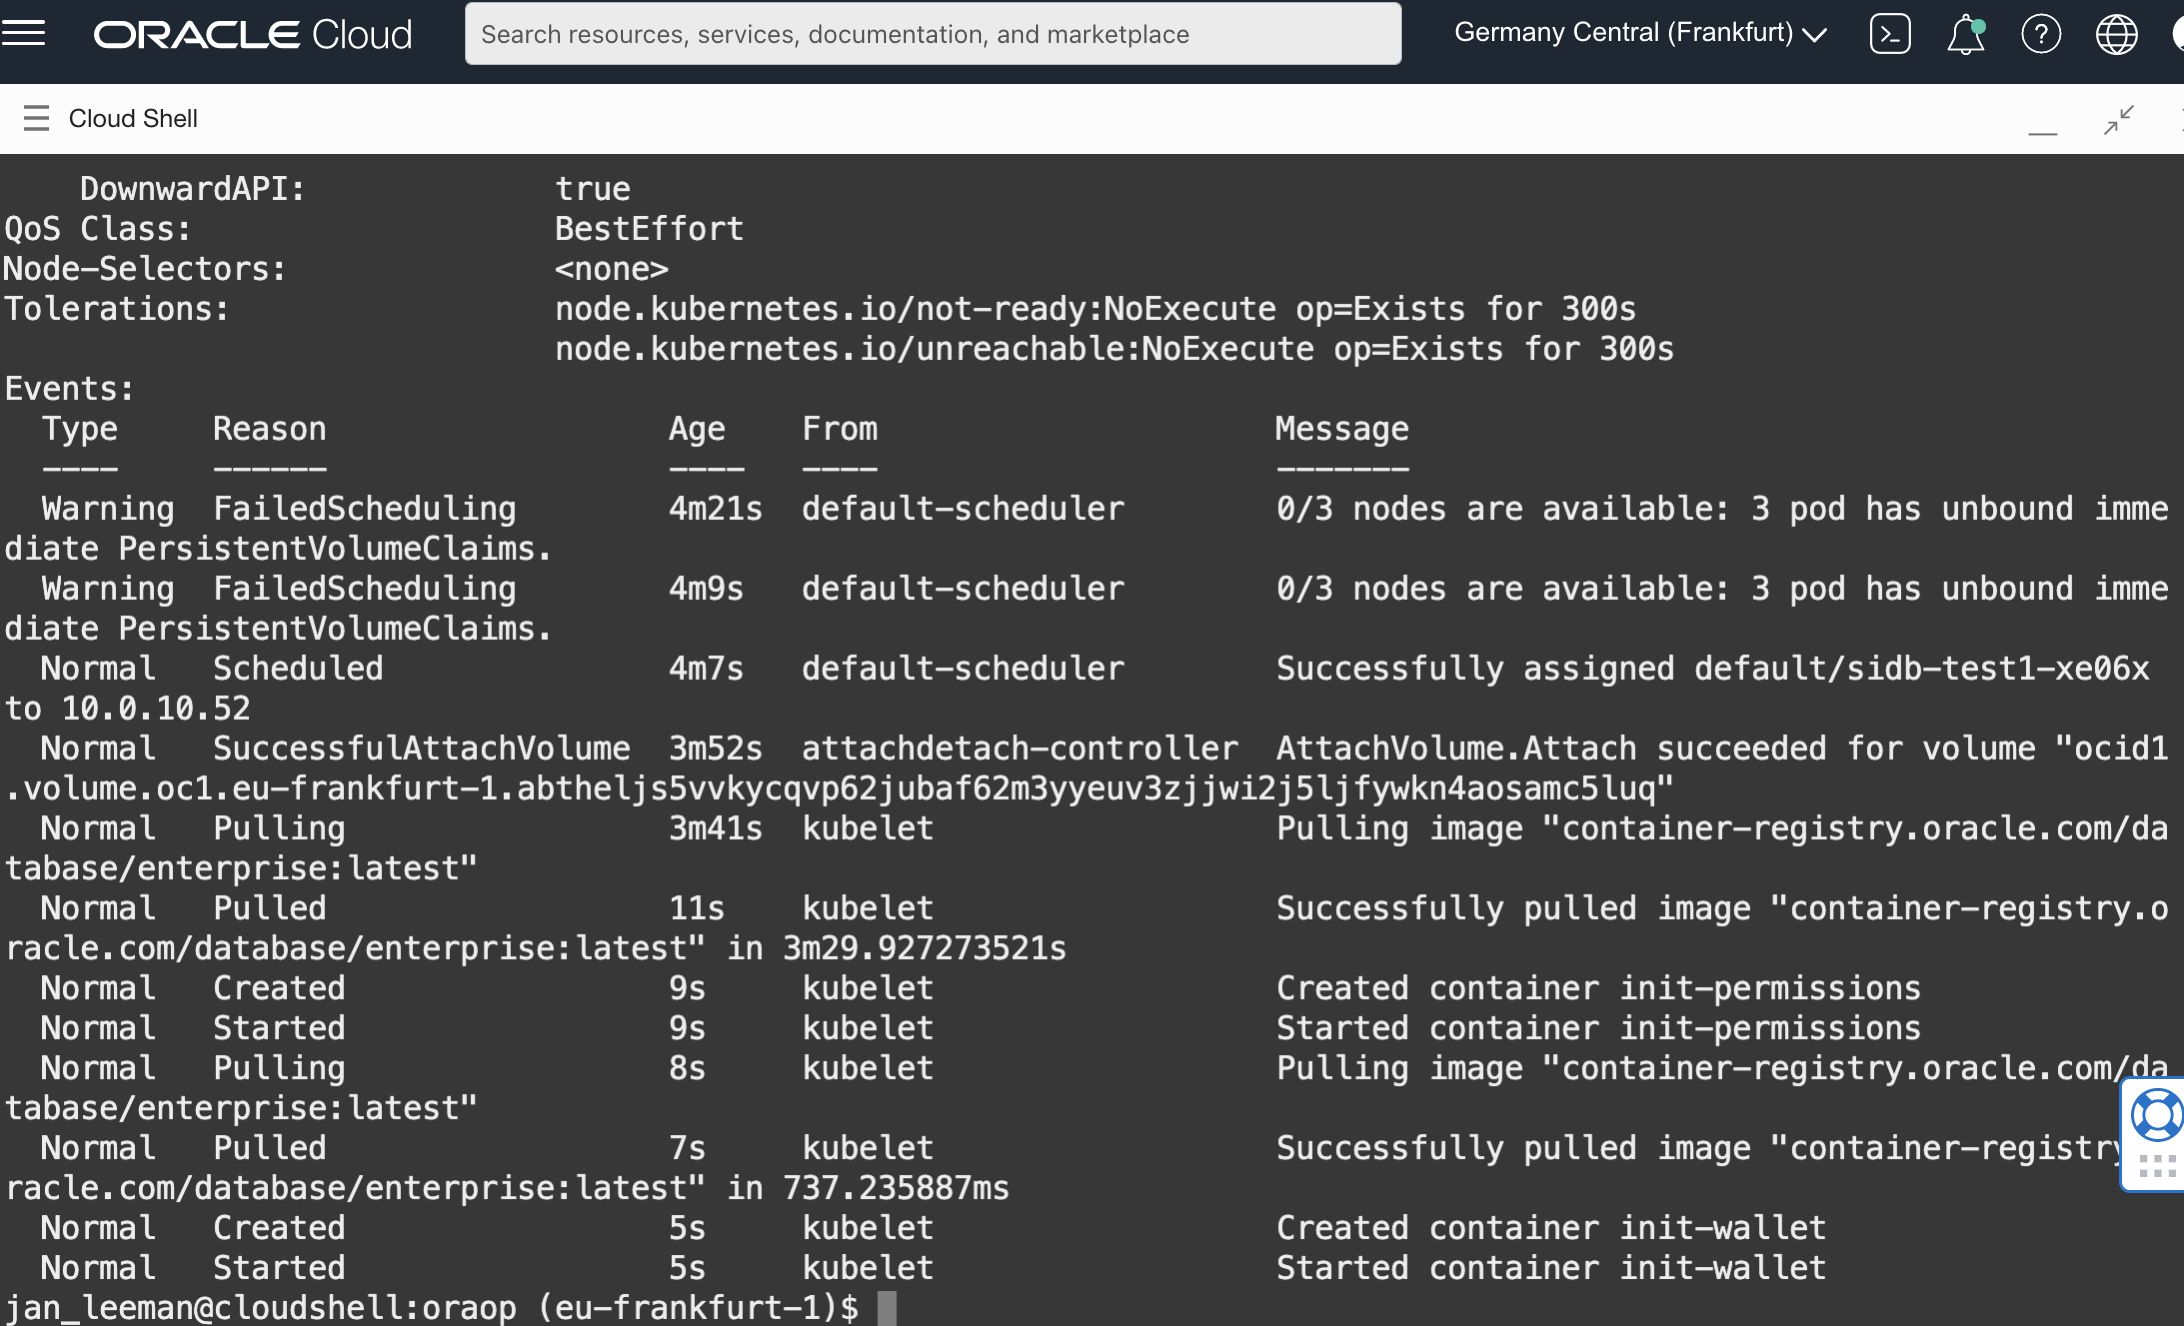
kubectl describe singleinstancedatabase sidb-test1Output of the command at this stage:
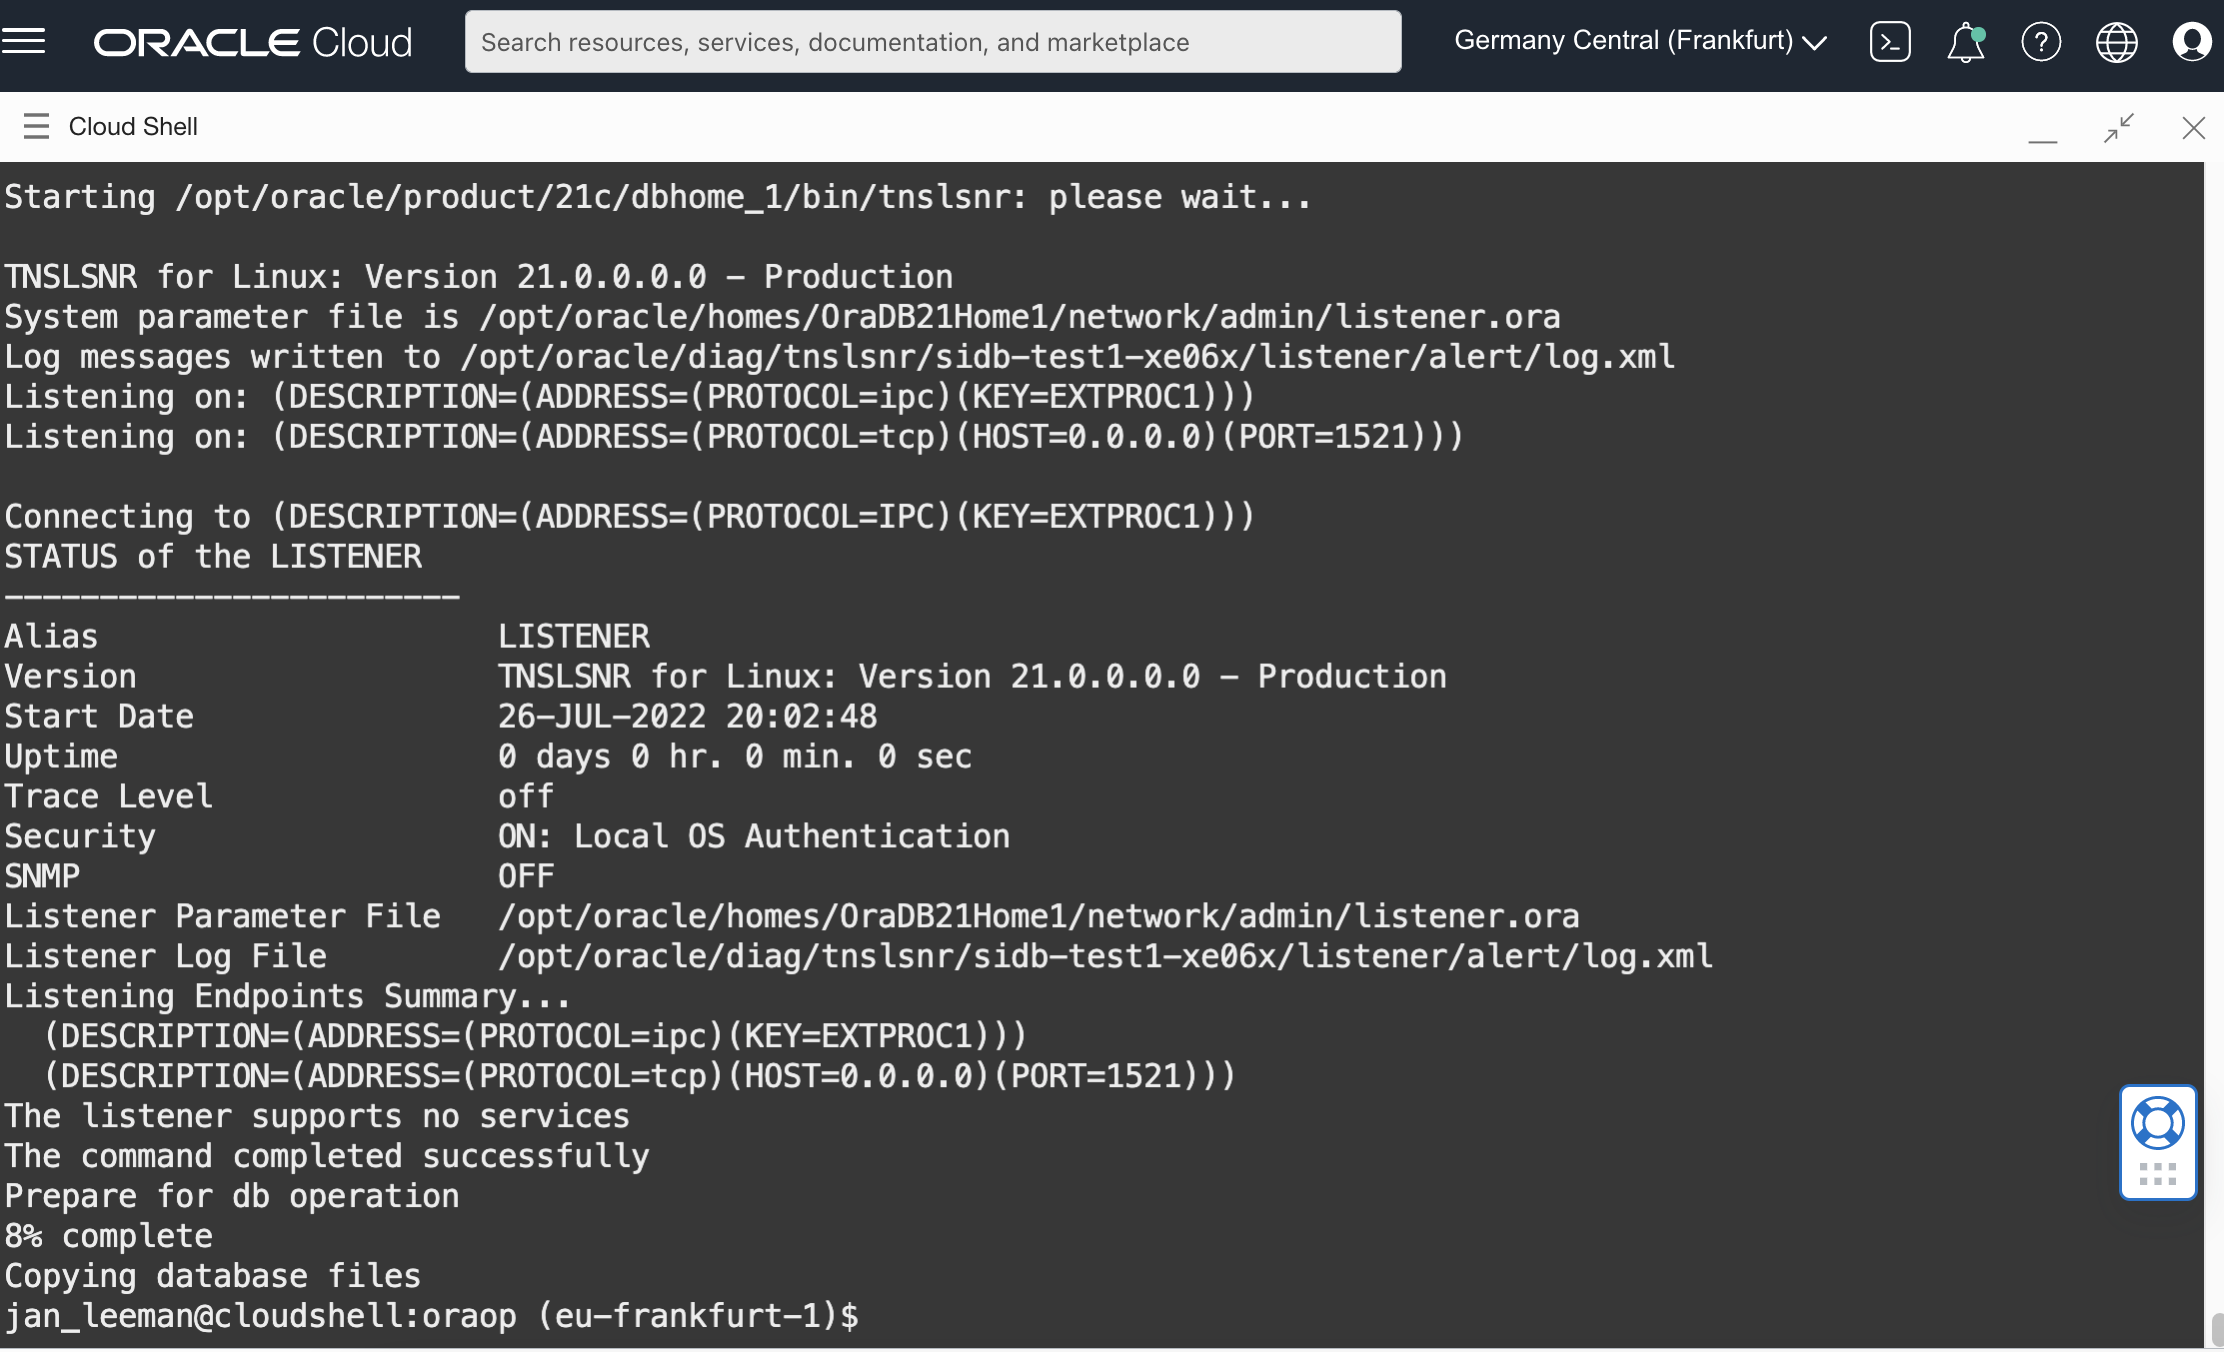
And re-issuing the same command a few more times will finally show following :
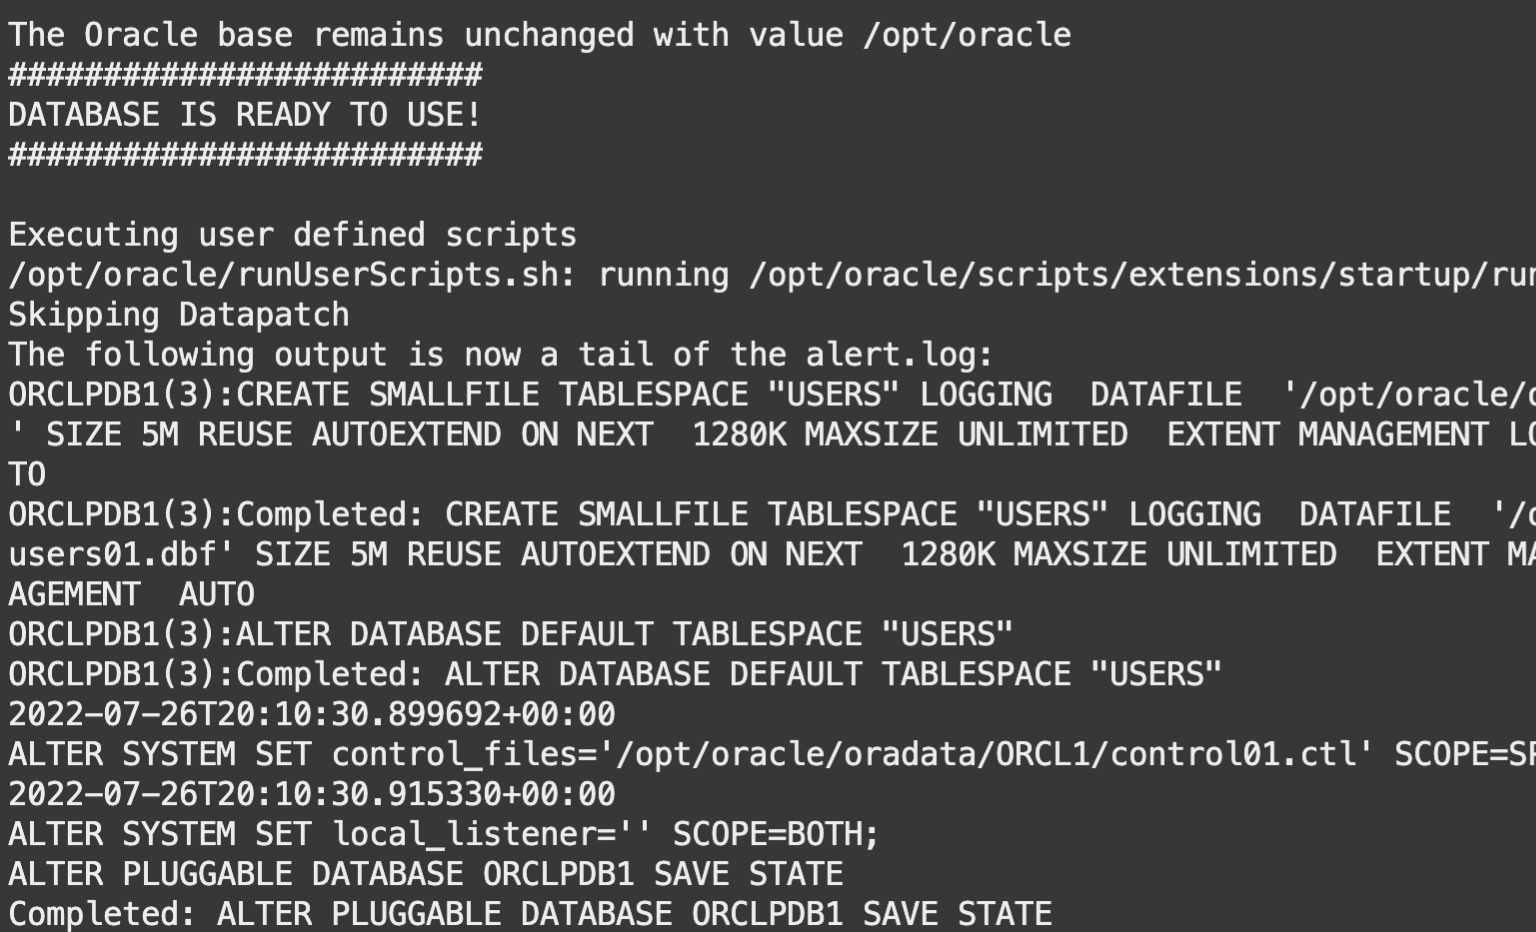
It looks like the DB is now up and running ! Let's re-issue the get command :
kubectl get singleinstancedatabase sidb-test1Resulting output:
NAME         EDITION      STATUS     VERSION      CONNECT STR                 OEM EXPRESS URL
sidb-test1   Enterprise   Patching   21.3.0.0.0   132.145.249.43:1521/ORCL1   https://132.145.249.43:5500/em
Task 4: Connect to the Database
OK, it looks like our database is indeed up and running ! Let's try to connect to the Enterprise Manager …
Click on the link in the above output, in my case this is https://132.145.249.43:5500/em, use your IP address !
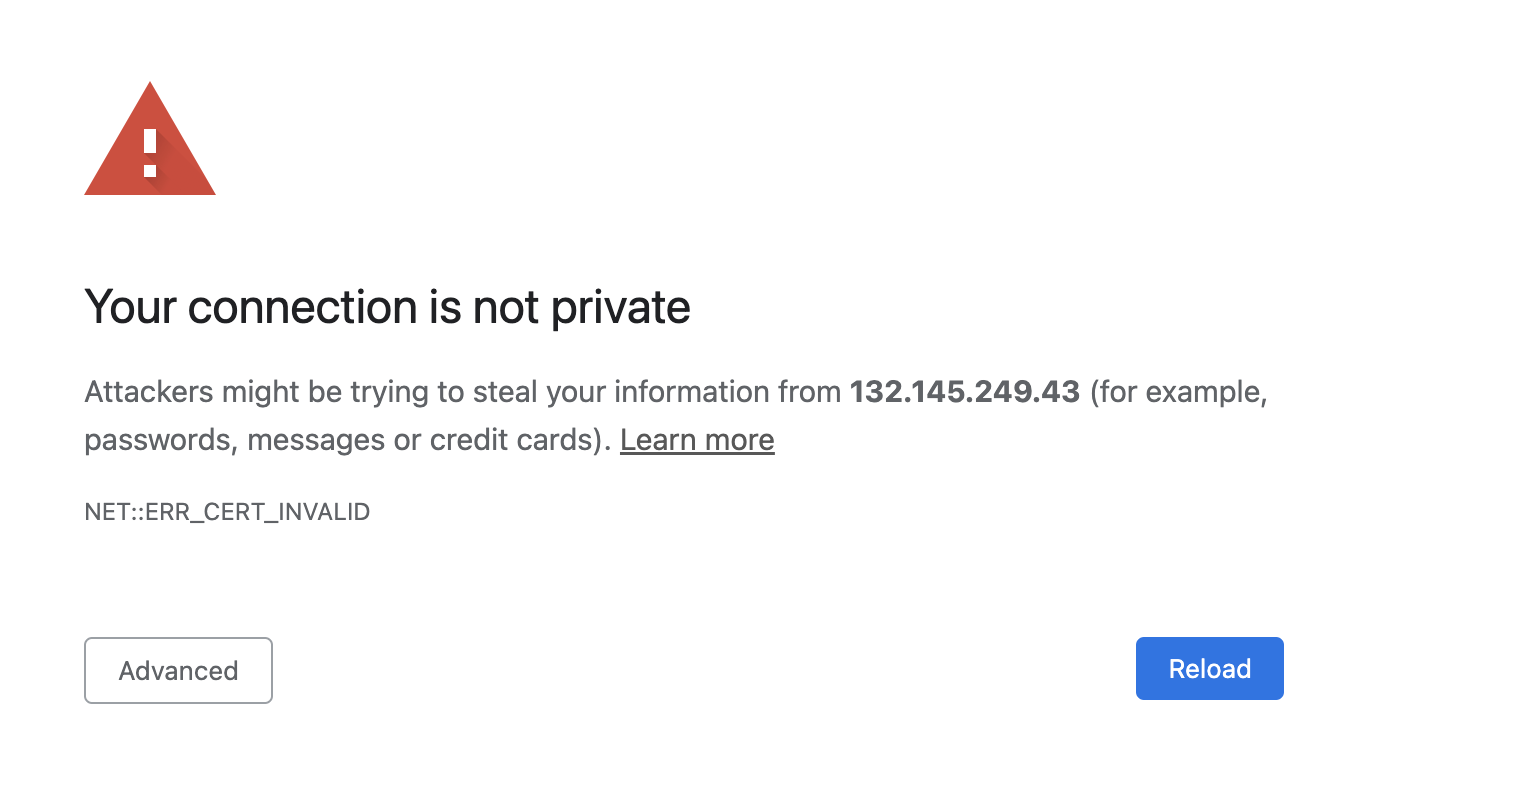
You will now get a warning because we did not configure certificates. In Chrome you can get around this message quite simply:
Type the following text in your browser when visualizing the above screen : thisisunsafe
After entering this string of characters, the connection is accepted and you end up on the login screen :
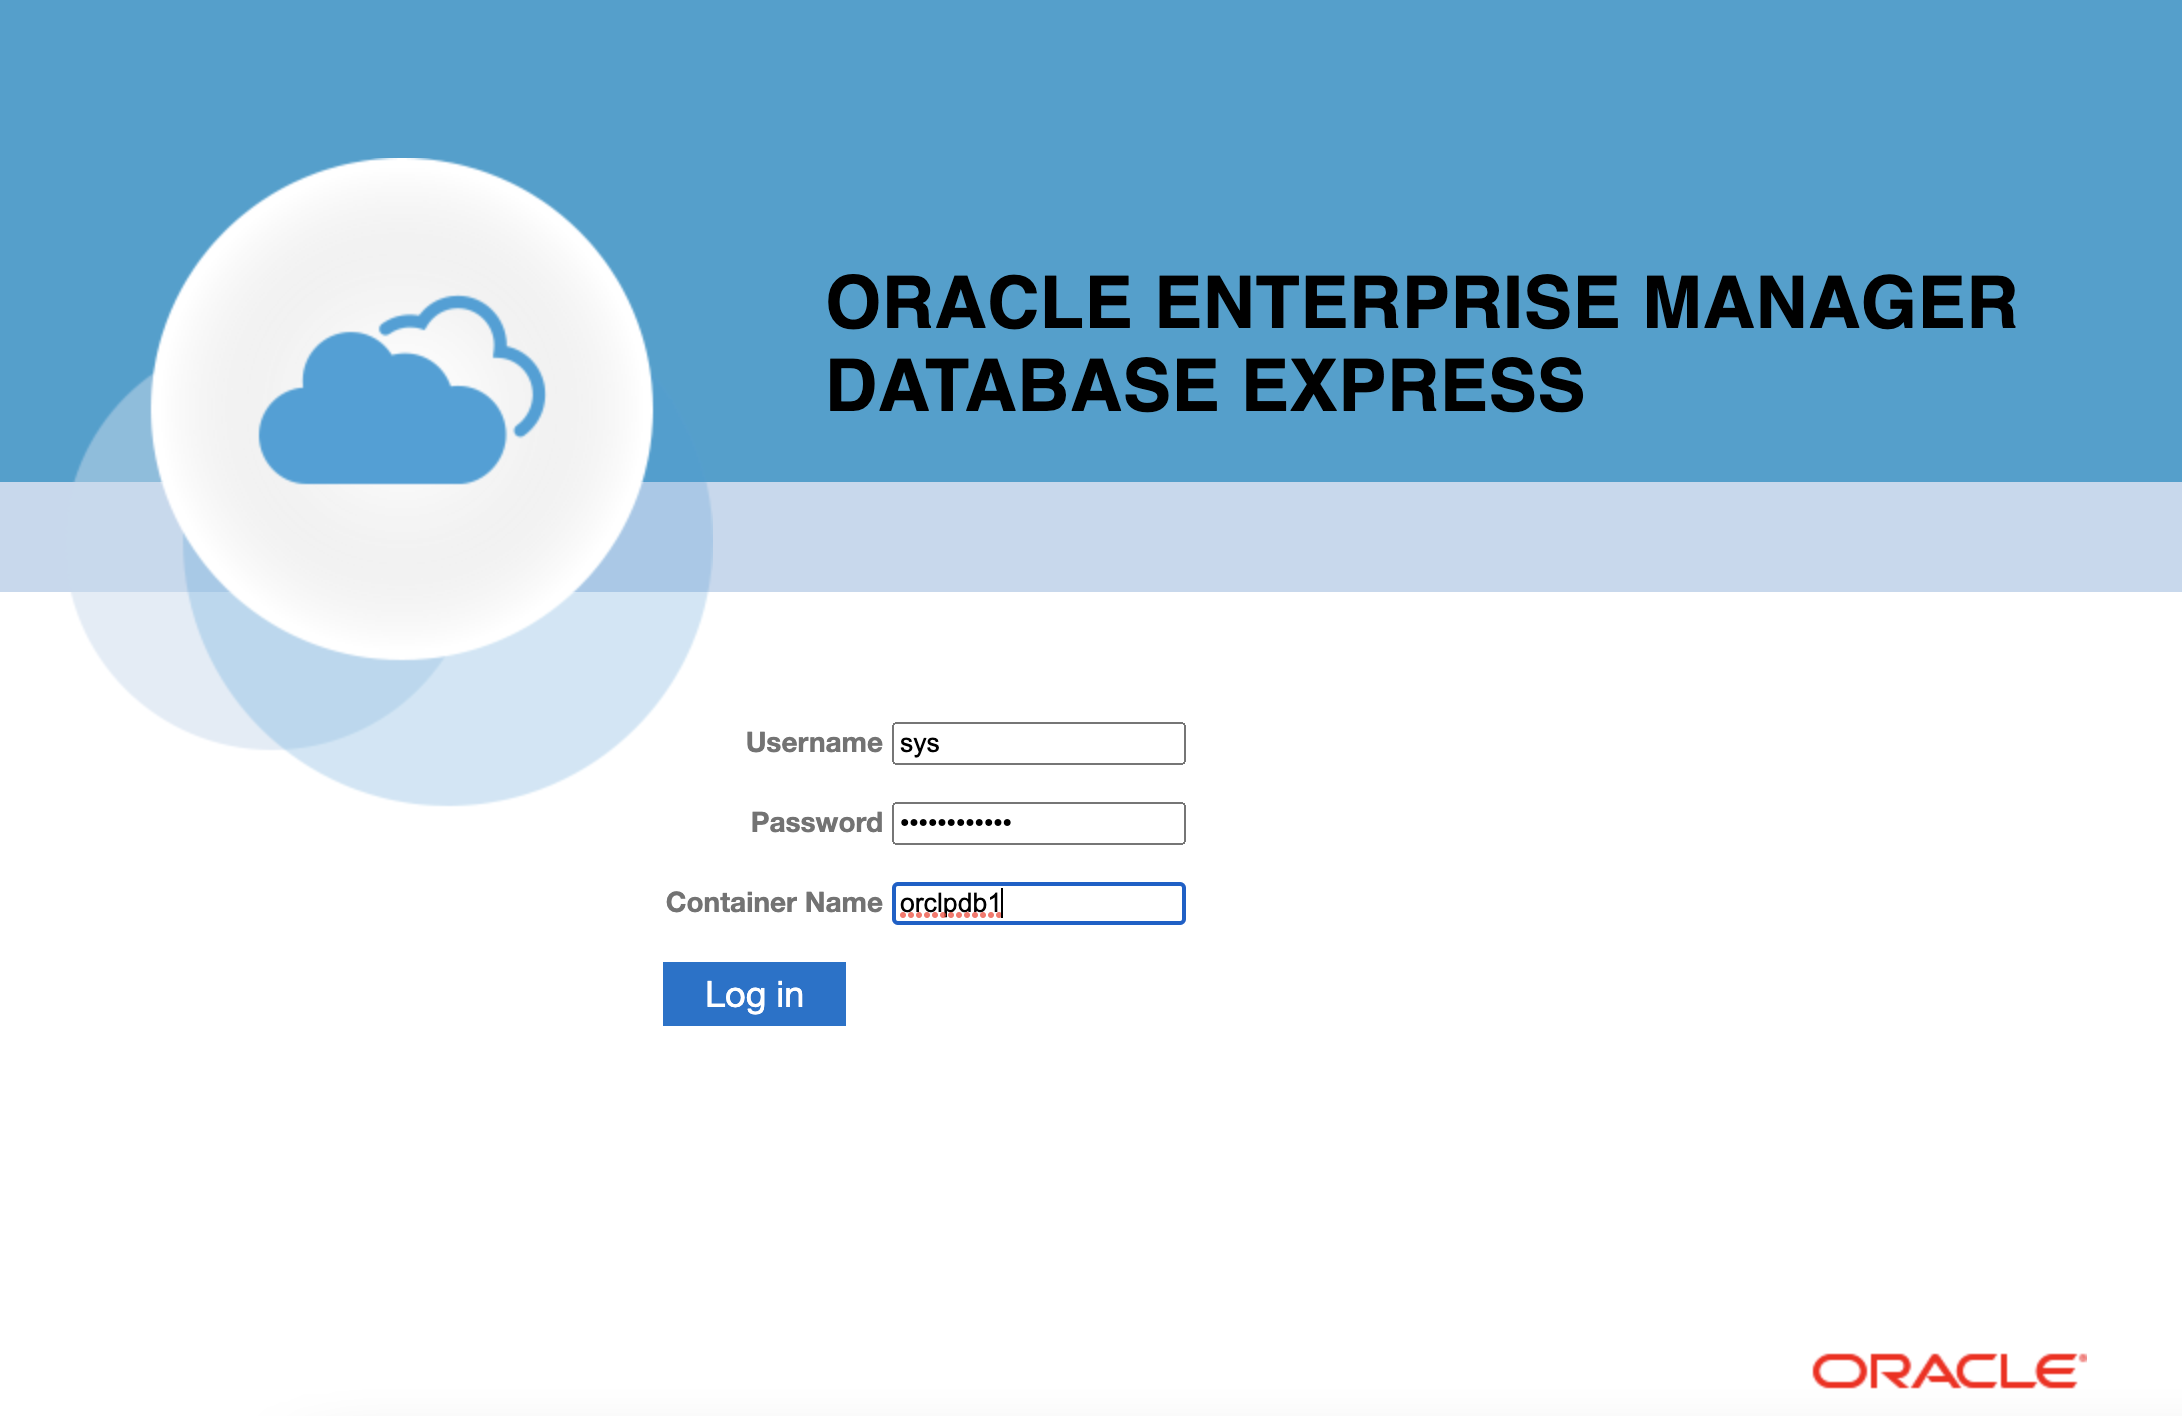
Enter the username
sys, the password you specified for the database earlier, and the container db nameorclpdb1. You should now see the console :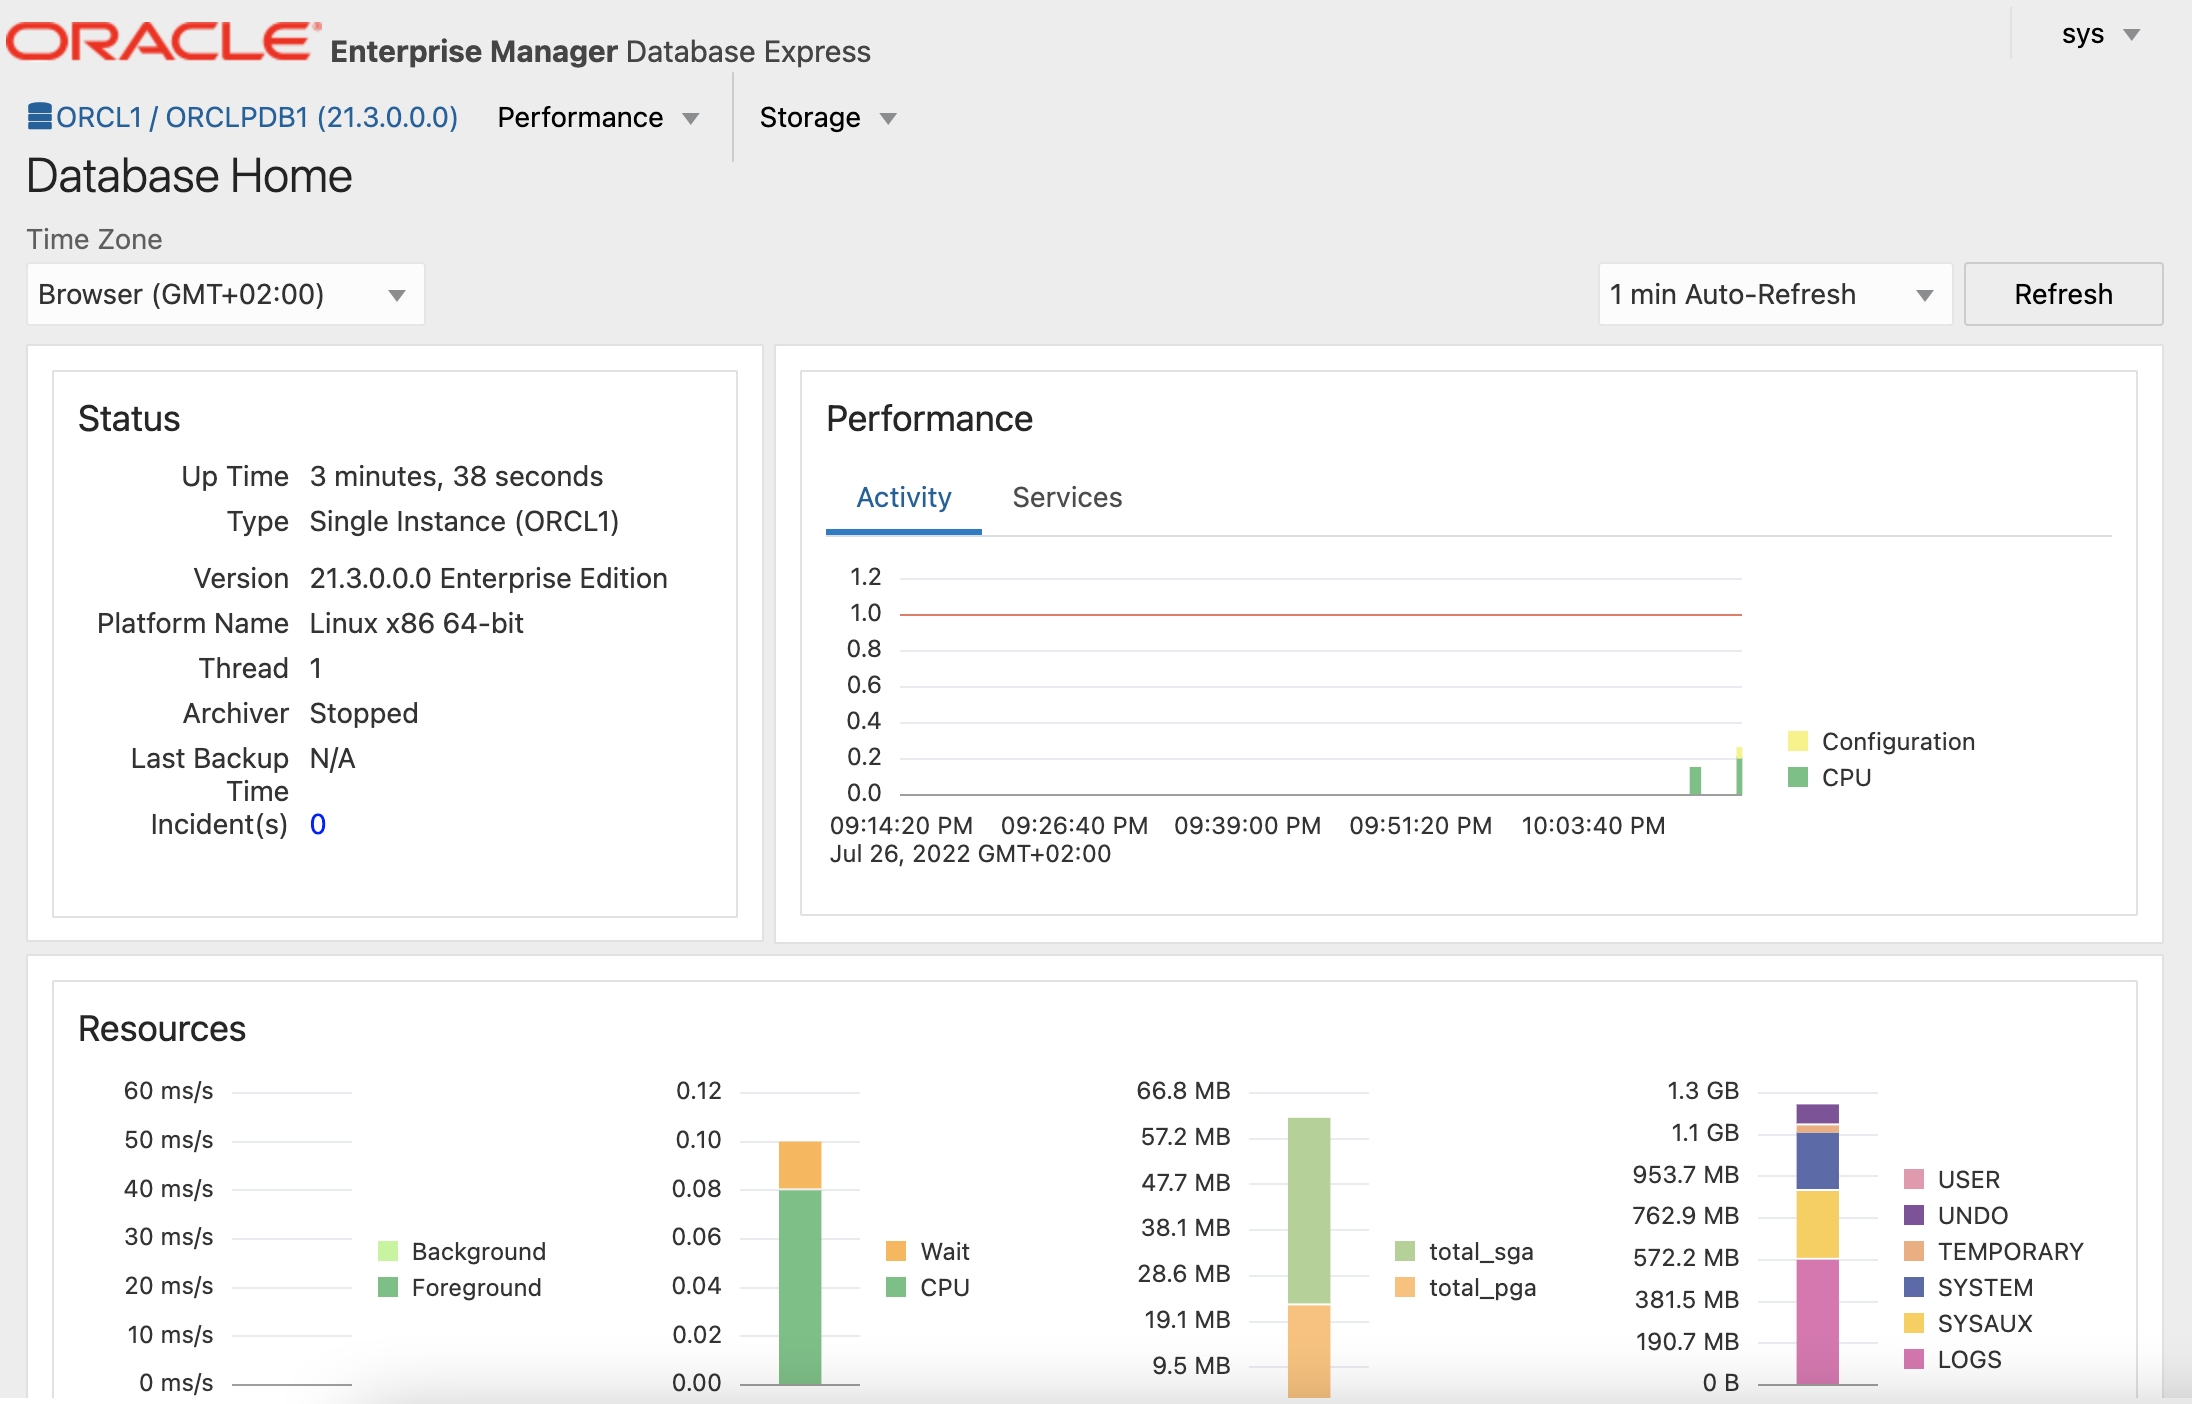
Alternatively, you can use the command line to connect via sqlplus:
Get the connect string with the below command :
kubectl get singleinstancedatabase sidb-test1 -o "jsonpath={.status.pdbConnectString}" && echo -e "\n"This should output something like :
132.145.249.43:1521/ORCLPDB1Use your string to compose a command looking like the below, replacing Your_passwd with the one you specified:
sqlplus sys/Your_Passwd@132.145.249.43:1521/ORCLPDB1 as sysdbaYou can quit sqlplus with the
quitcommand.Congratulations, your database is up and running, and you are able to connect to it through Enterprise Manager and Sqlplus !
Optional deletion of the database We will not use the database instance
sidb-test1in this lab anymore. In case you want to free up the resources taken up by this database (a pod in your Kubernetes cluster, a Block Volume and a load balancer), you can issue the following command to delete the database and automatically delete the associated resources:kubectl delete singleinstancedatabase.database.oracle.com sidb-test1
You may now proceed to the next lab.
Acknowledgements
- Author - Jan Leemans, July 2022
- Last Updated By/Date - Jan Leemans, January 2024