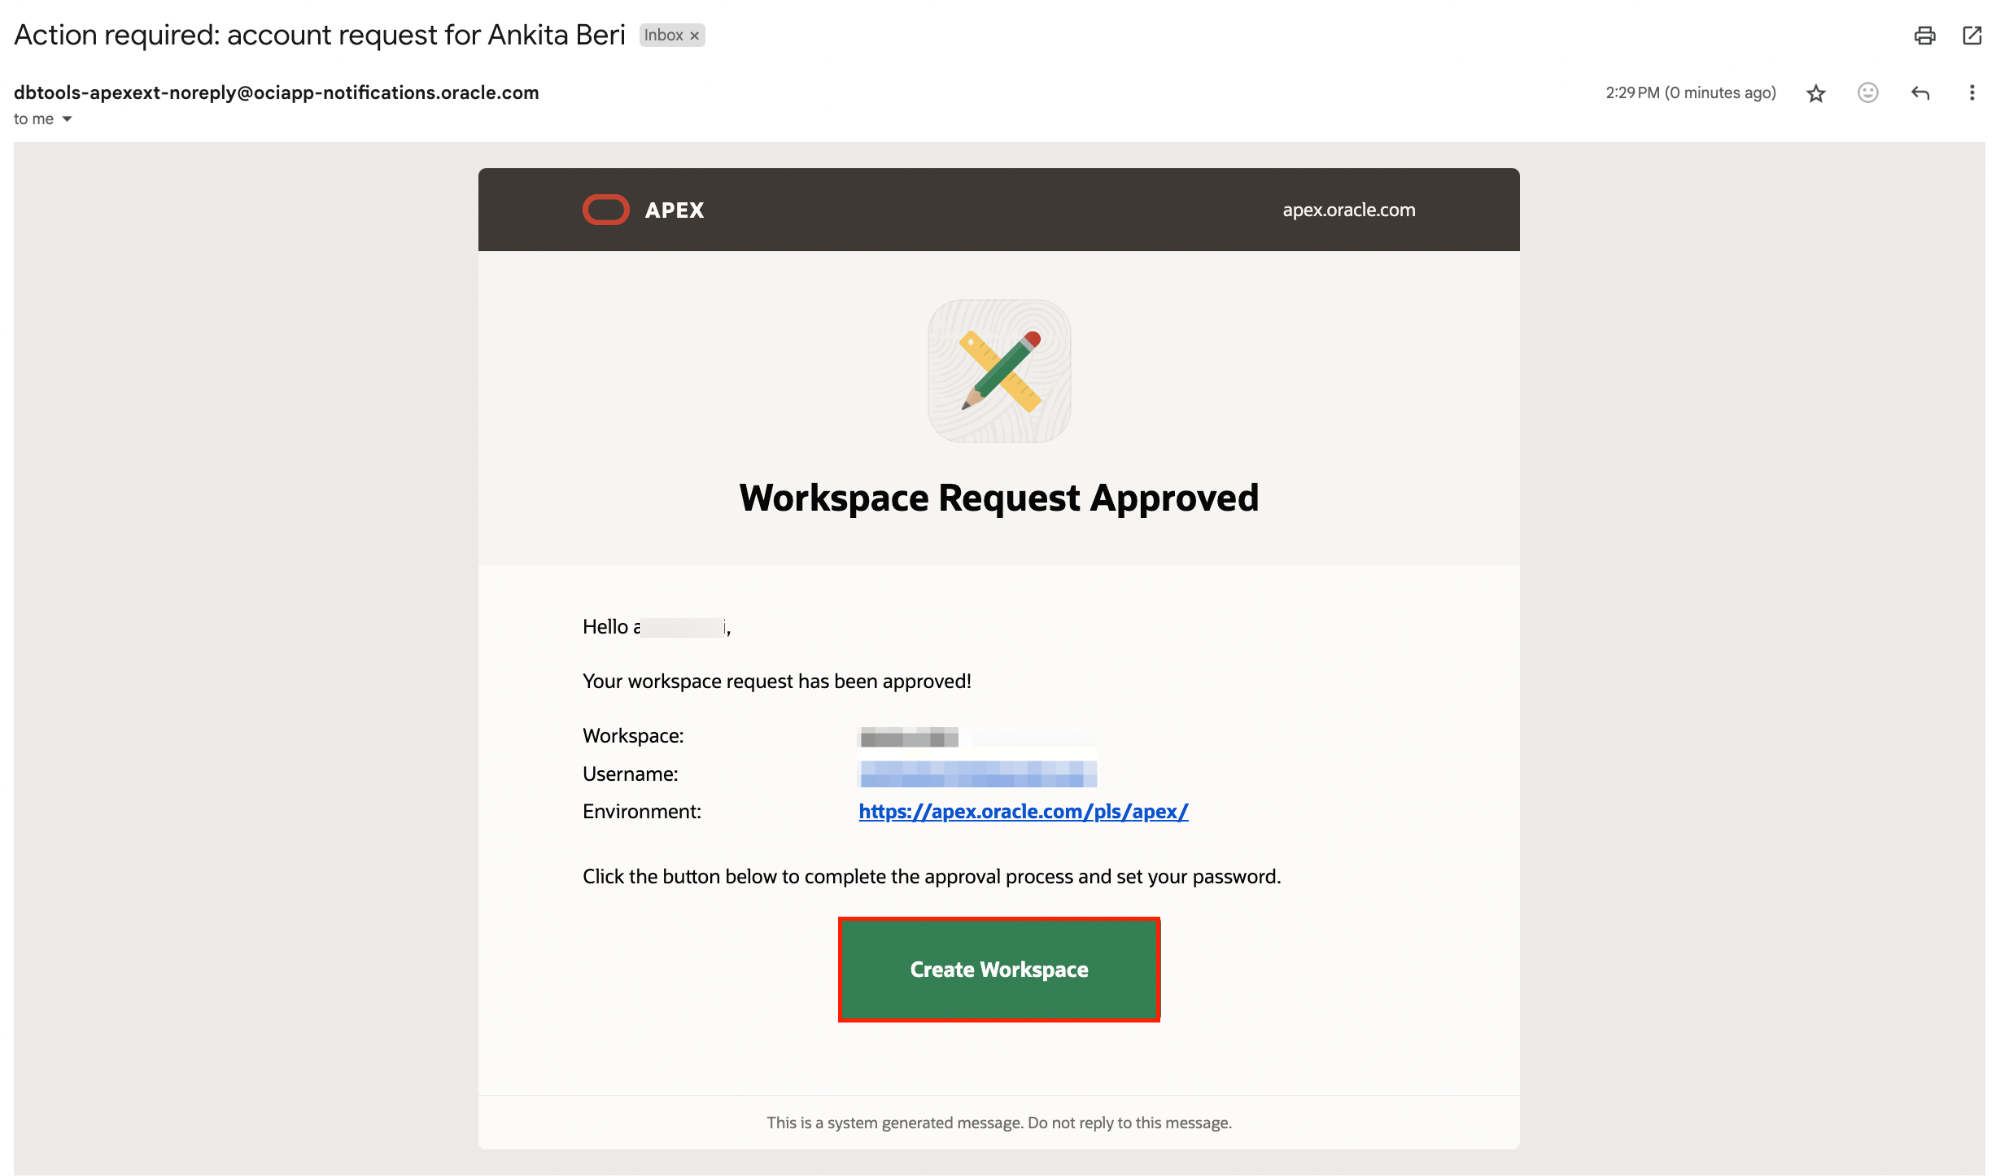
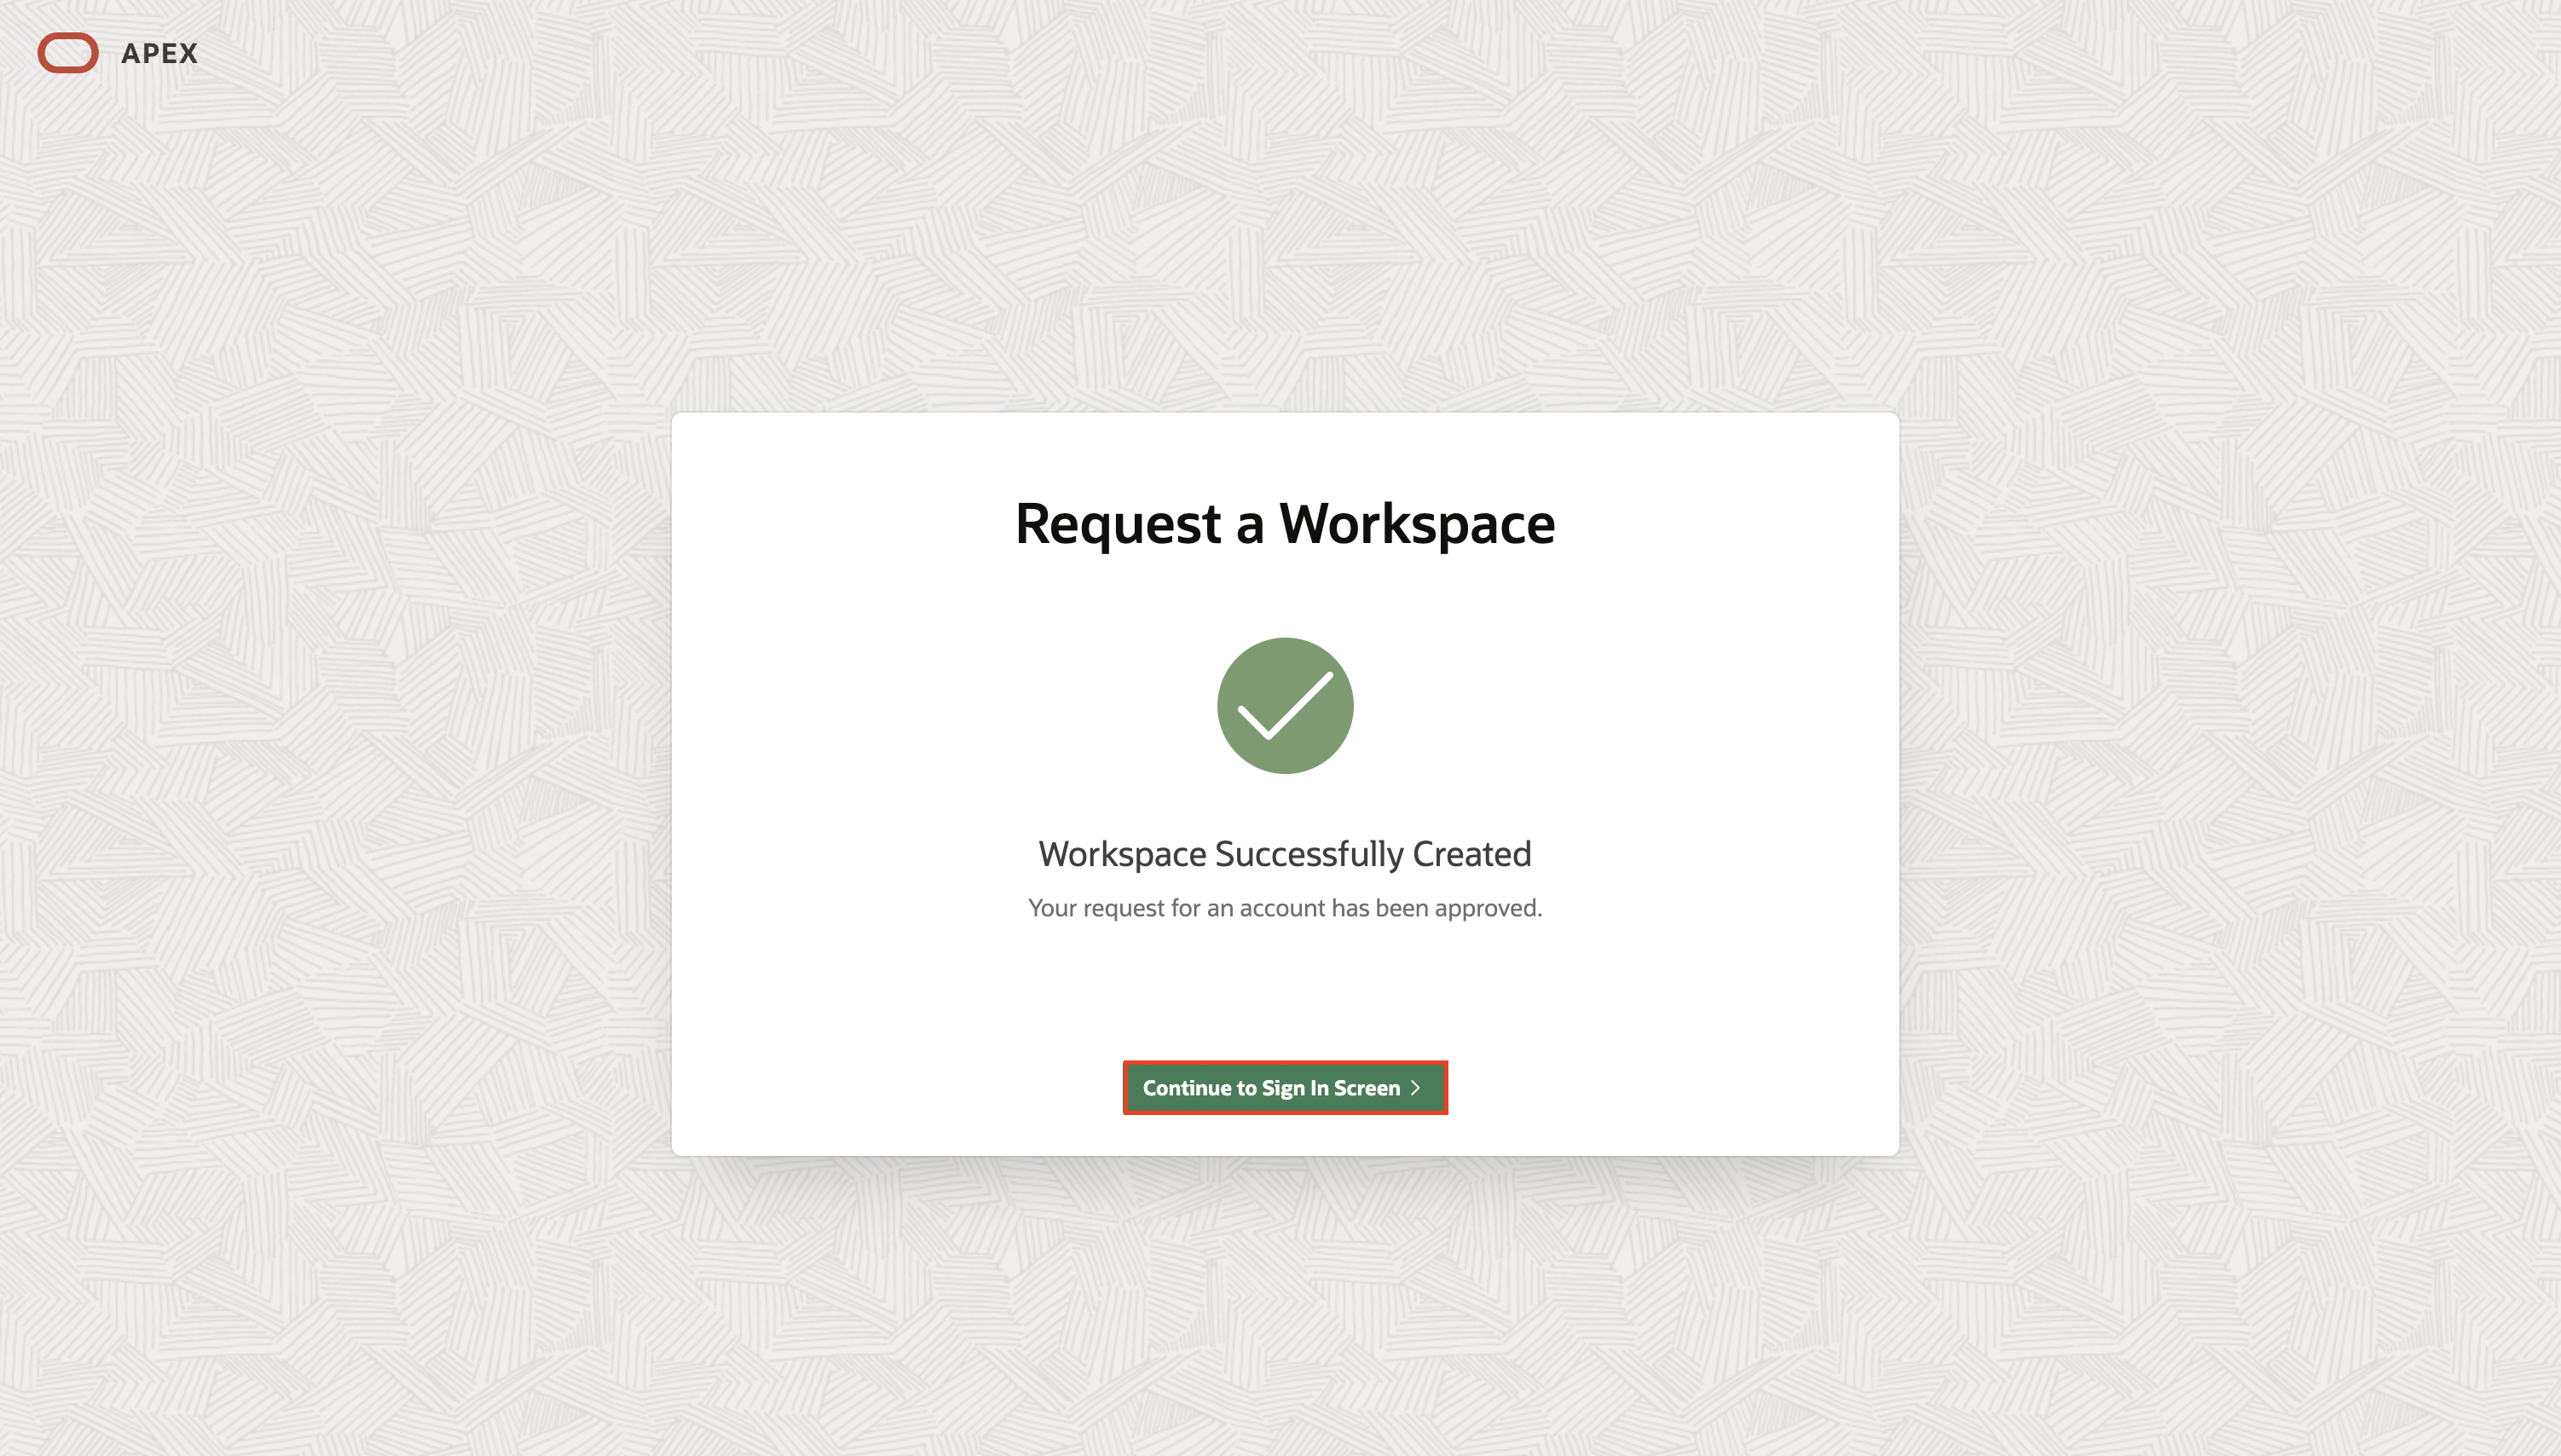
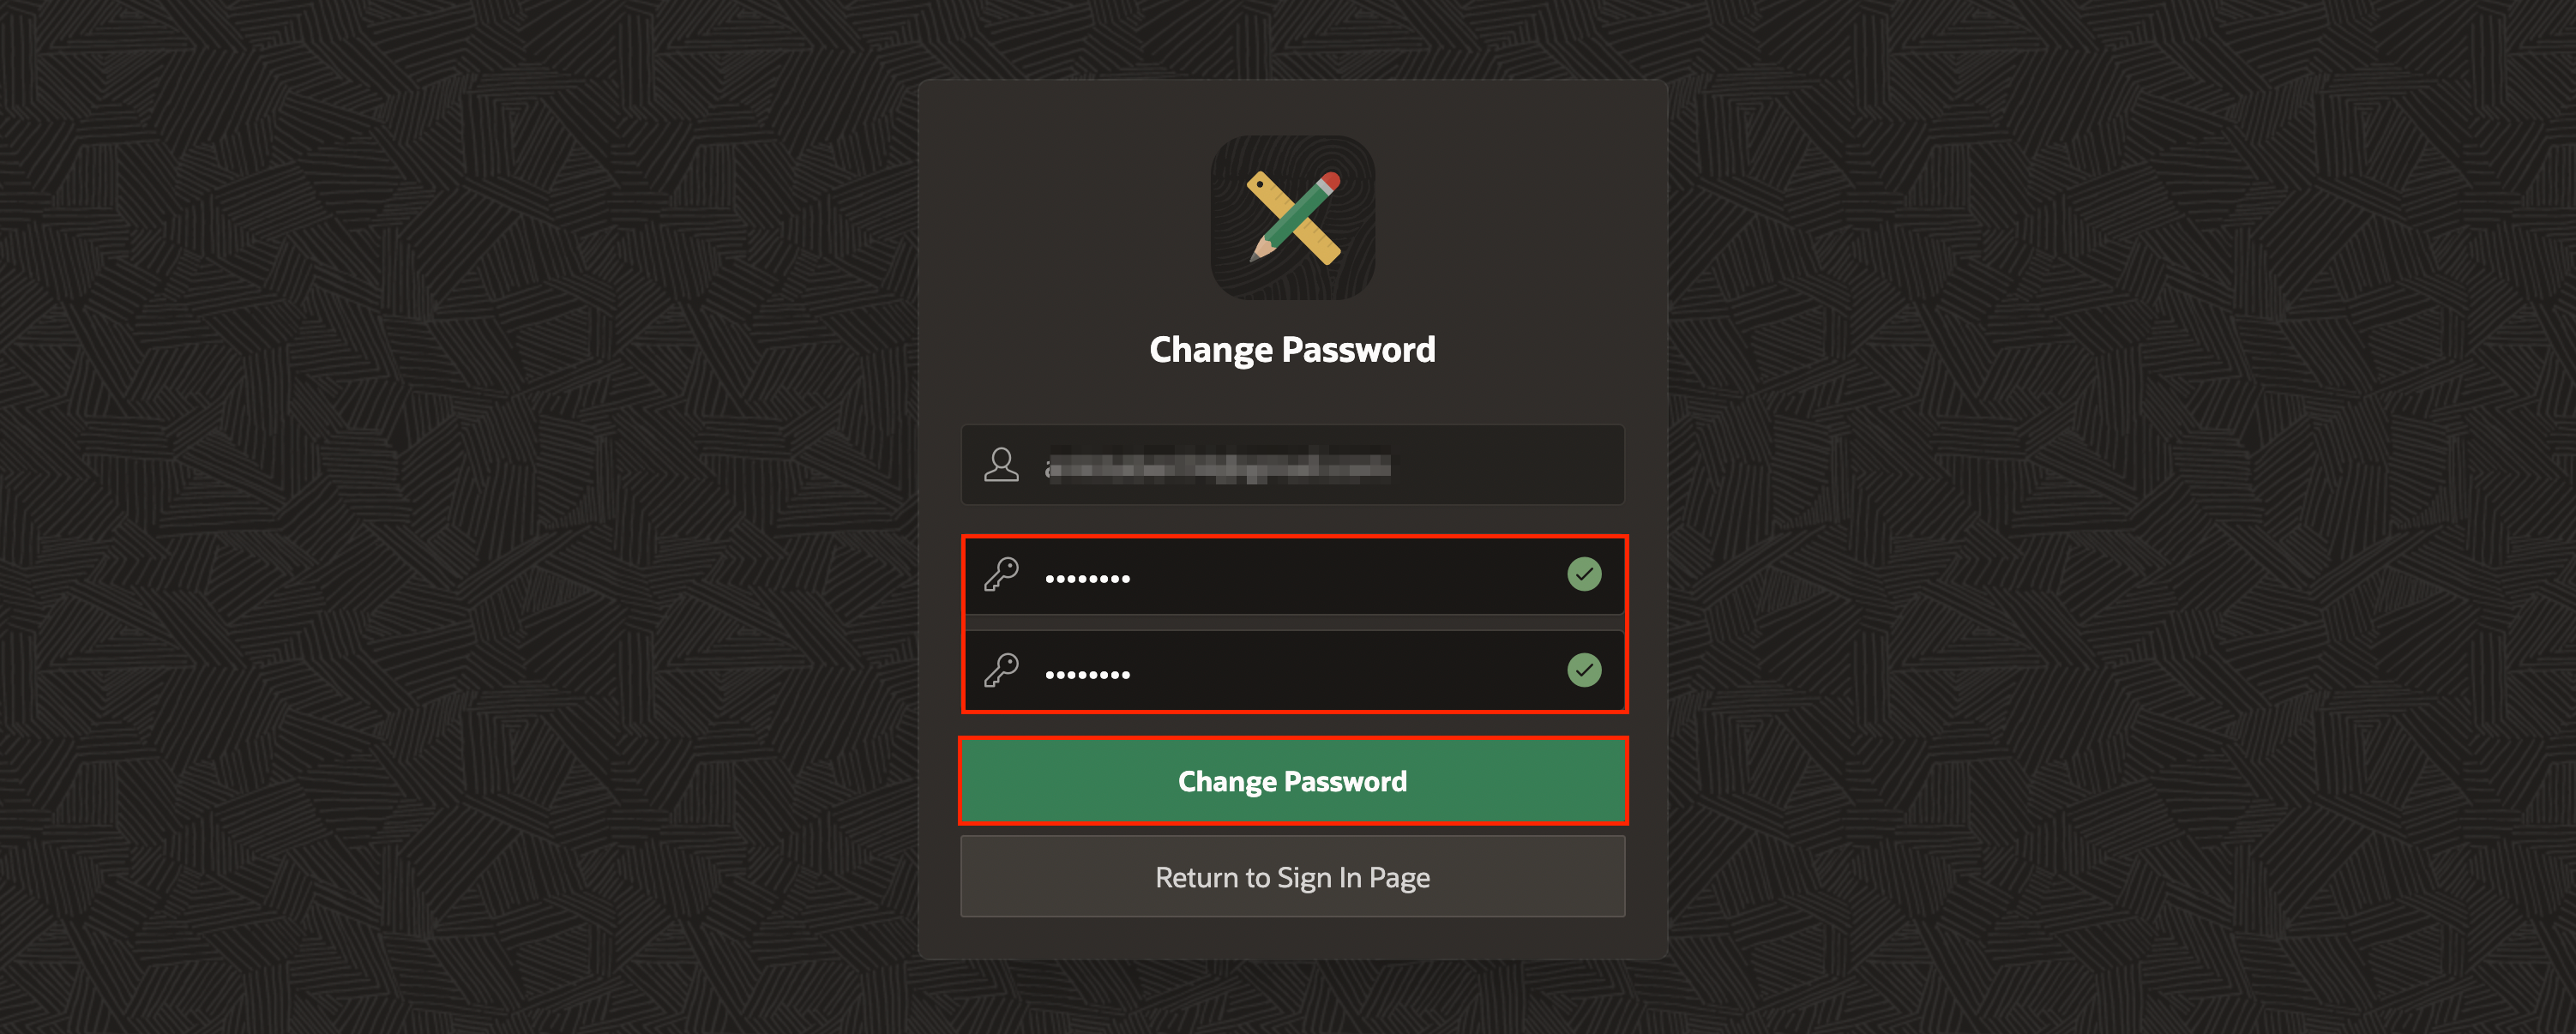
Provision an APEX Workspace

Introduction

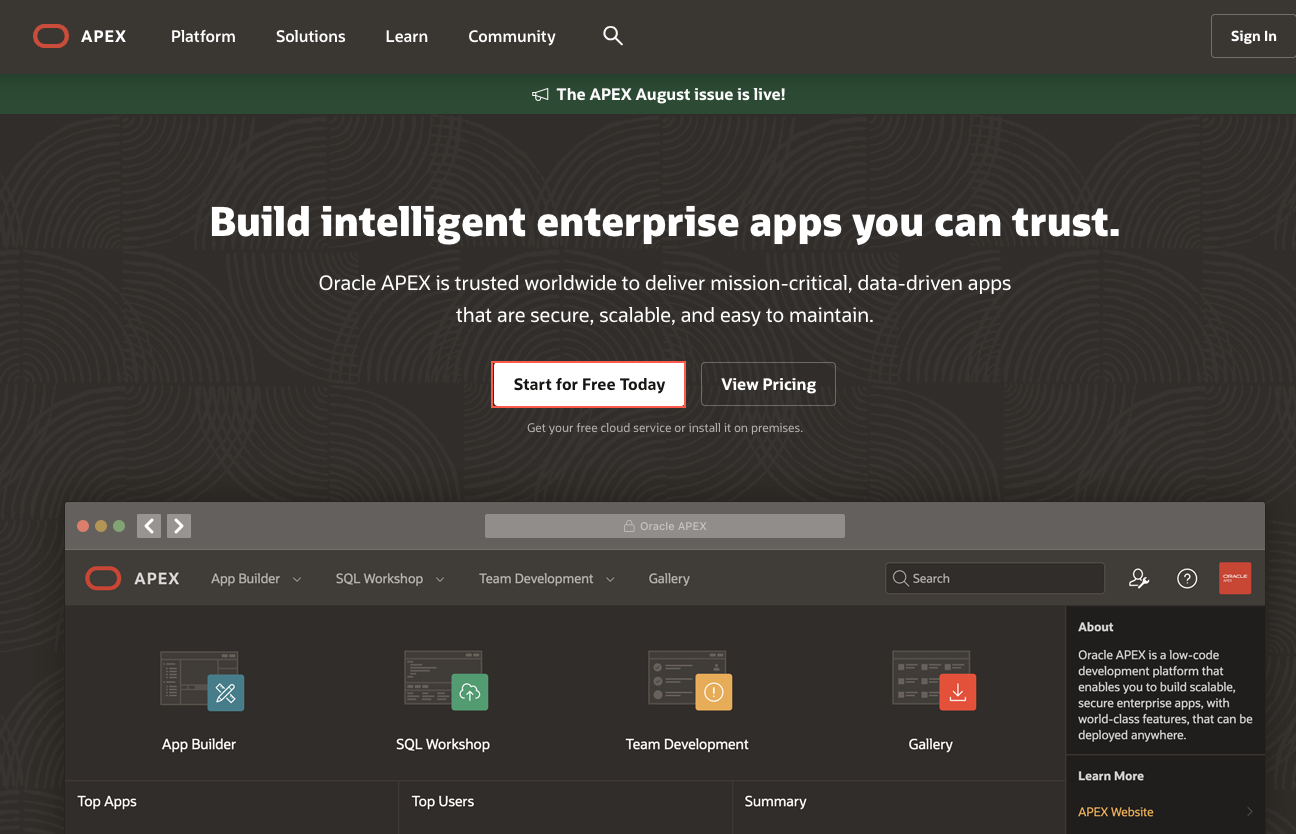
Oracle APEX is the world's most popular enterprise low-code application platform that enables you to build scalable, secure web and mobile apps, with world-class features, that can be deployed anywhere – cloud or on premises. APEX Application Development, Autonomous Data Warehouse (ADW), and Autonomous Transaction Processing (ATP) are fully managed services, pre-integrated and pre-configured with APEX, for rapidly building and deploying modern data-driven applications in Oracle Cloud. Business users, citizens, and application developers can create enterprise apps 20X faster with 100X less code — without having to learn complex web technologies with just a browser. To start, you will need to decide on the service you are going to use for this workshop and then create an APEX workspace accordingly.

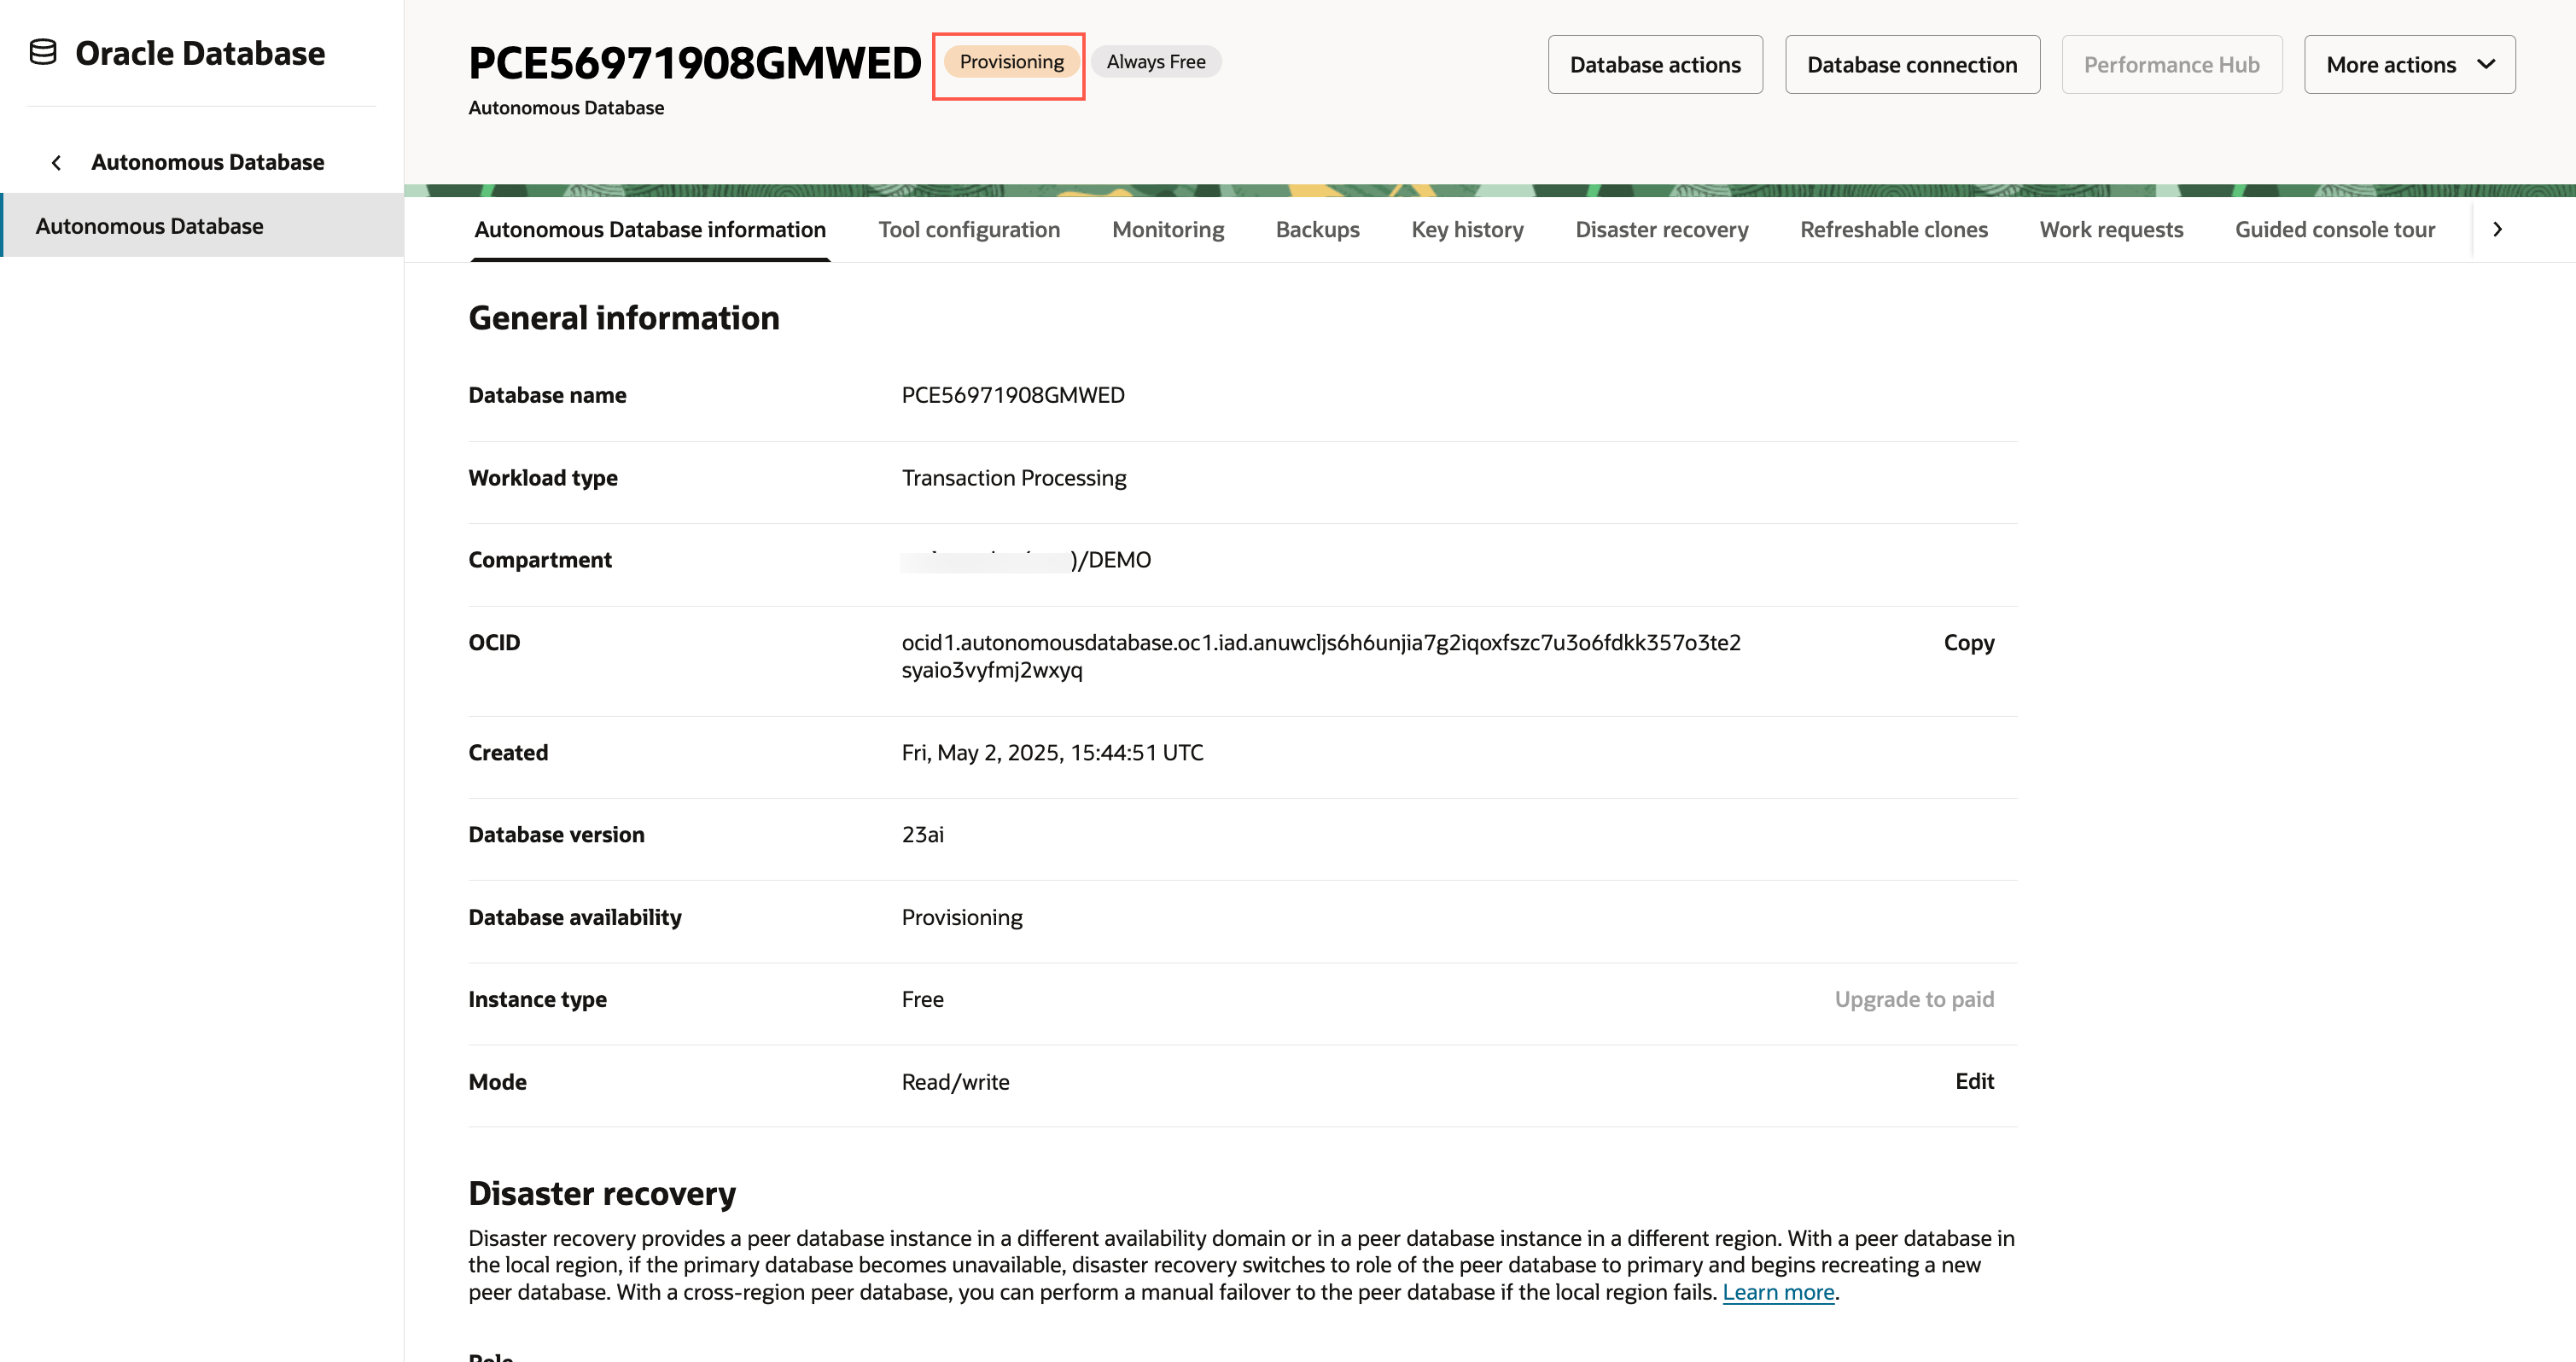
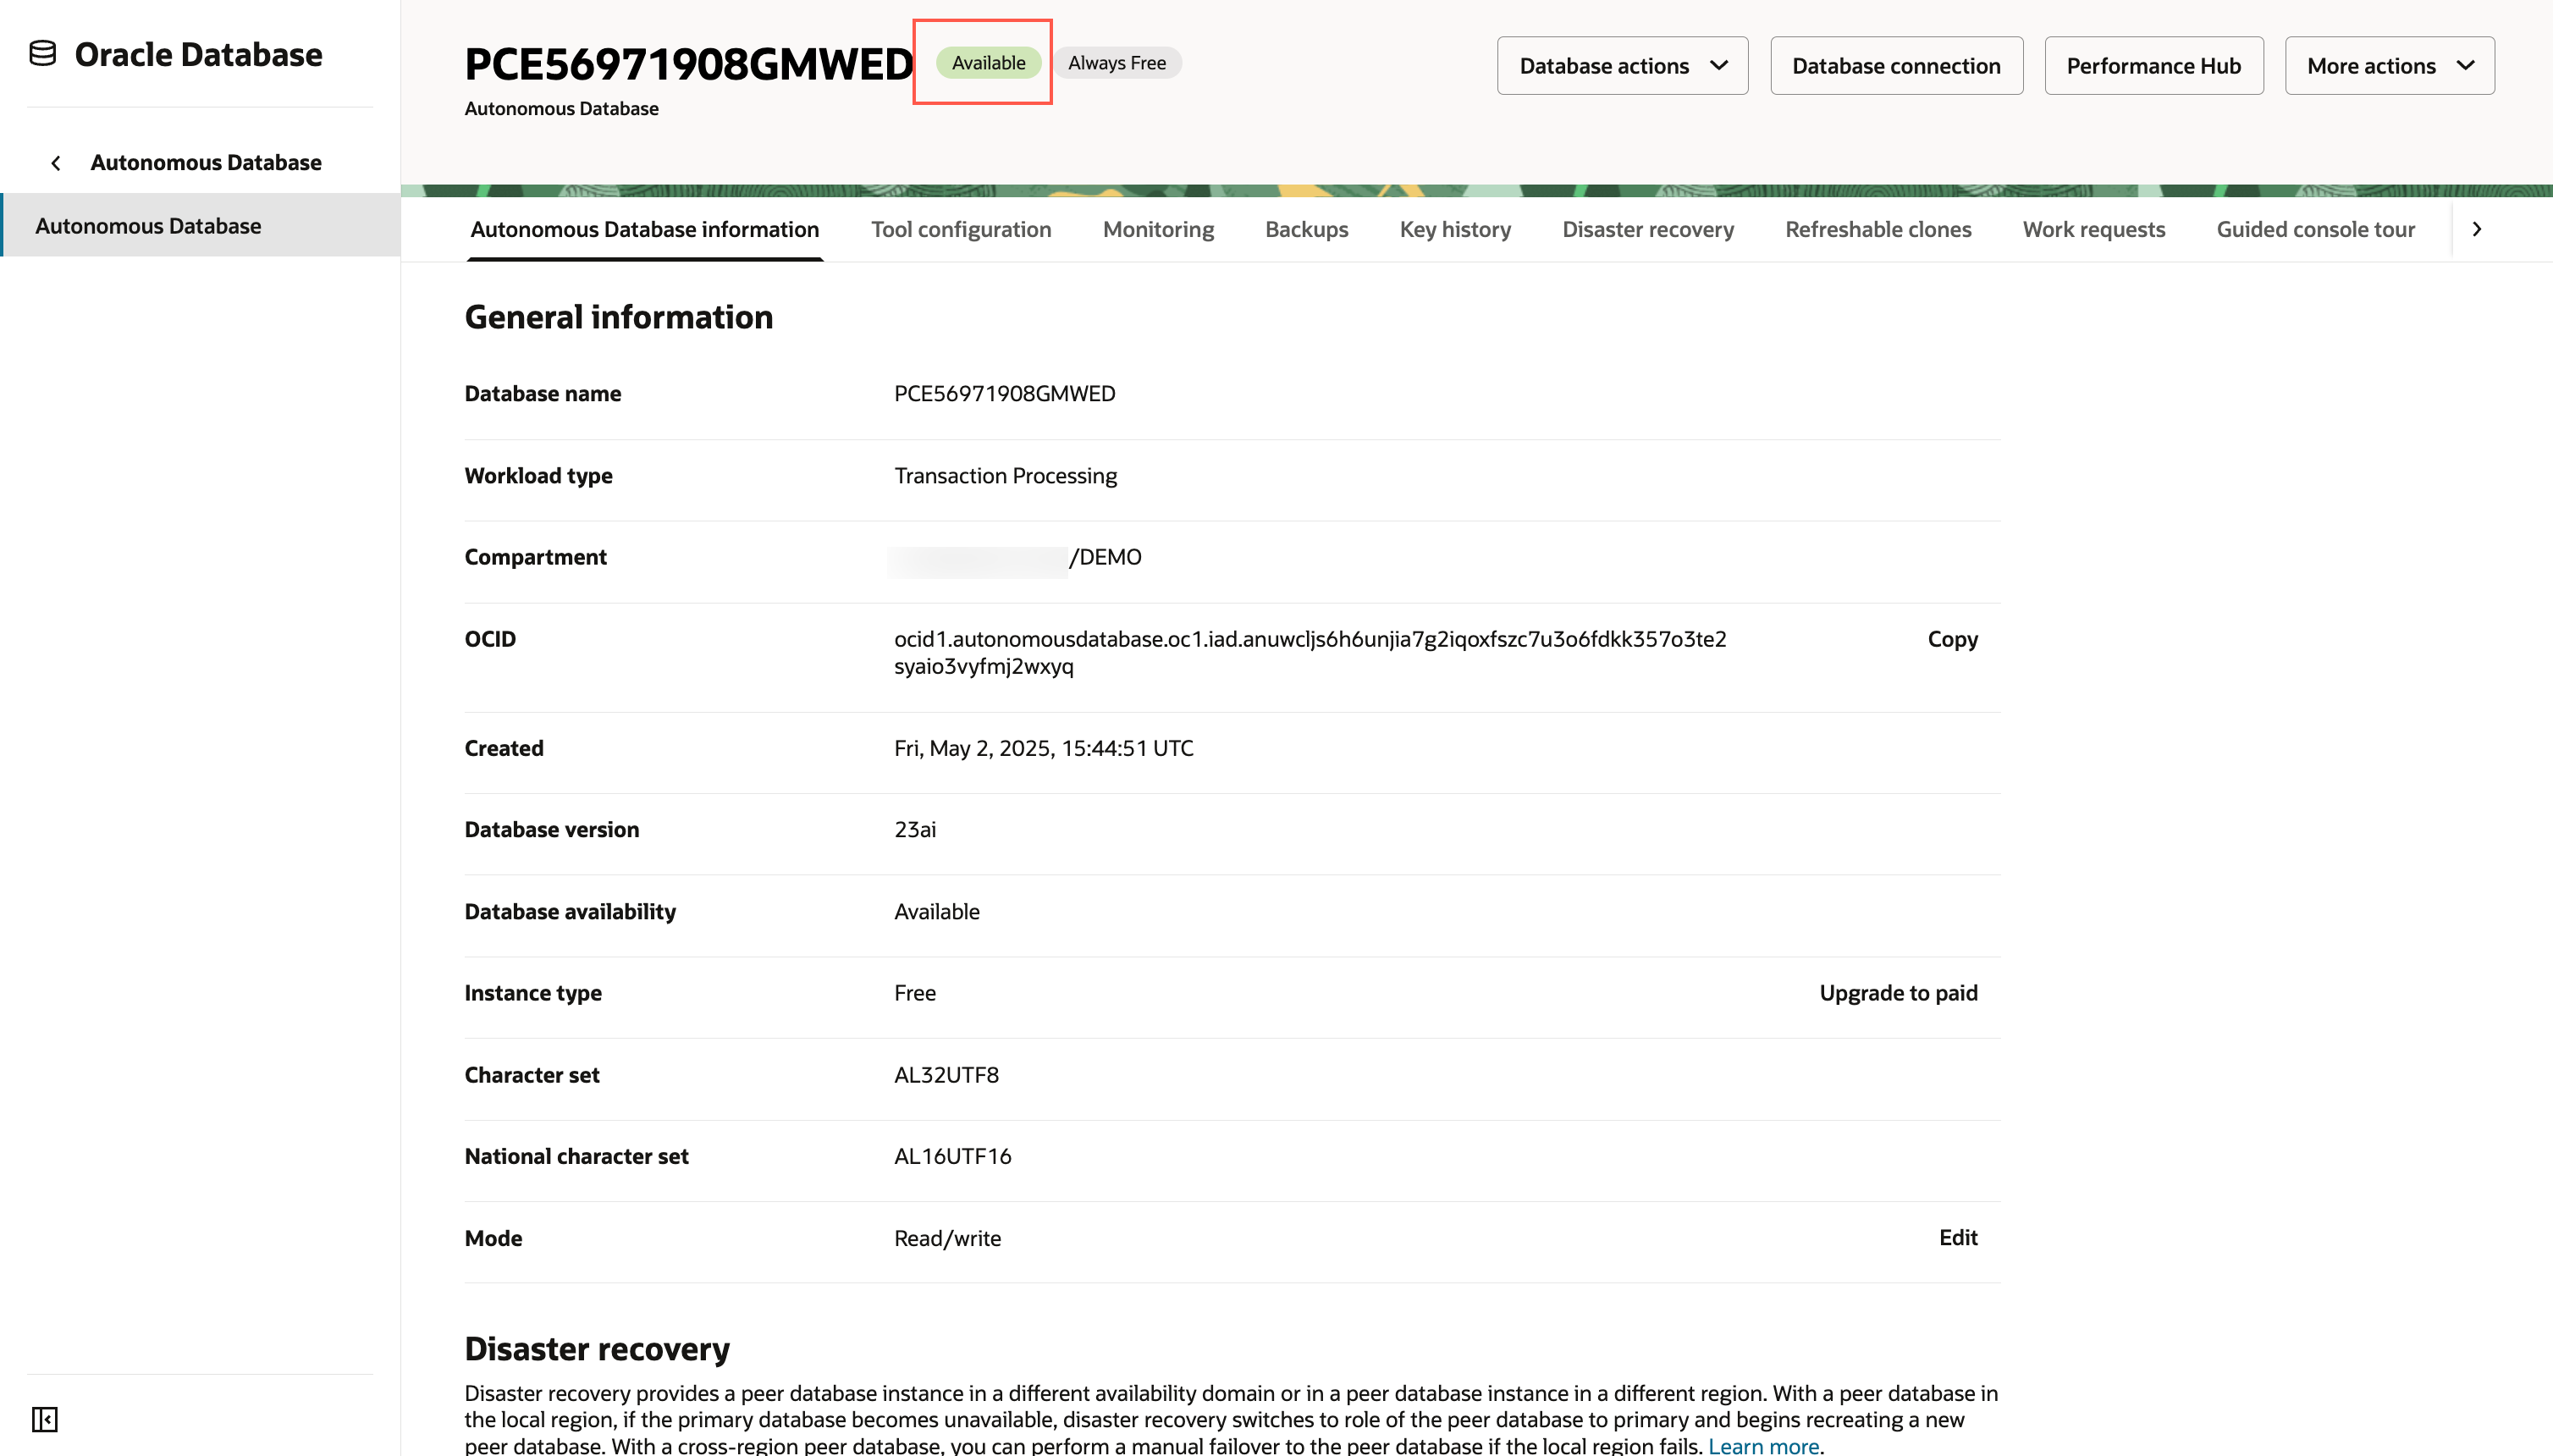
If you already have an APEX 24.2 workspace provisioned, you can skip this lab.

Estimated Time: 5 minutes

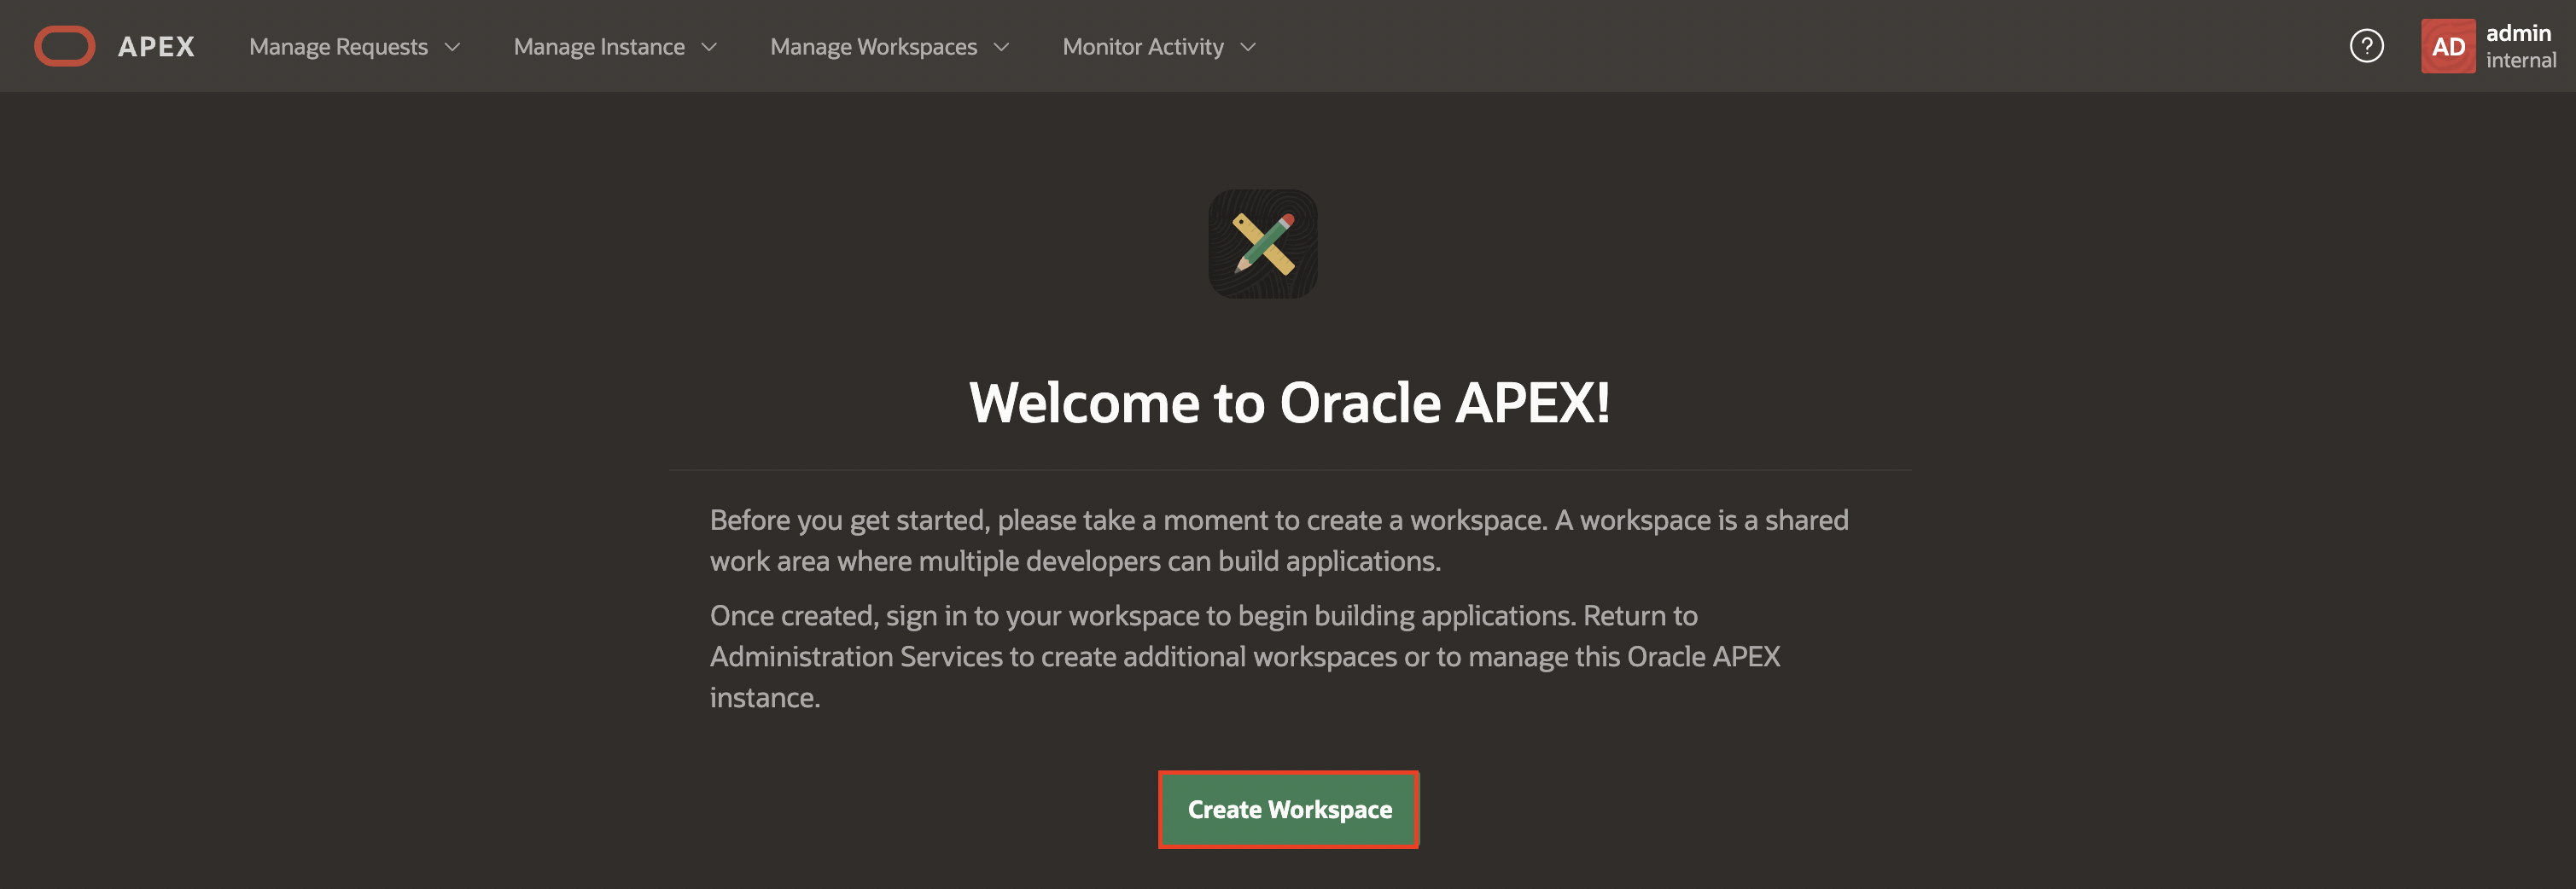
What is an APEX Workspace?

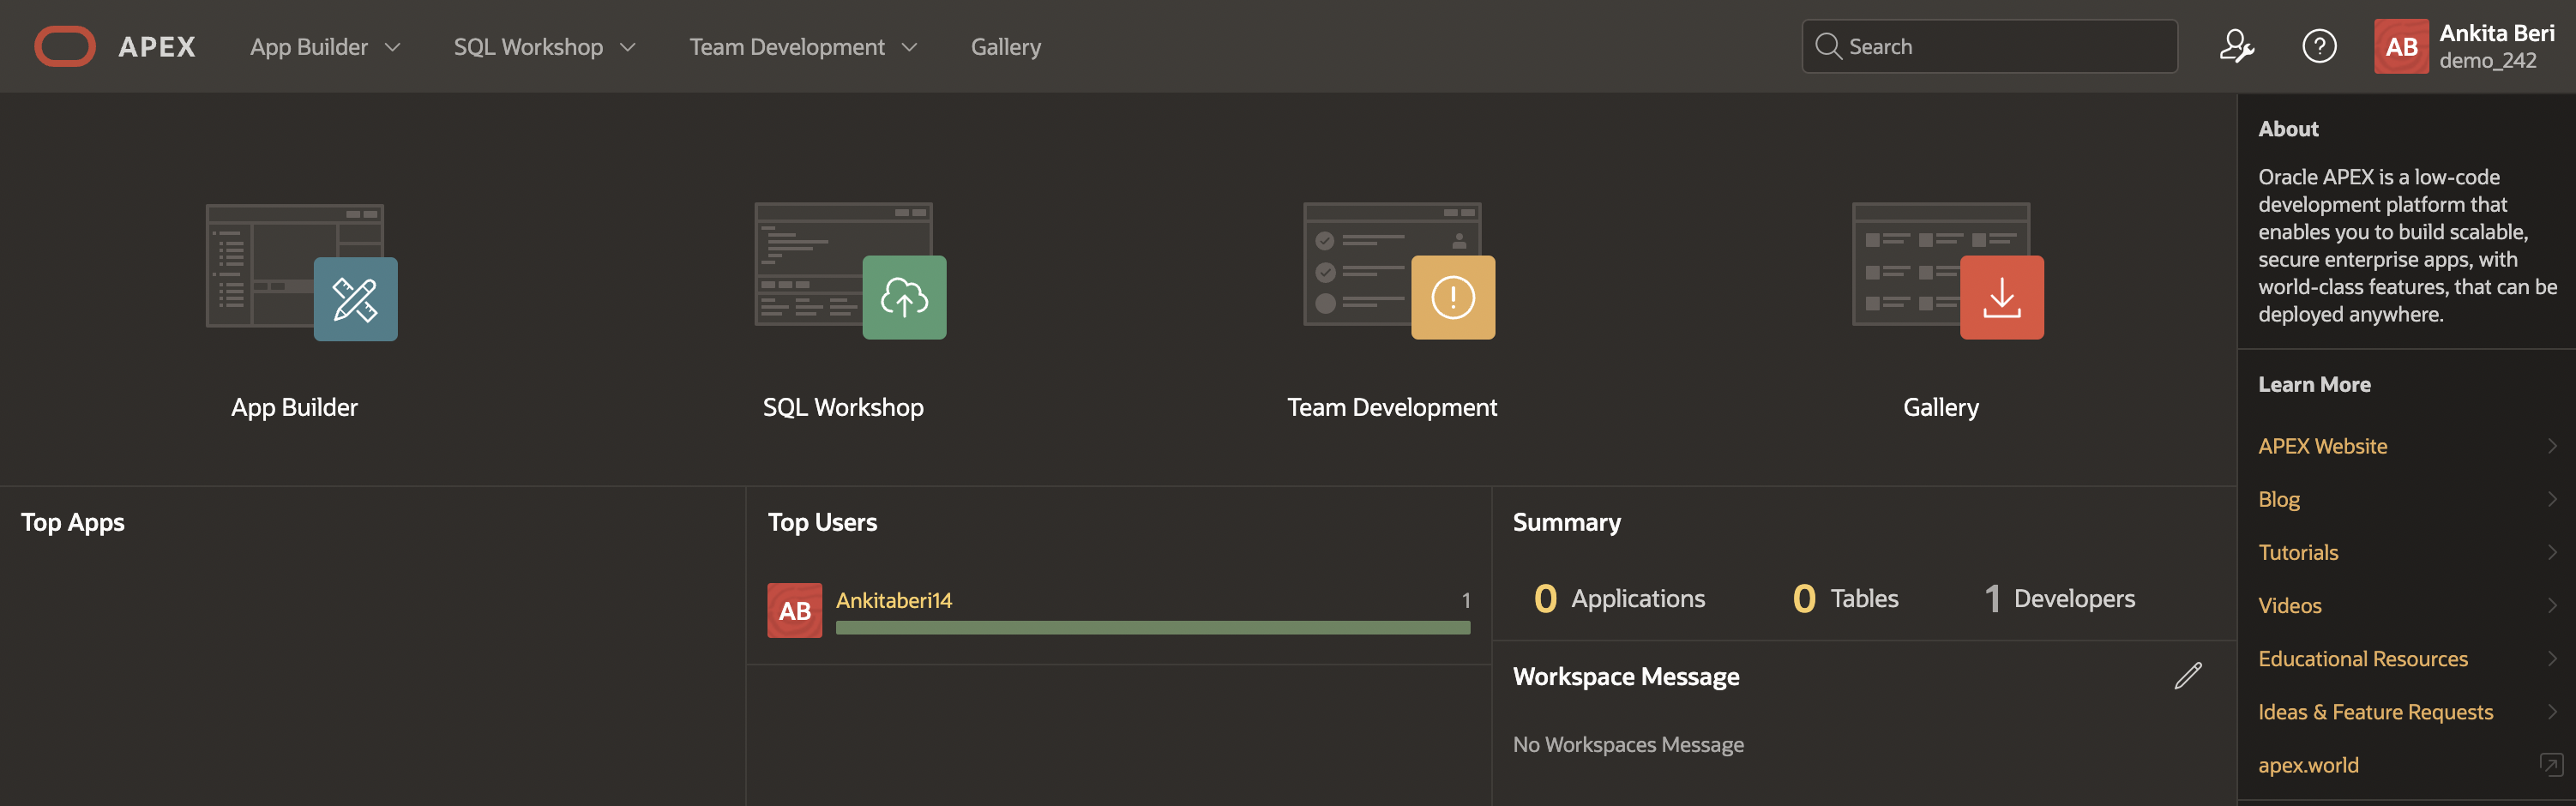
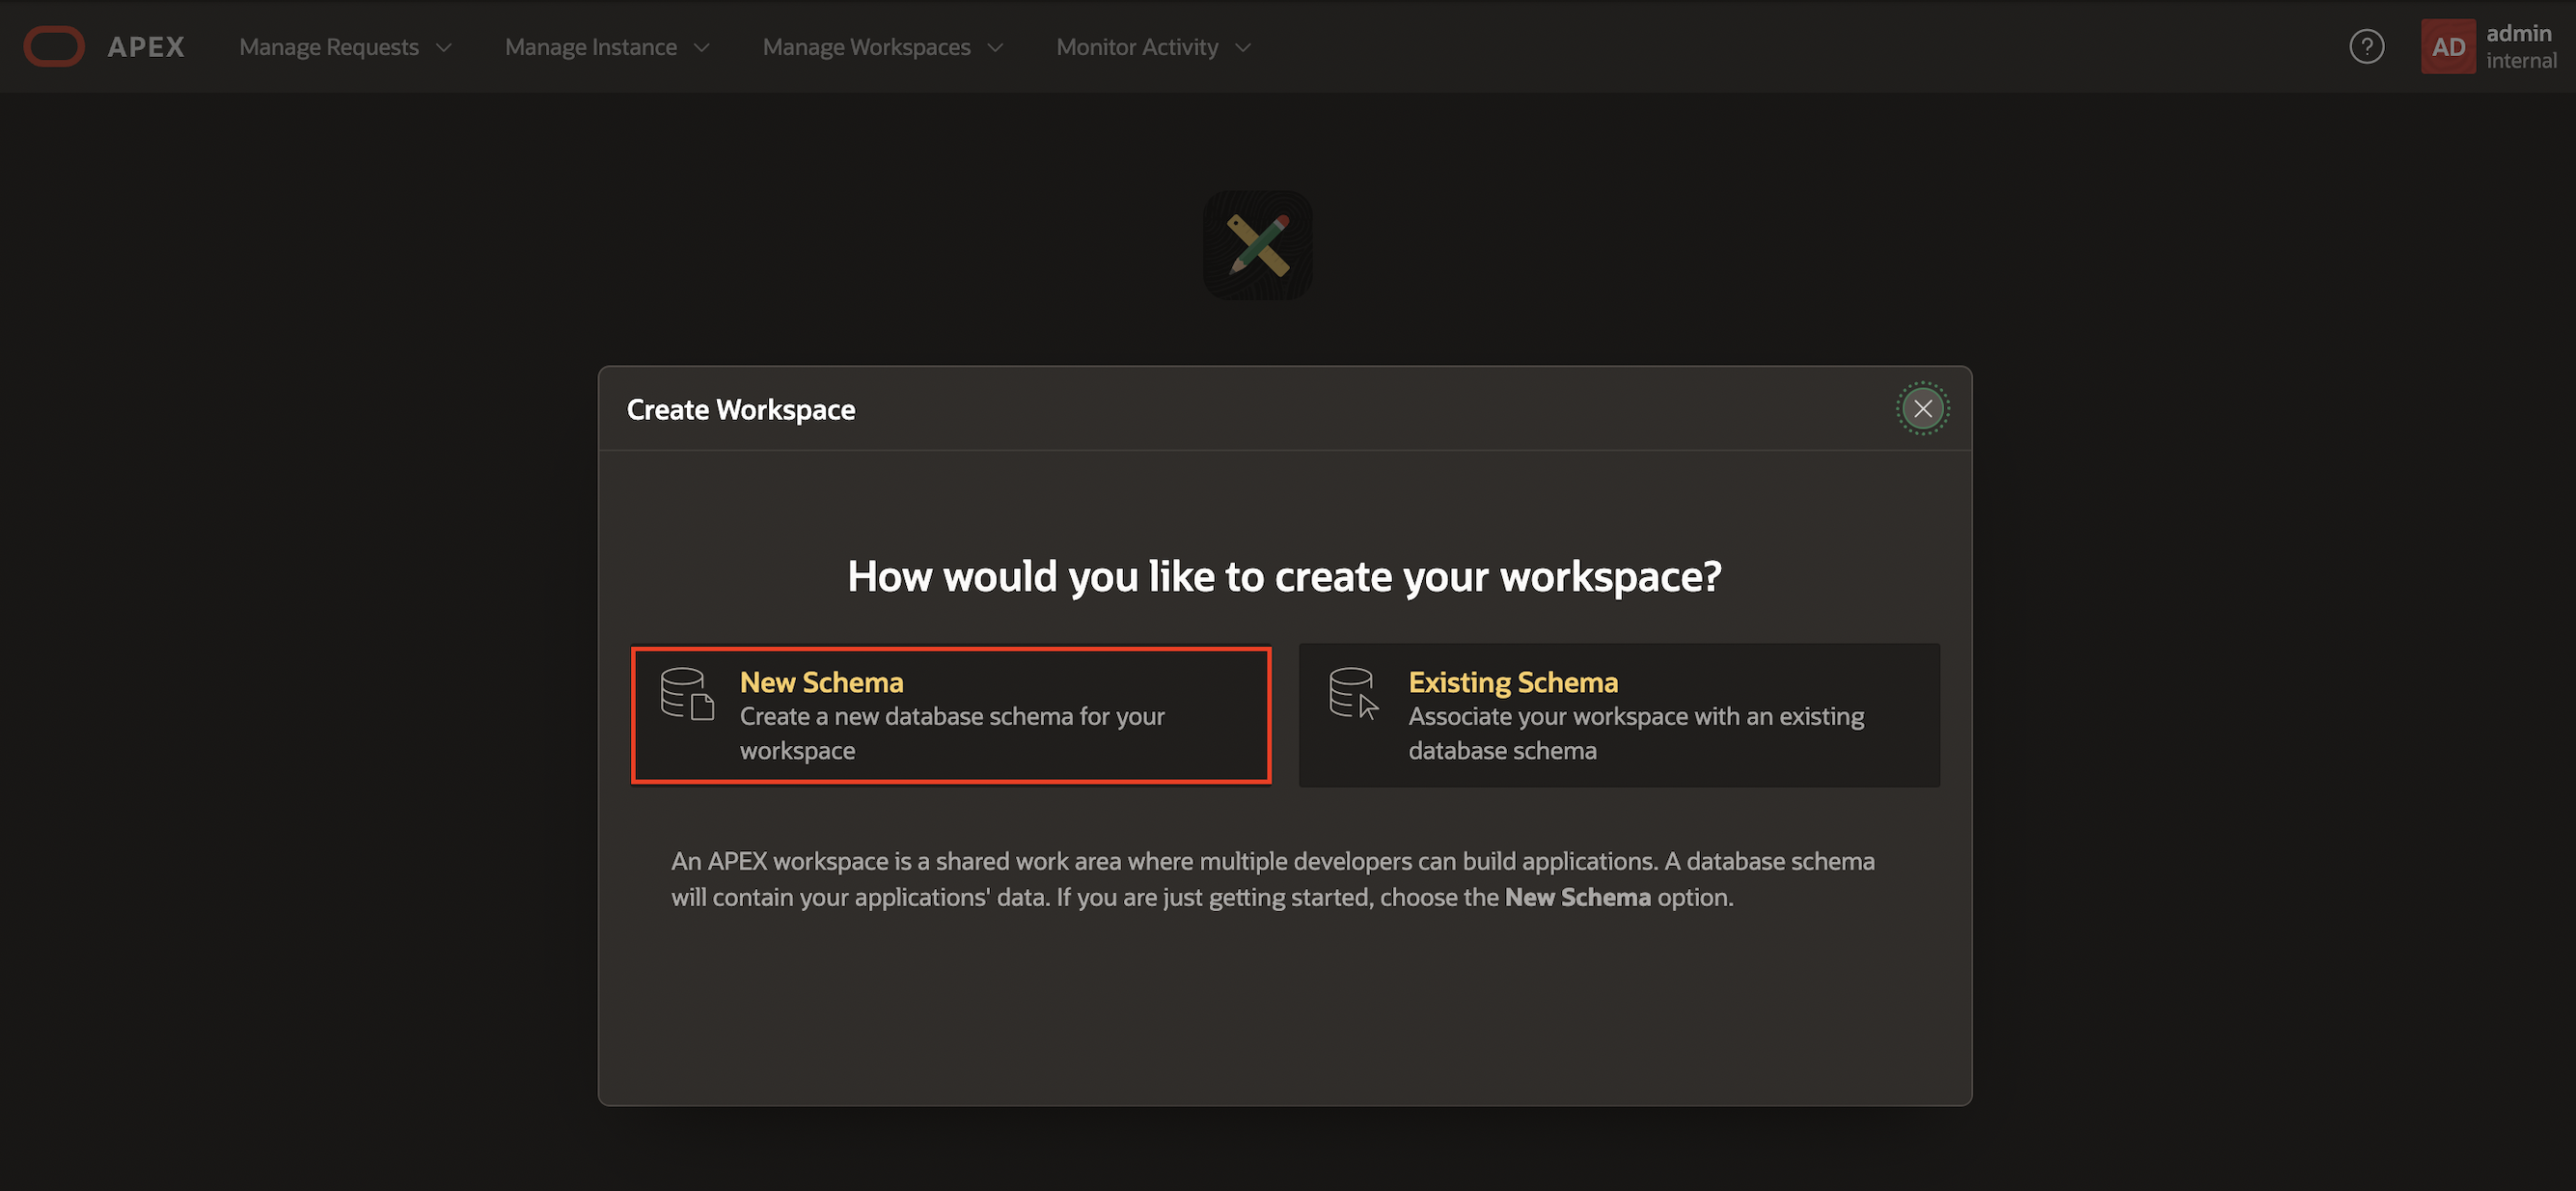
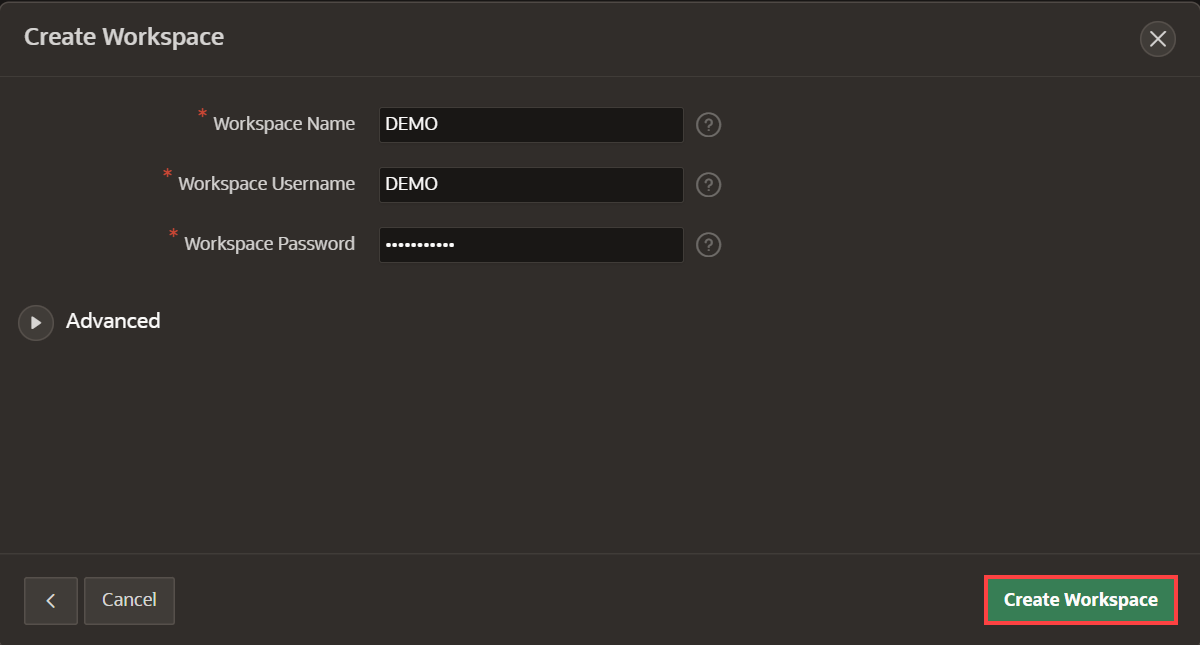
An APEX Workspace is a logical domain where you define APEX applications. Each workspace is associated with one or more database schemas (database users) which are used to store the database objects, such as tables, views, packages, and more. APEX applications are built on top of these database objects.

How Do I Find My APEX Release Version?

To determine which release of Oracle APEX you are currently running, do one of the following:

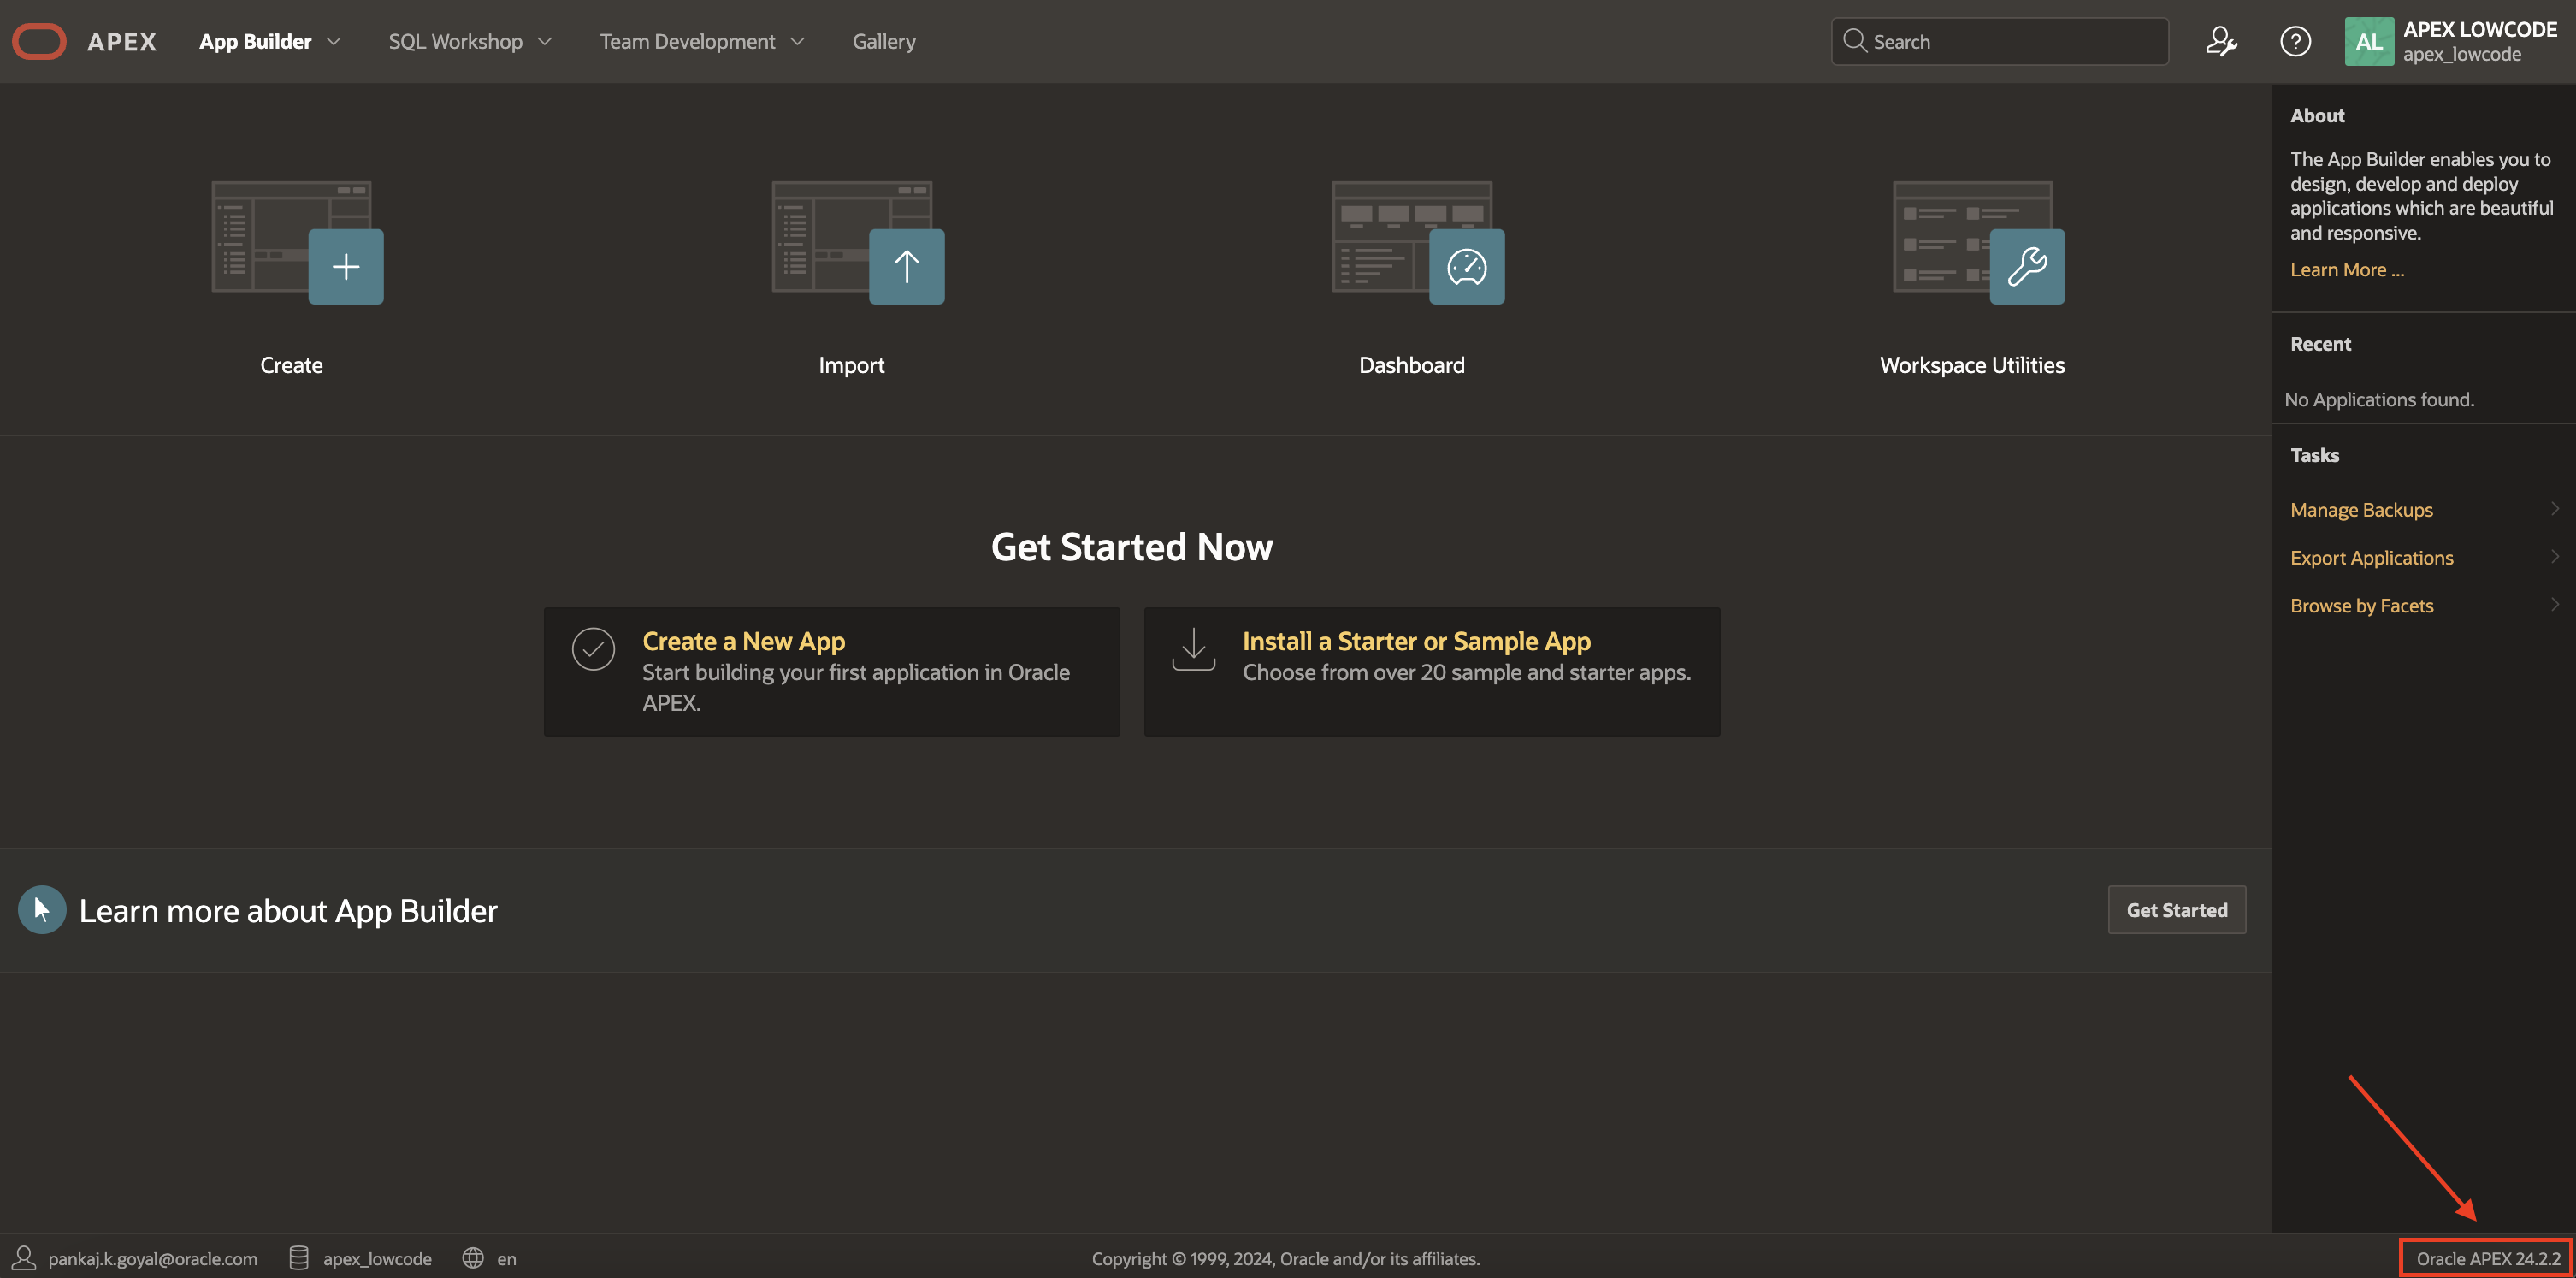
  • View the release number on the Workspace home page:

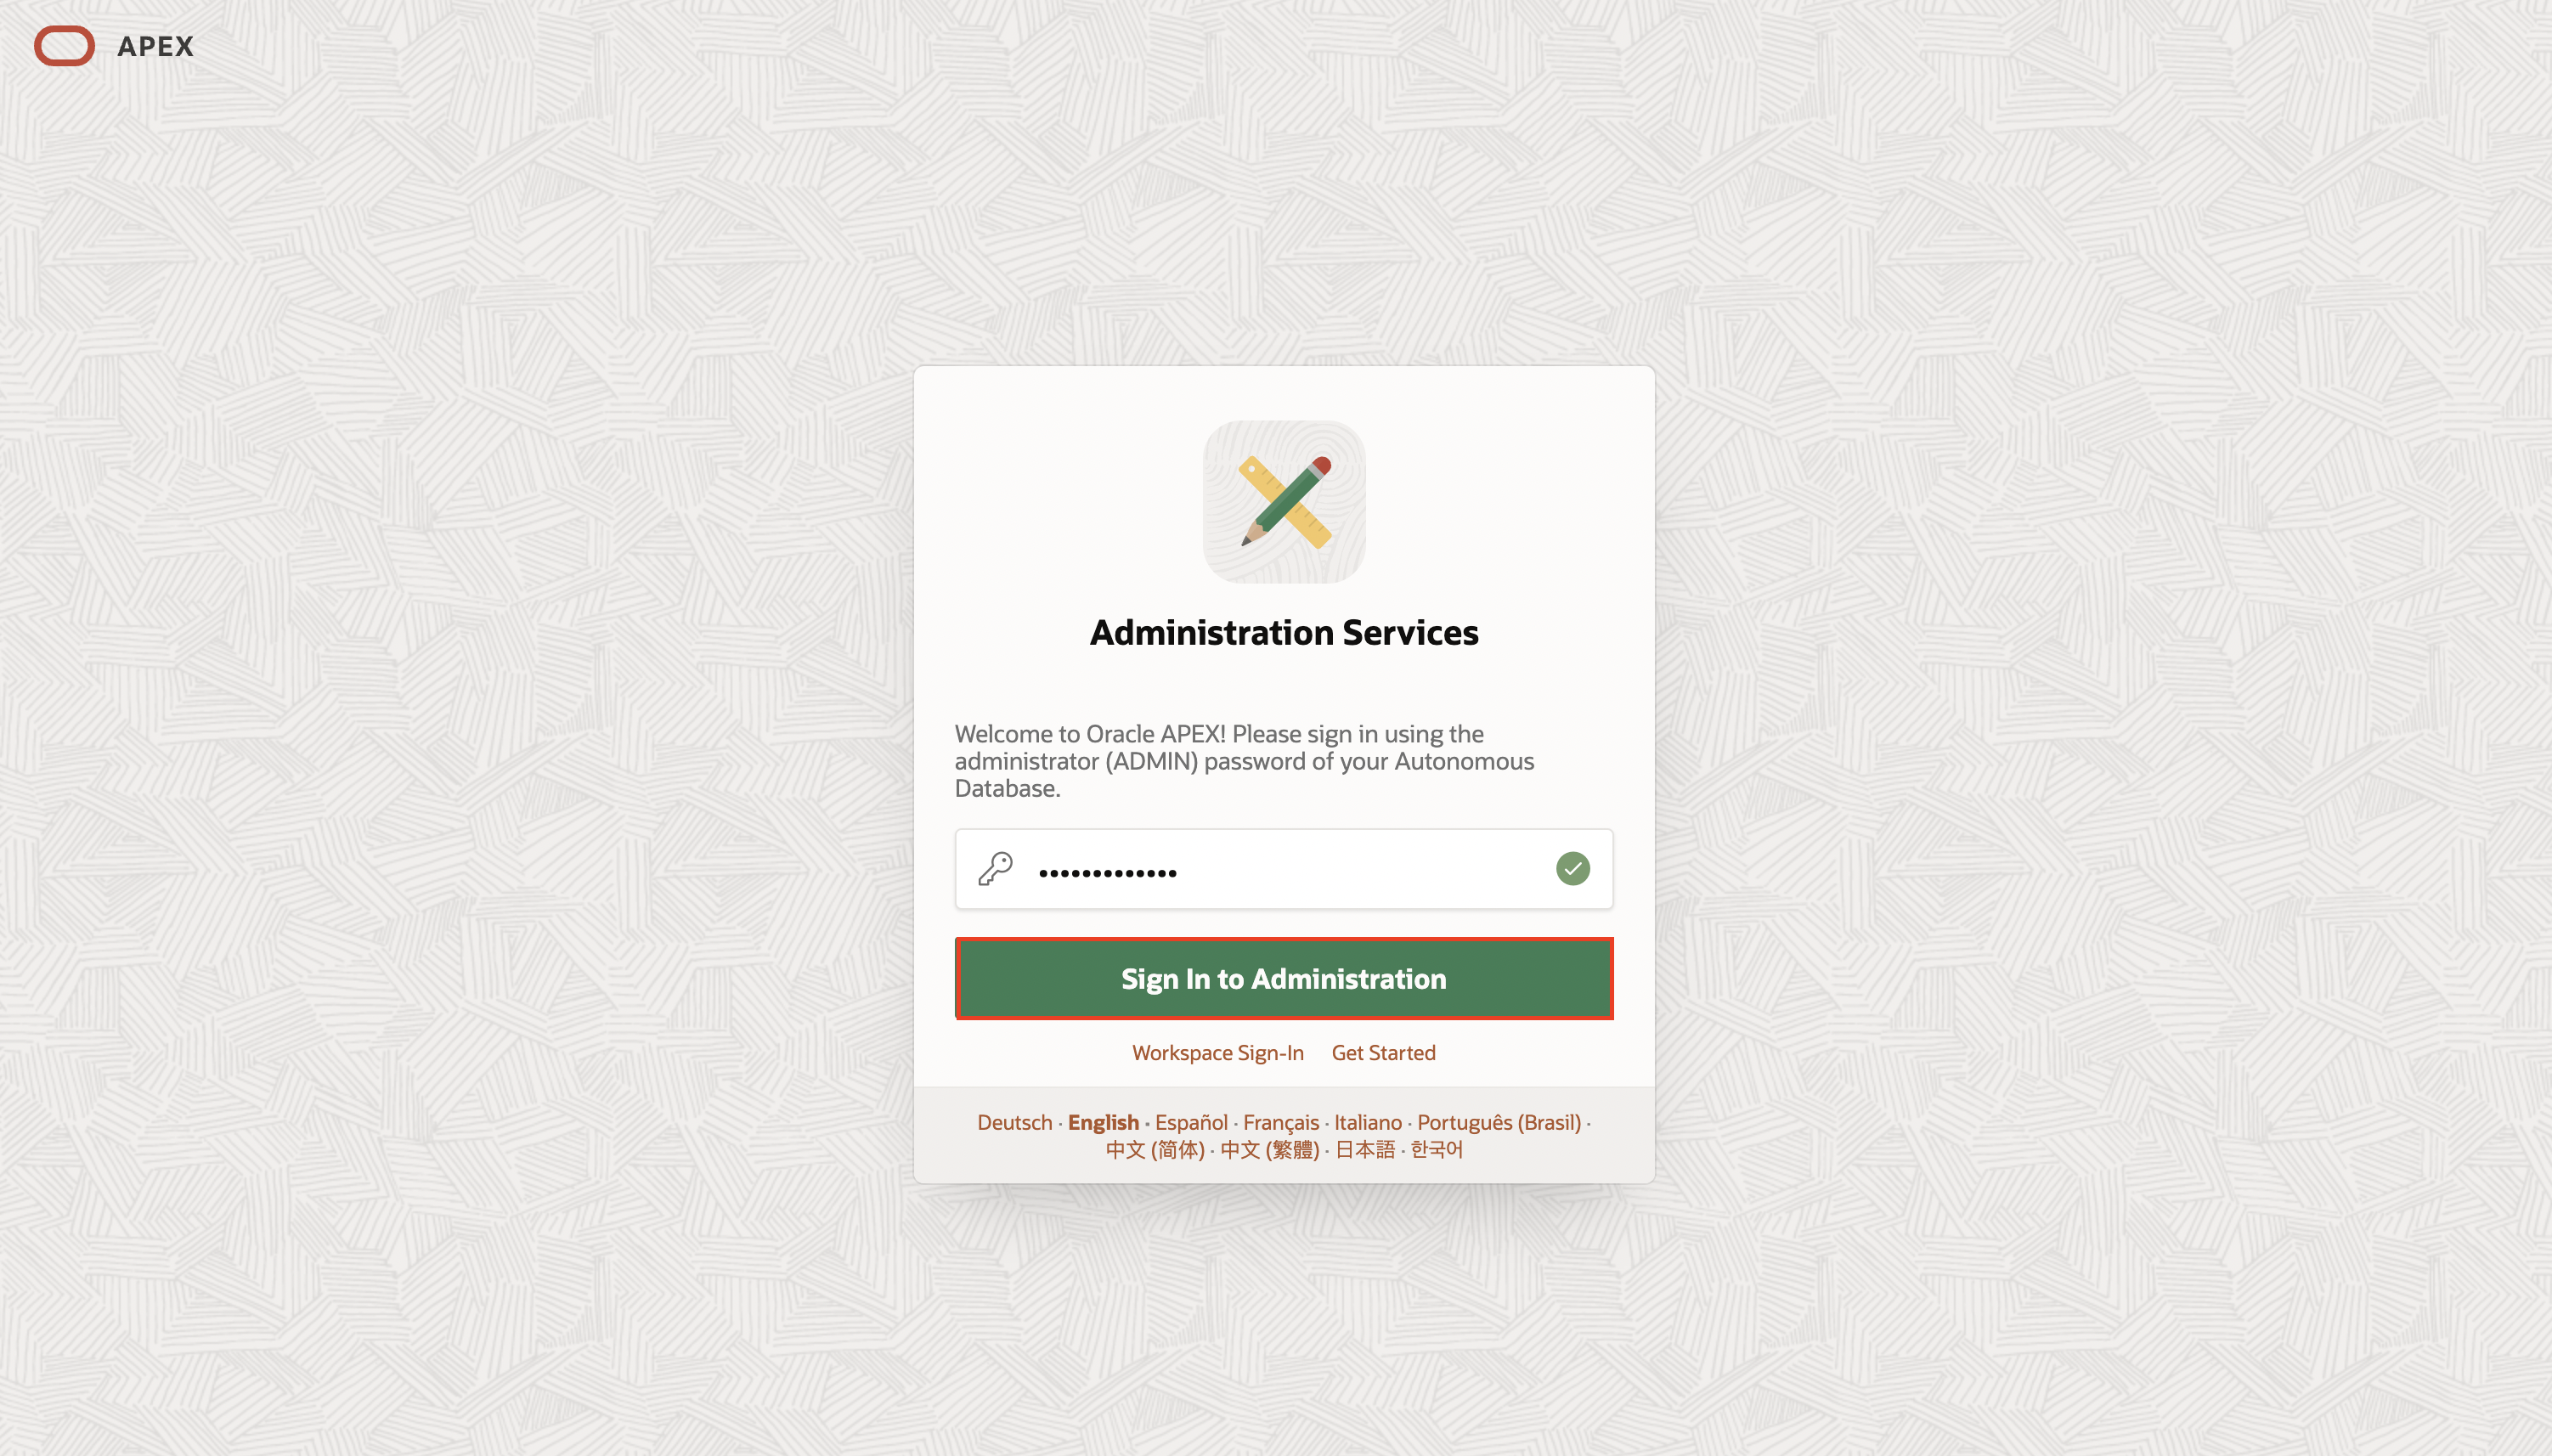
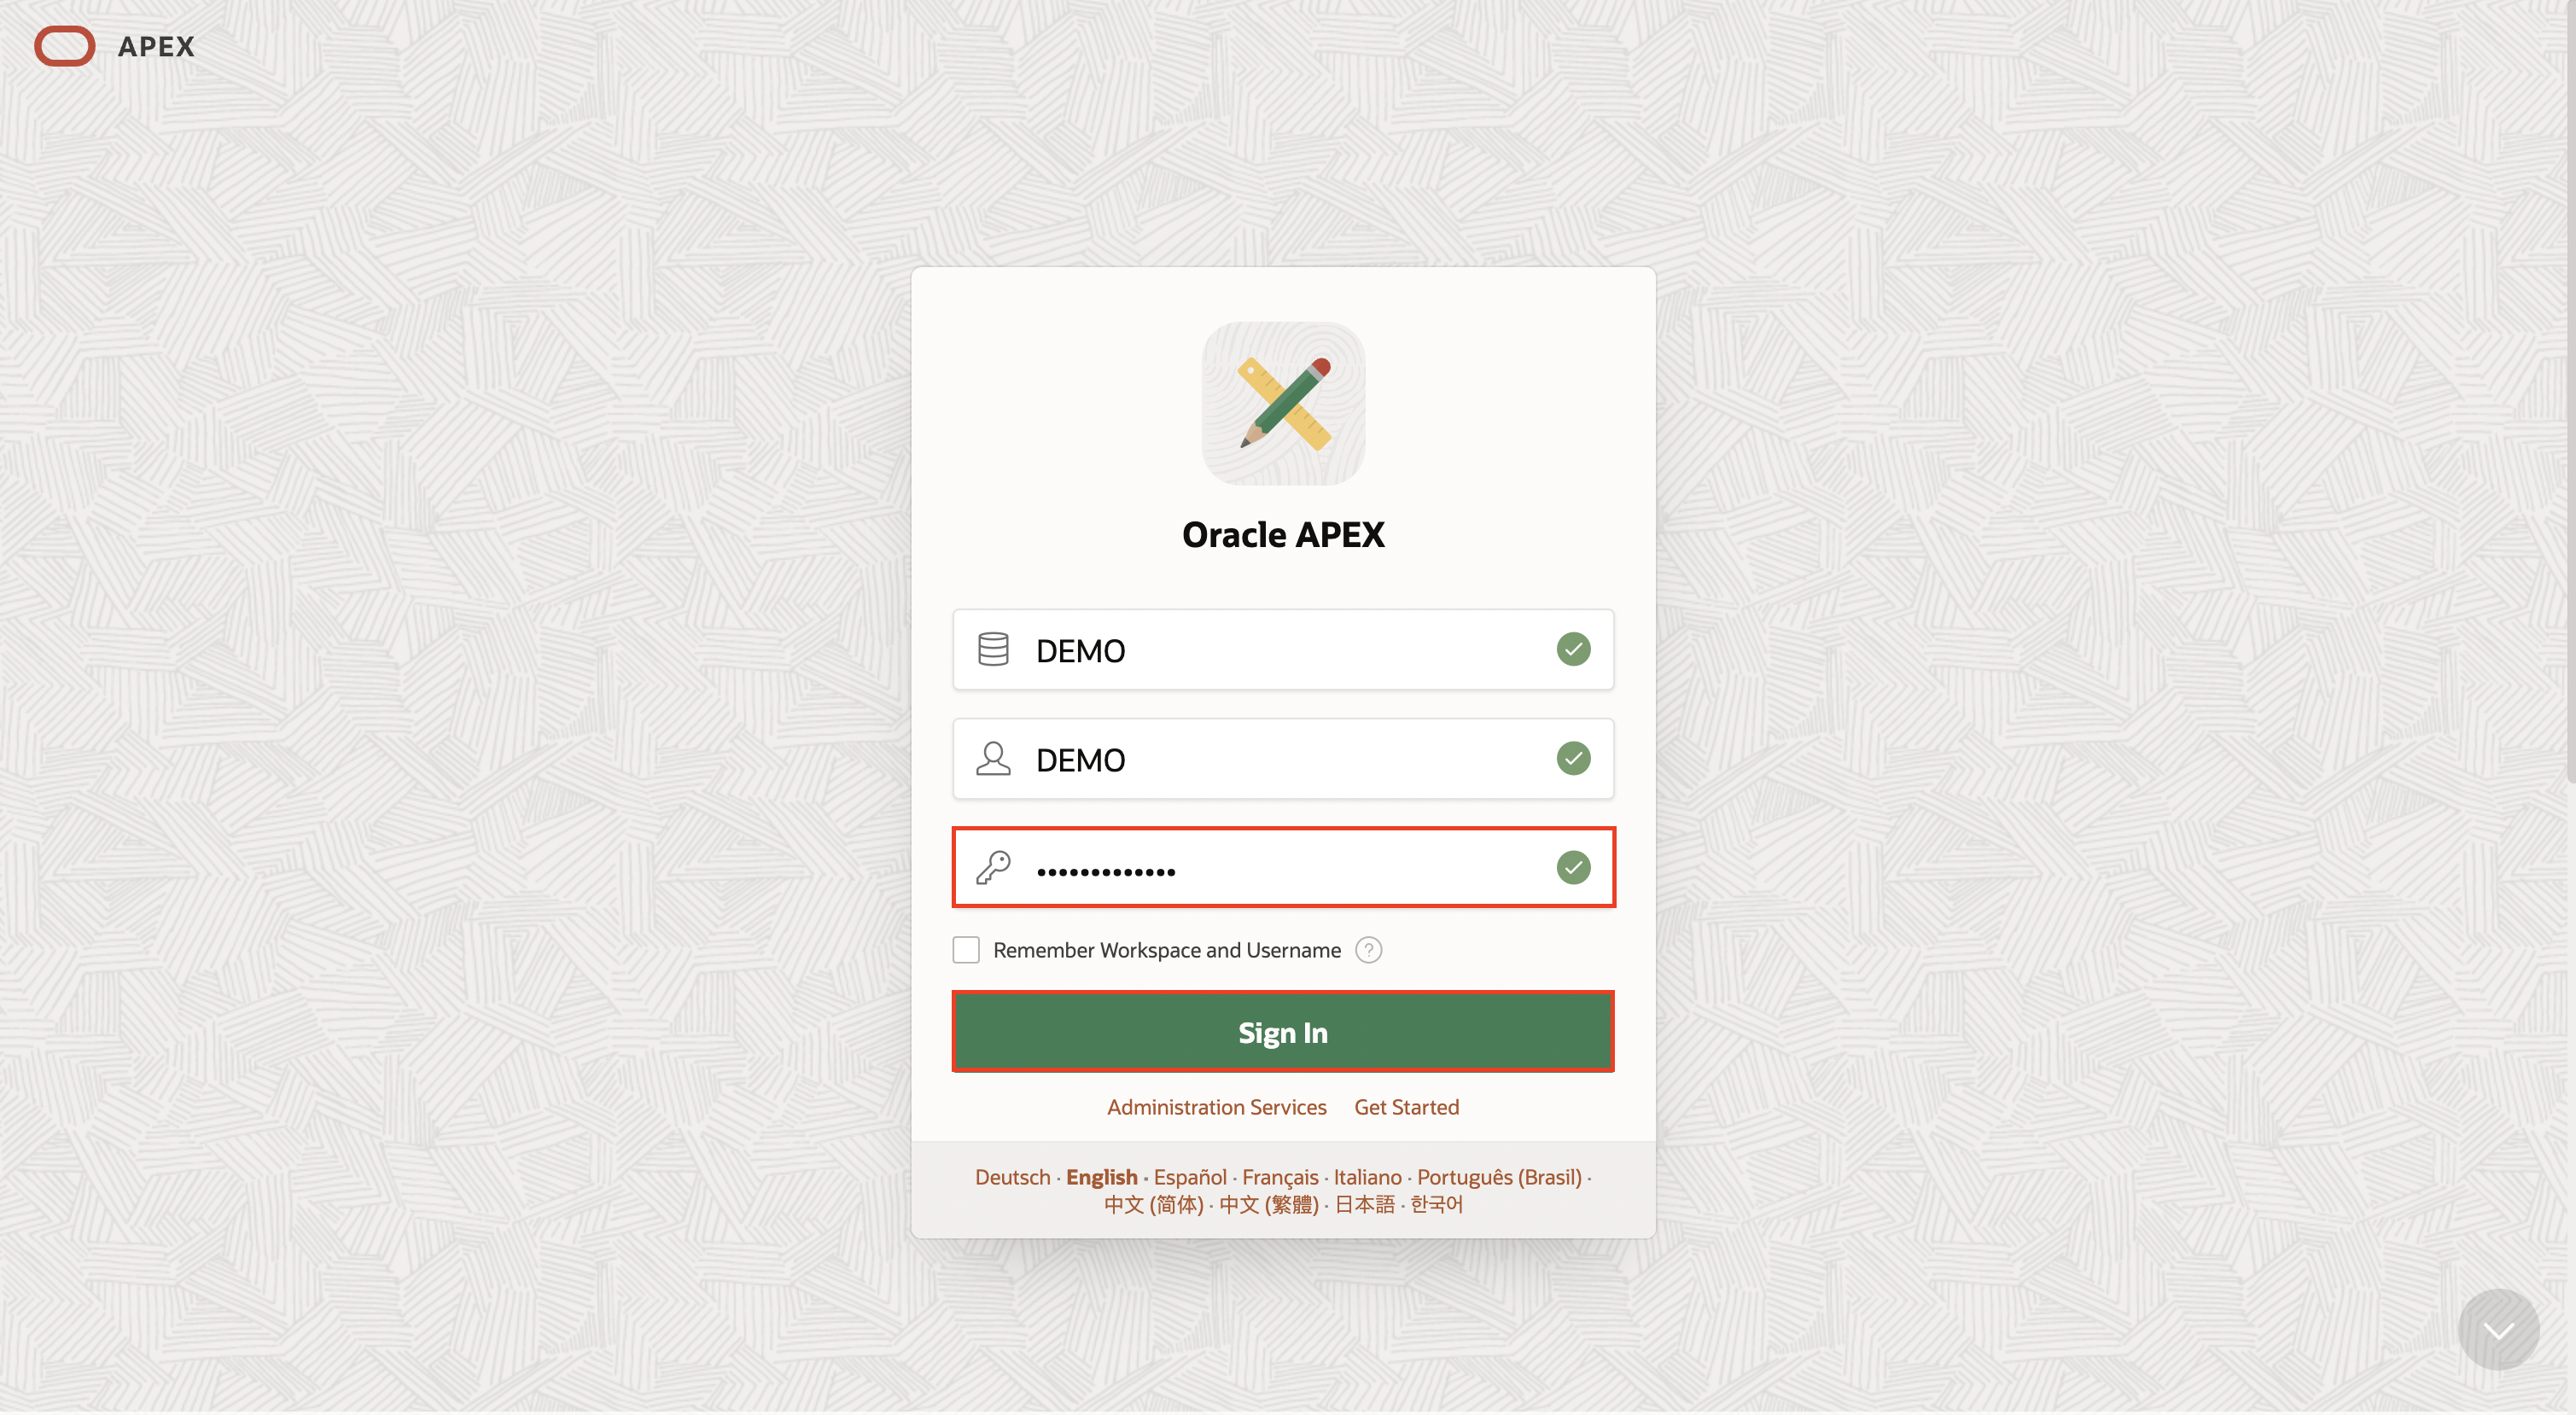
  • Sign in to Oracle APEX. The workspace home page appears. The current release version is displayed in the bottom right corner.

    APEX Home Page

    APEX Release Number

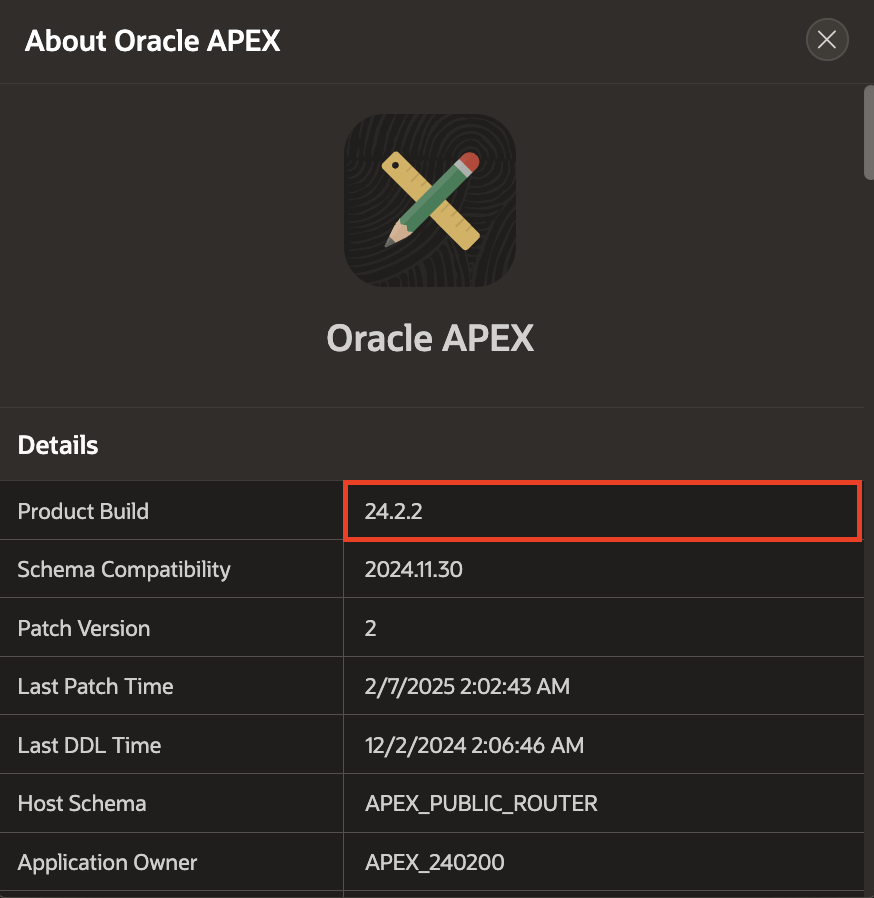
  • View the about APEX page:

  • Sign in to Oracle APEX. The workspace home page appears.

  • Click the help menu at the top of the page and select About. The about APEX page appears.

    APEX Details

Where to Run the Lab

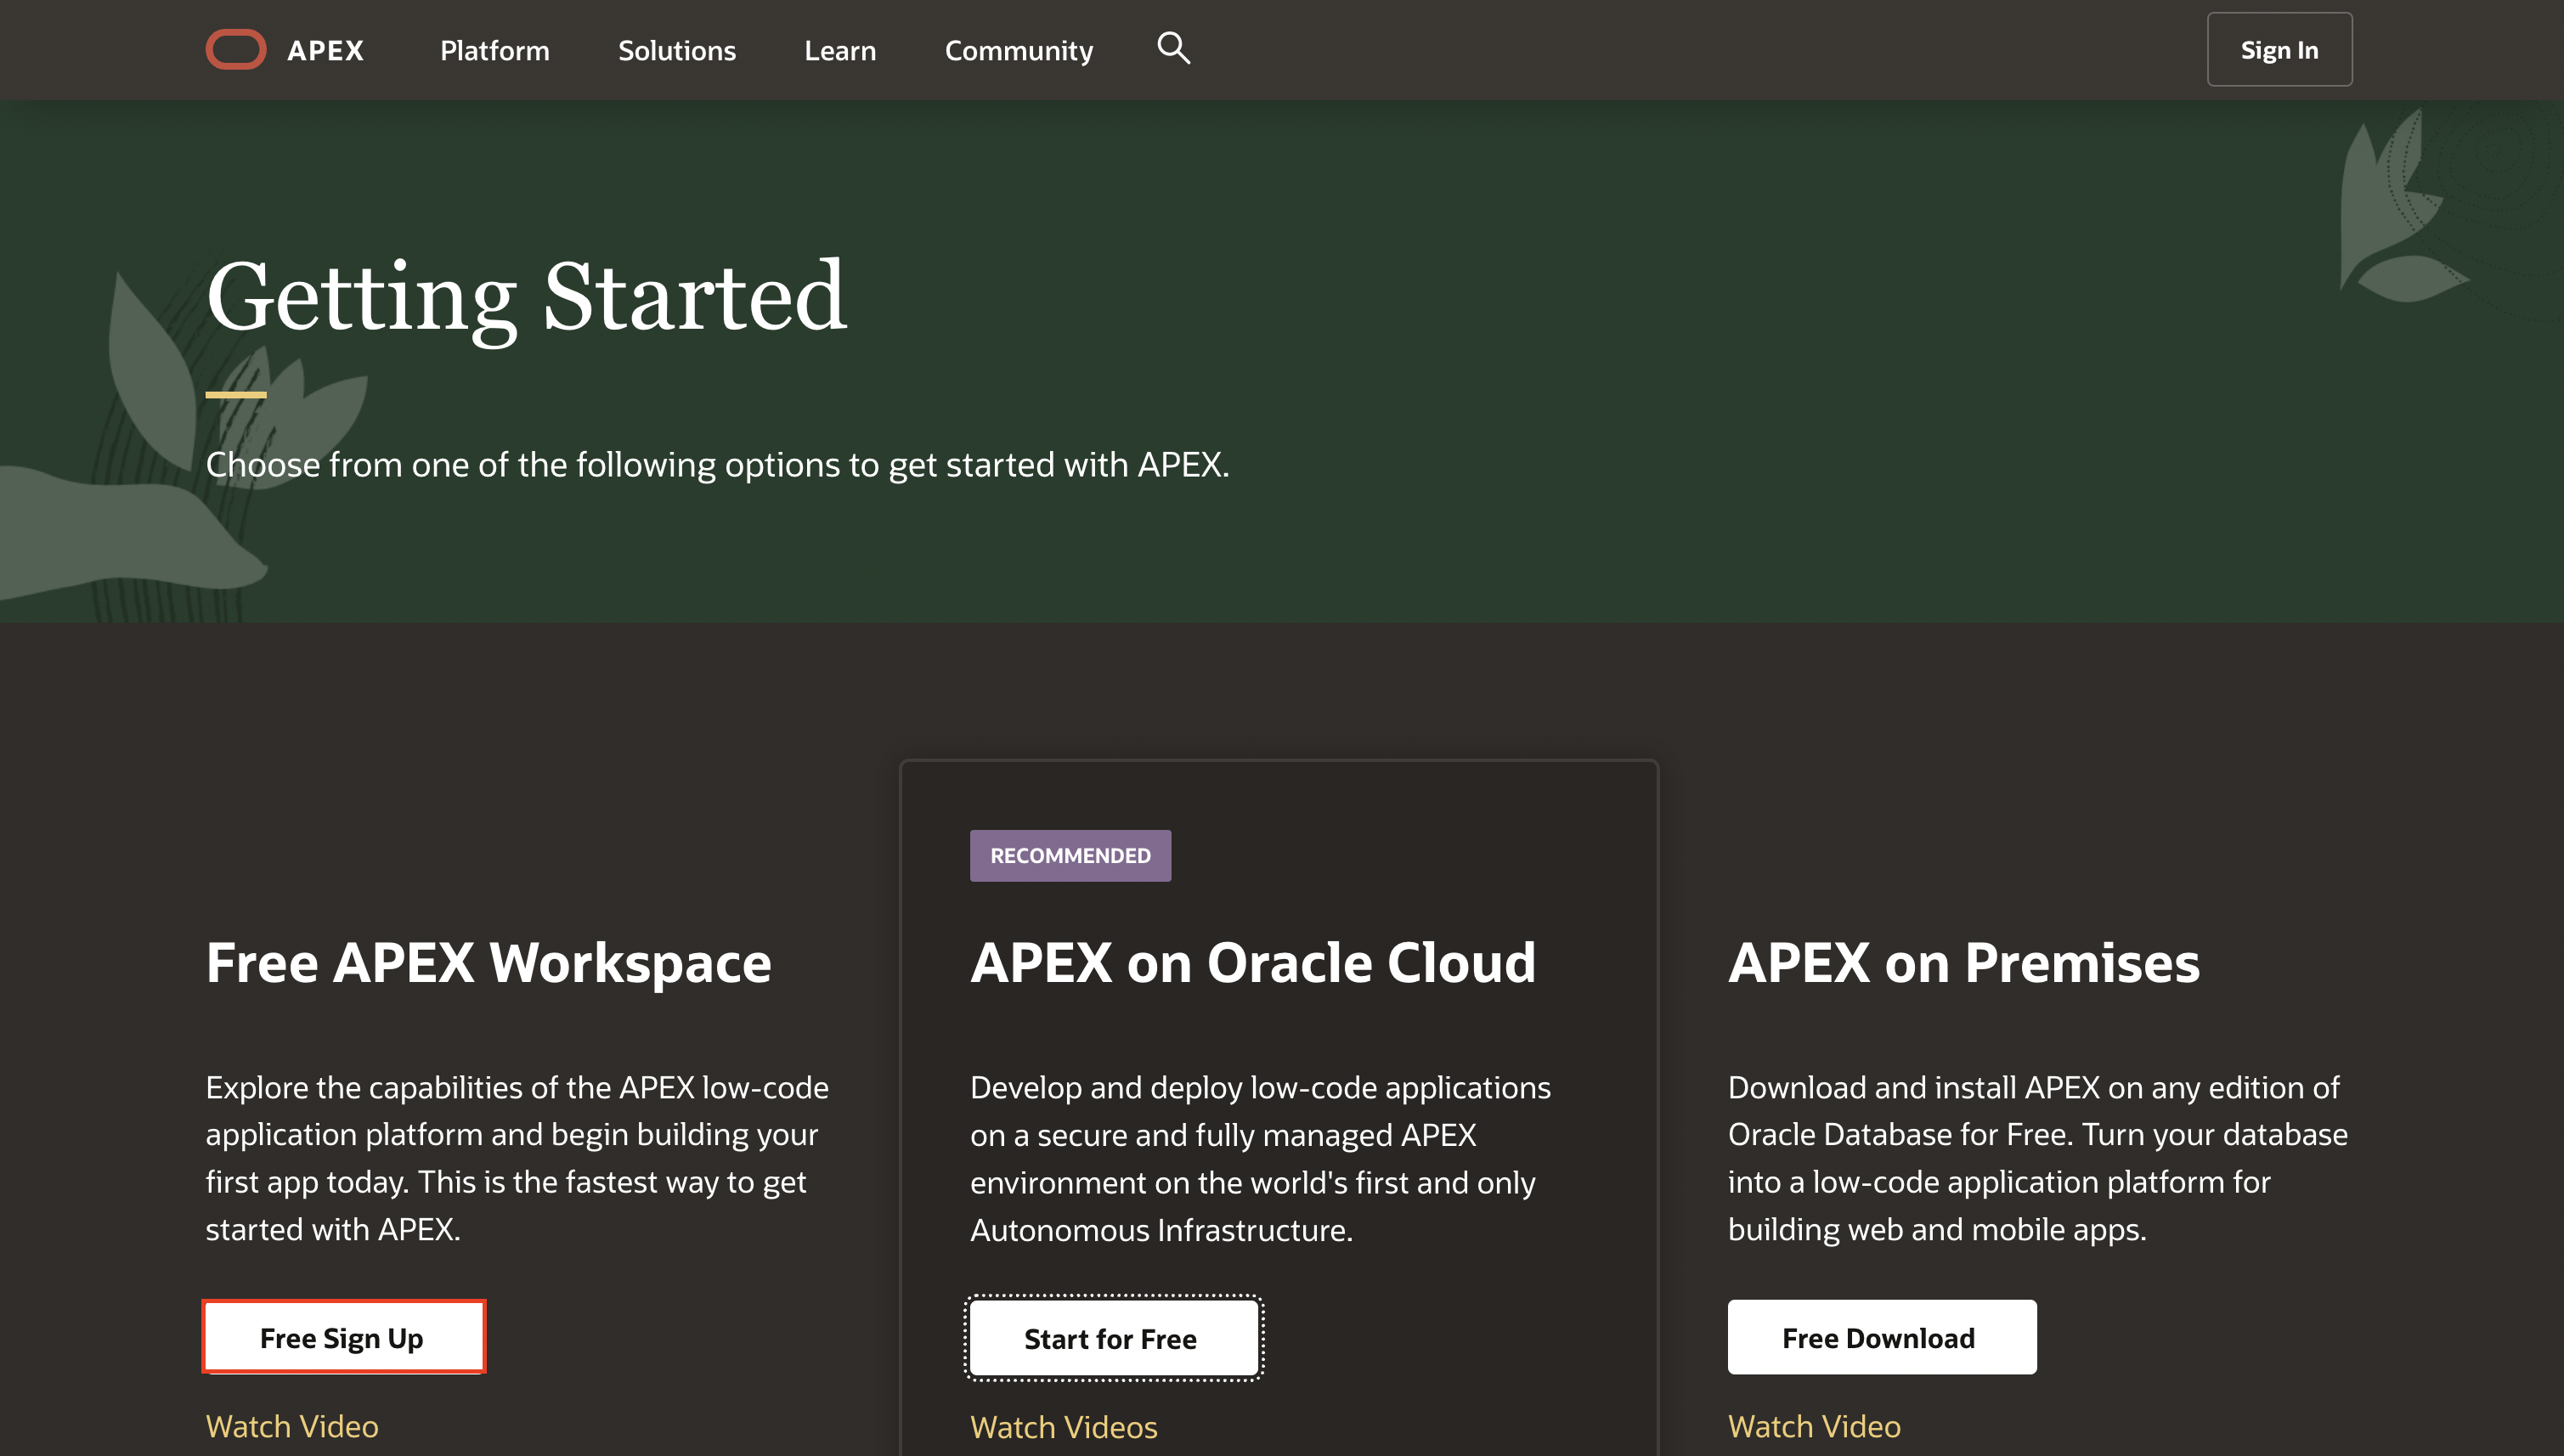
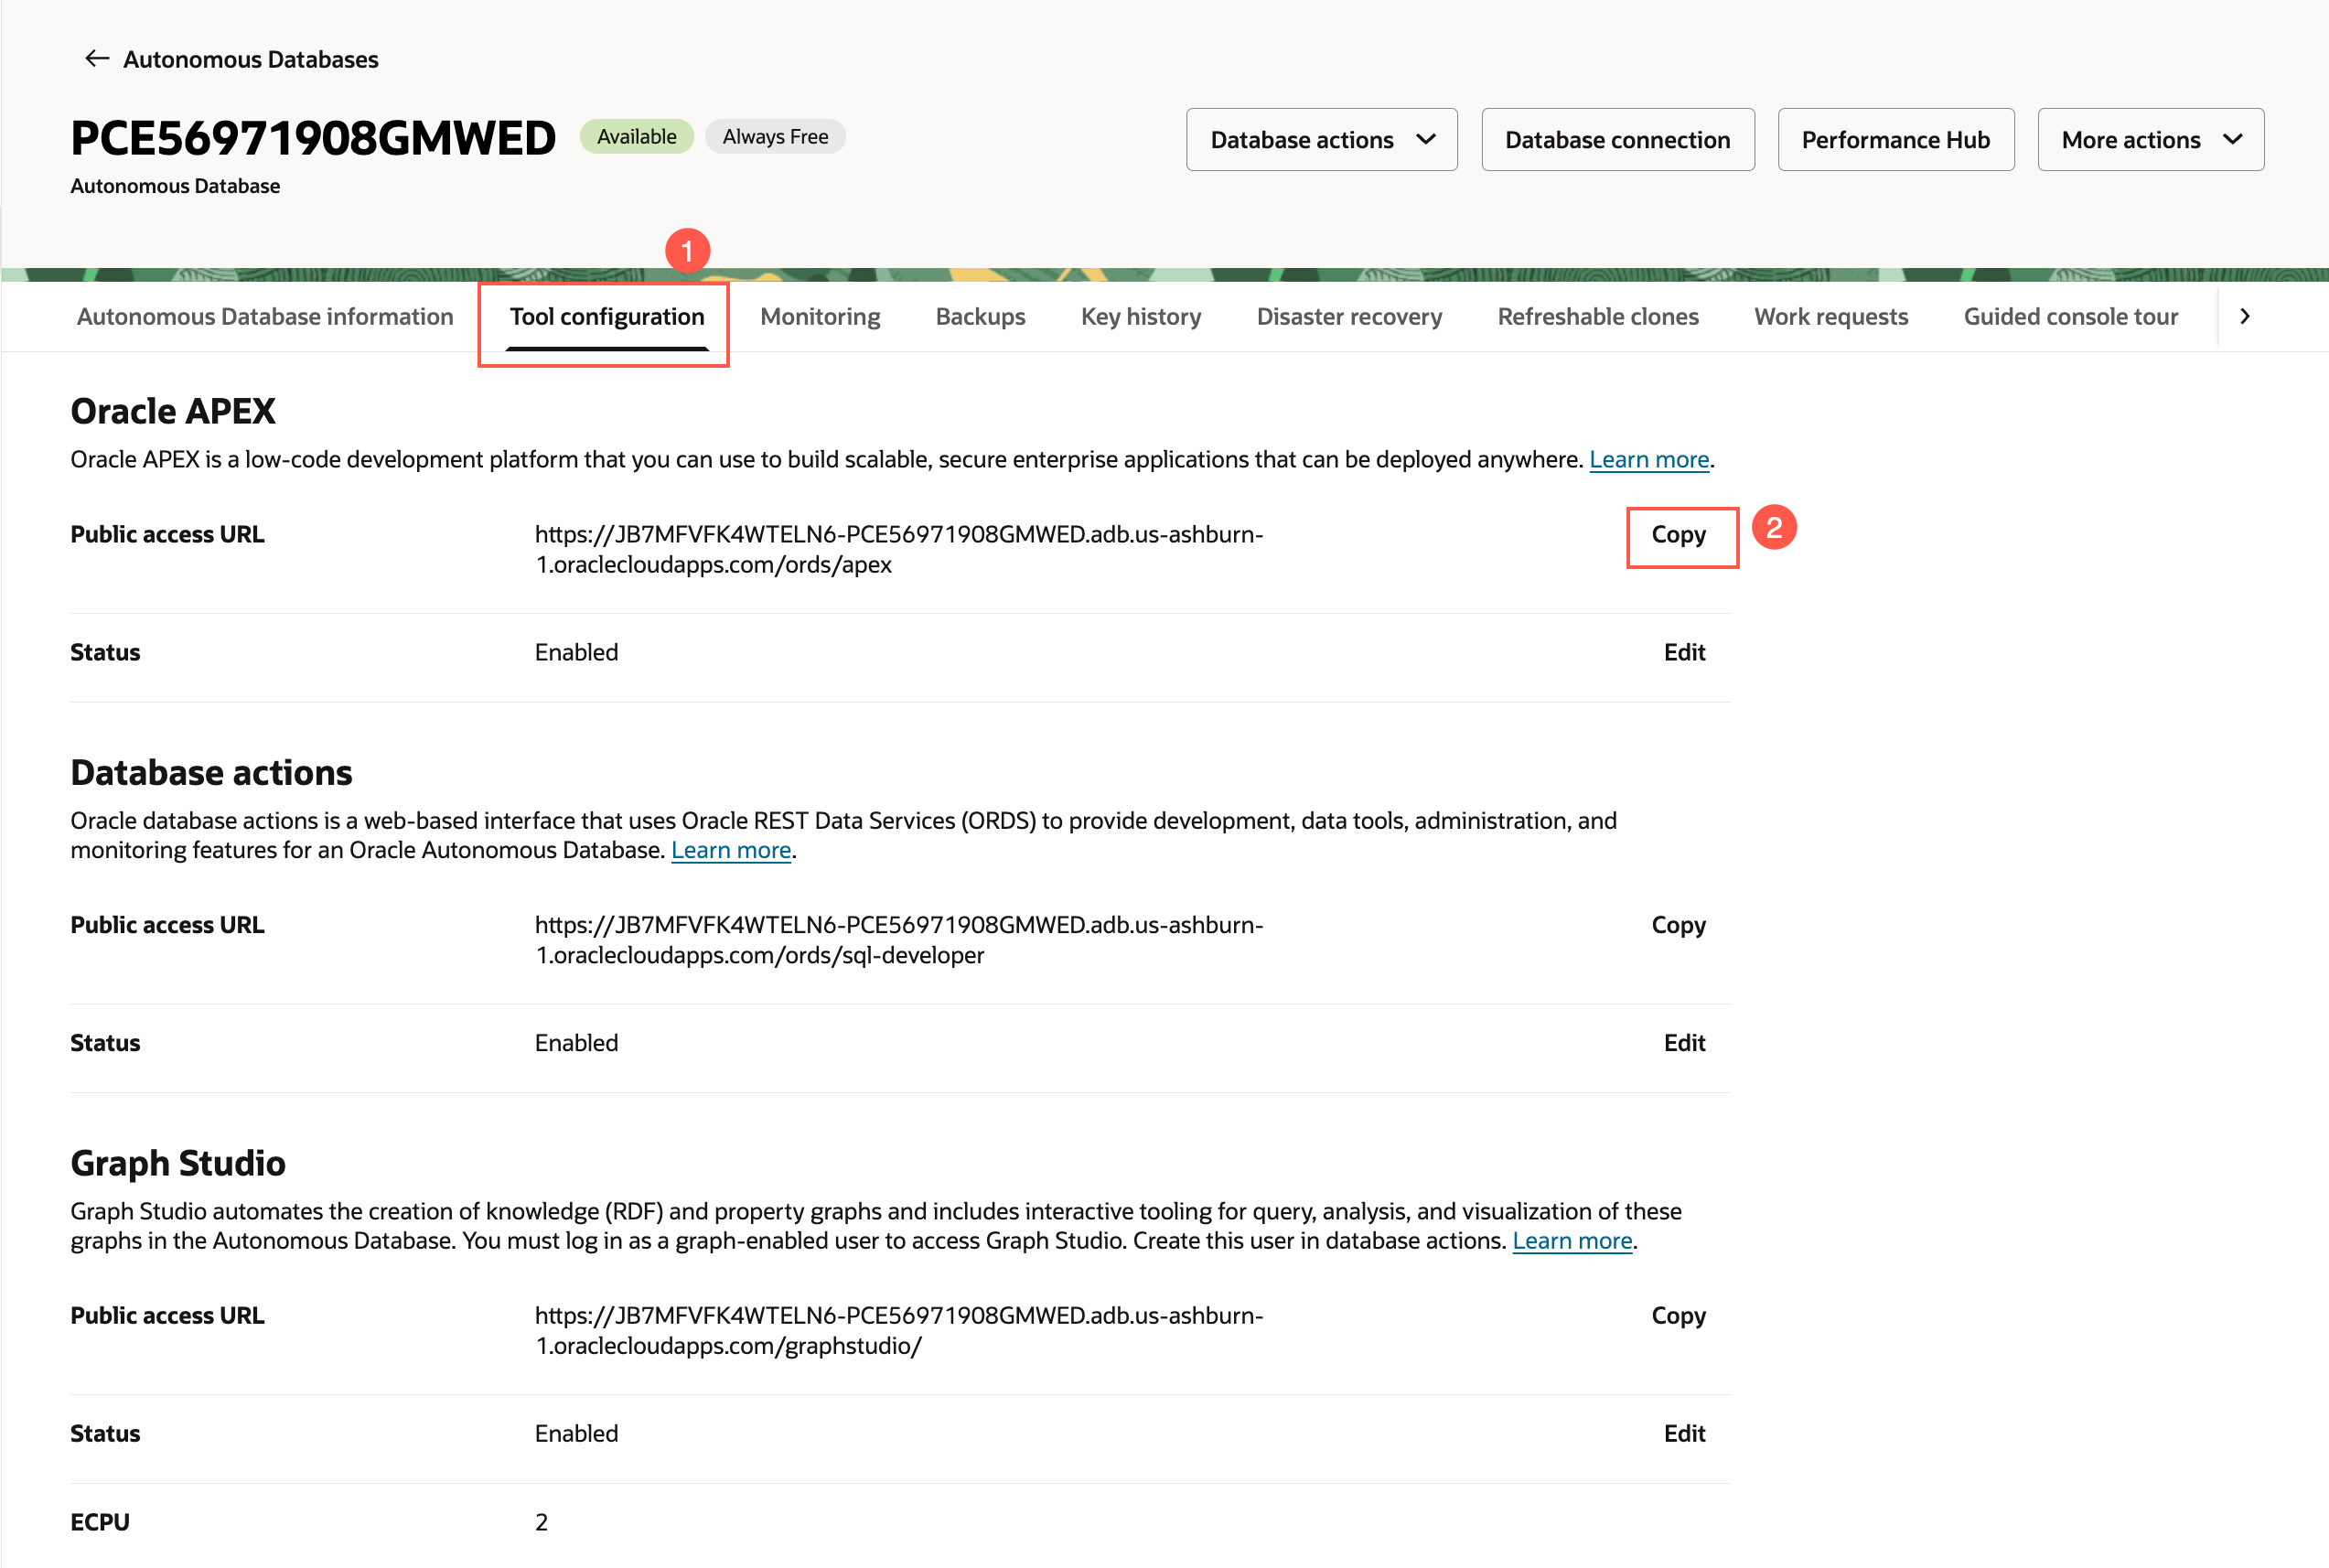
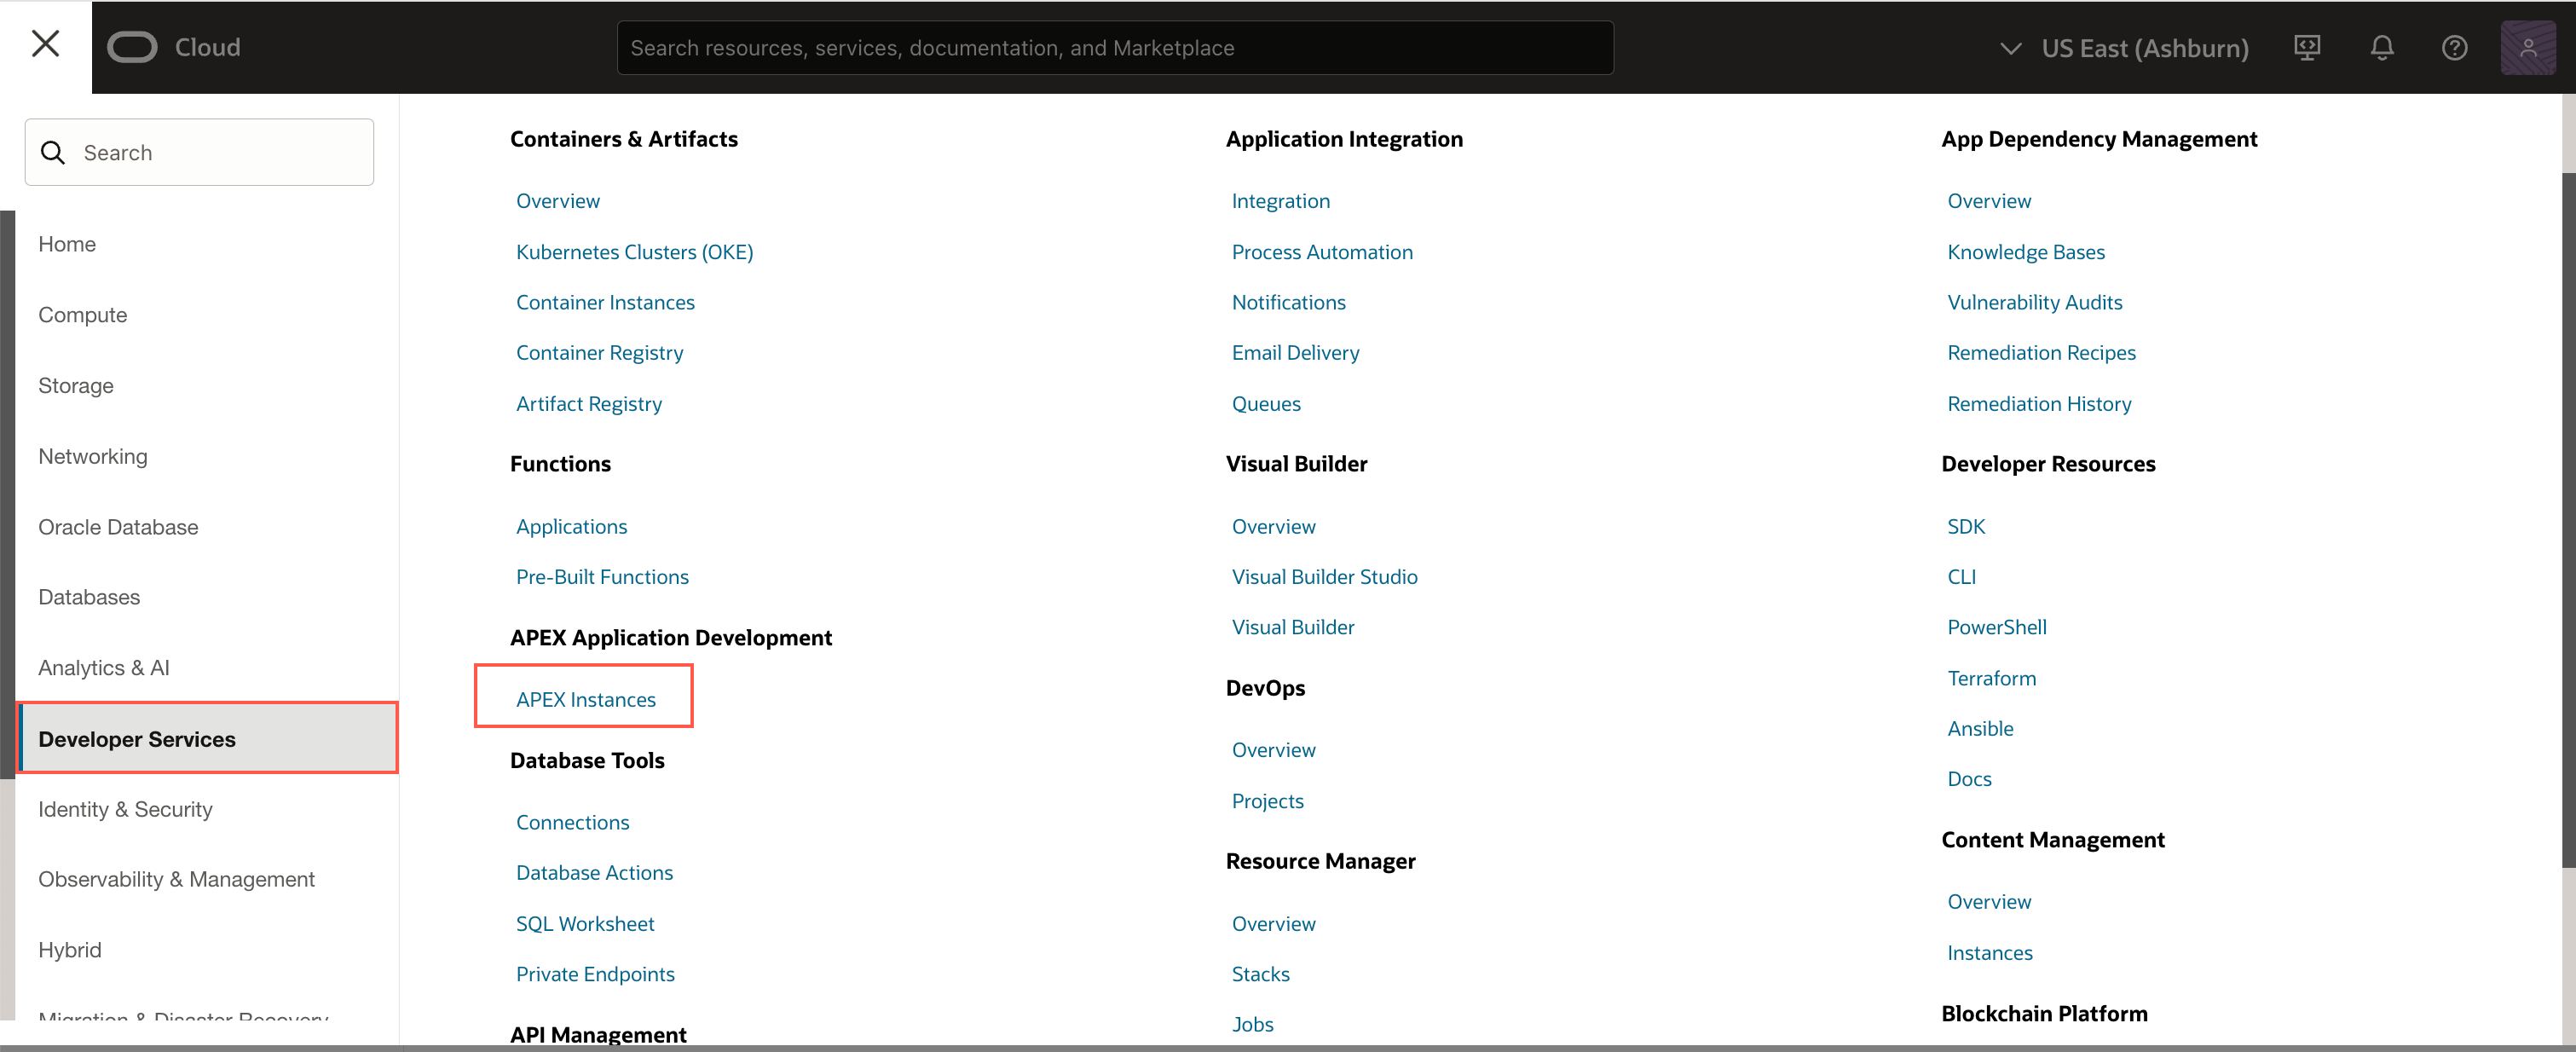
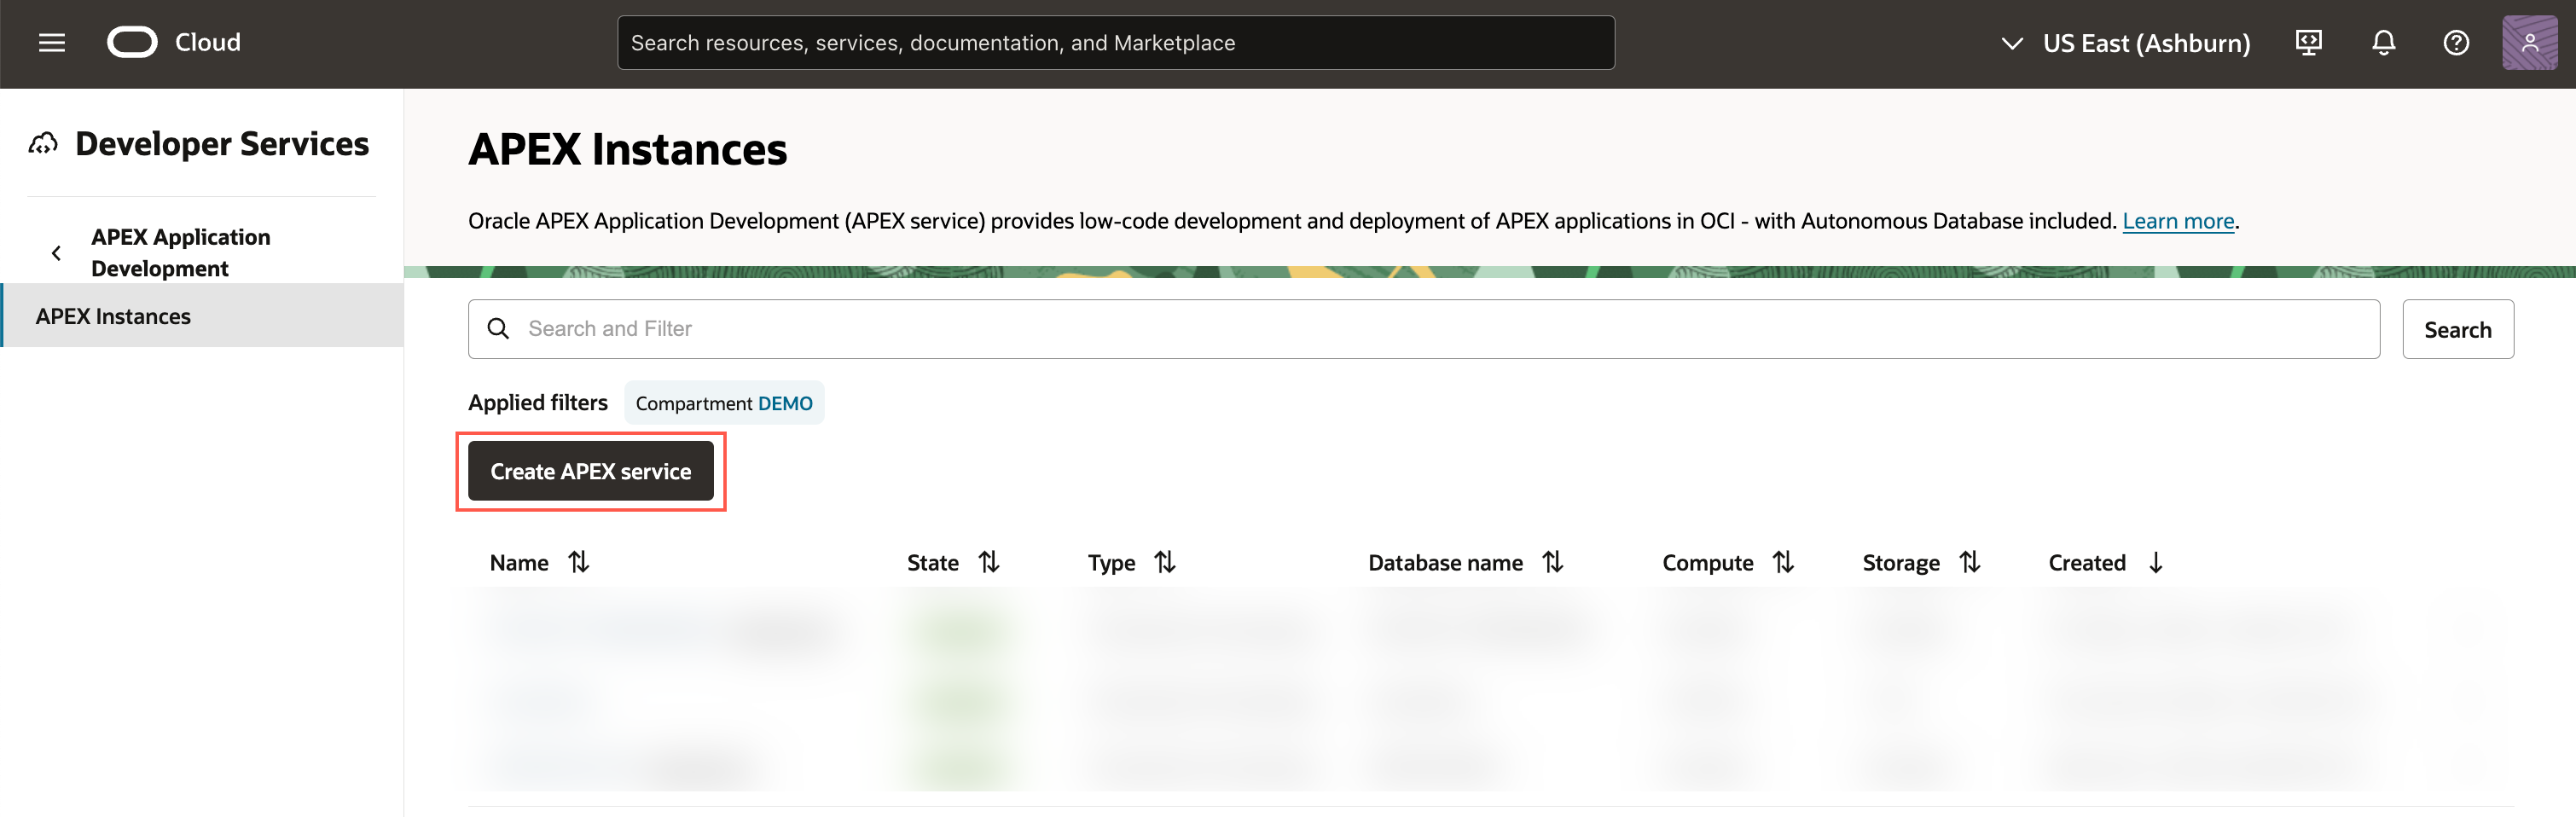
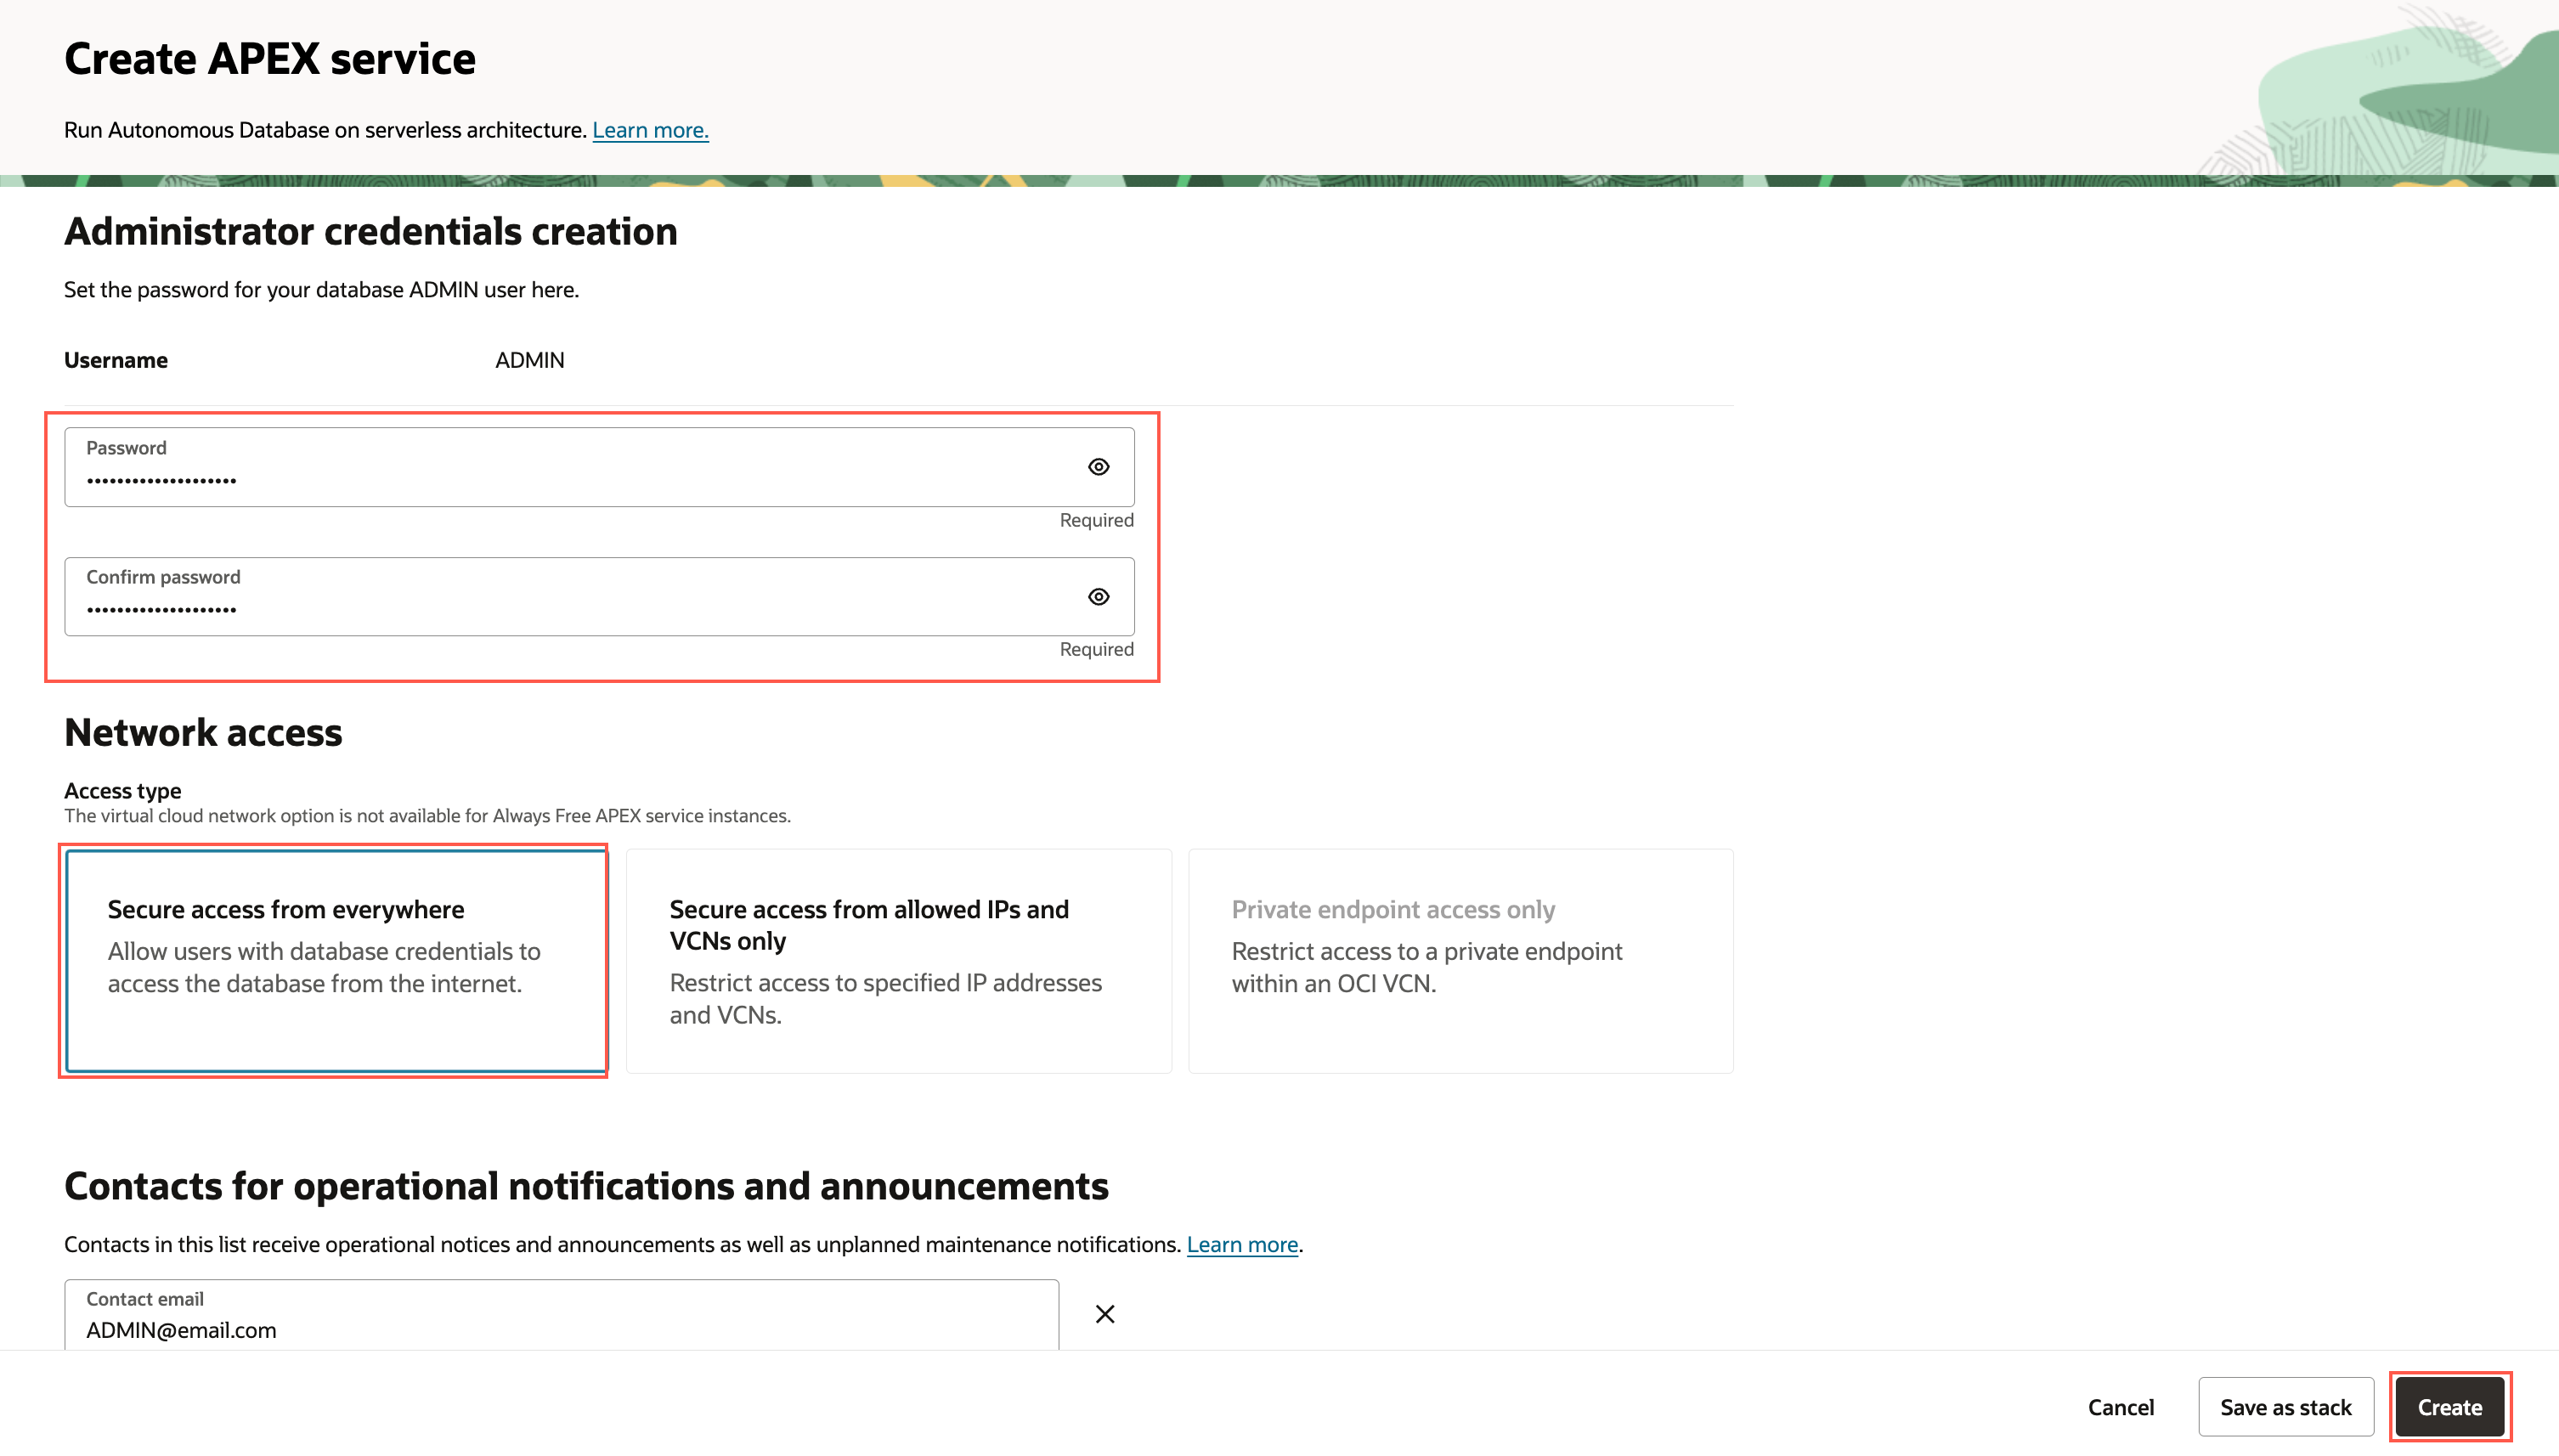
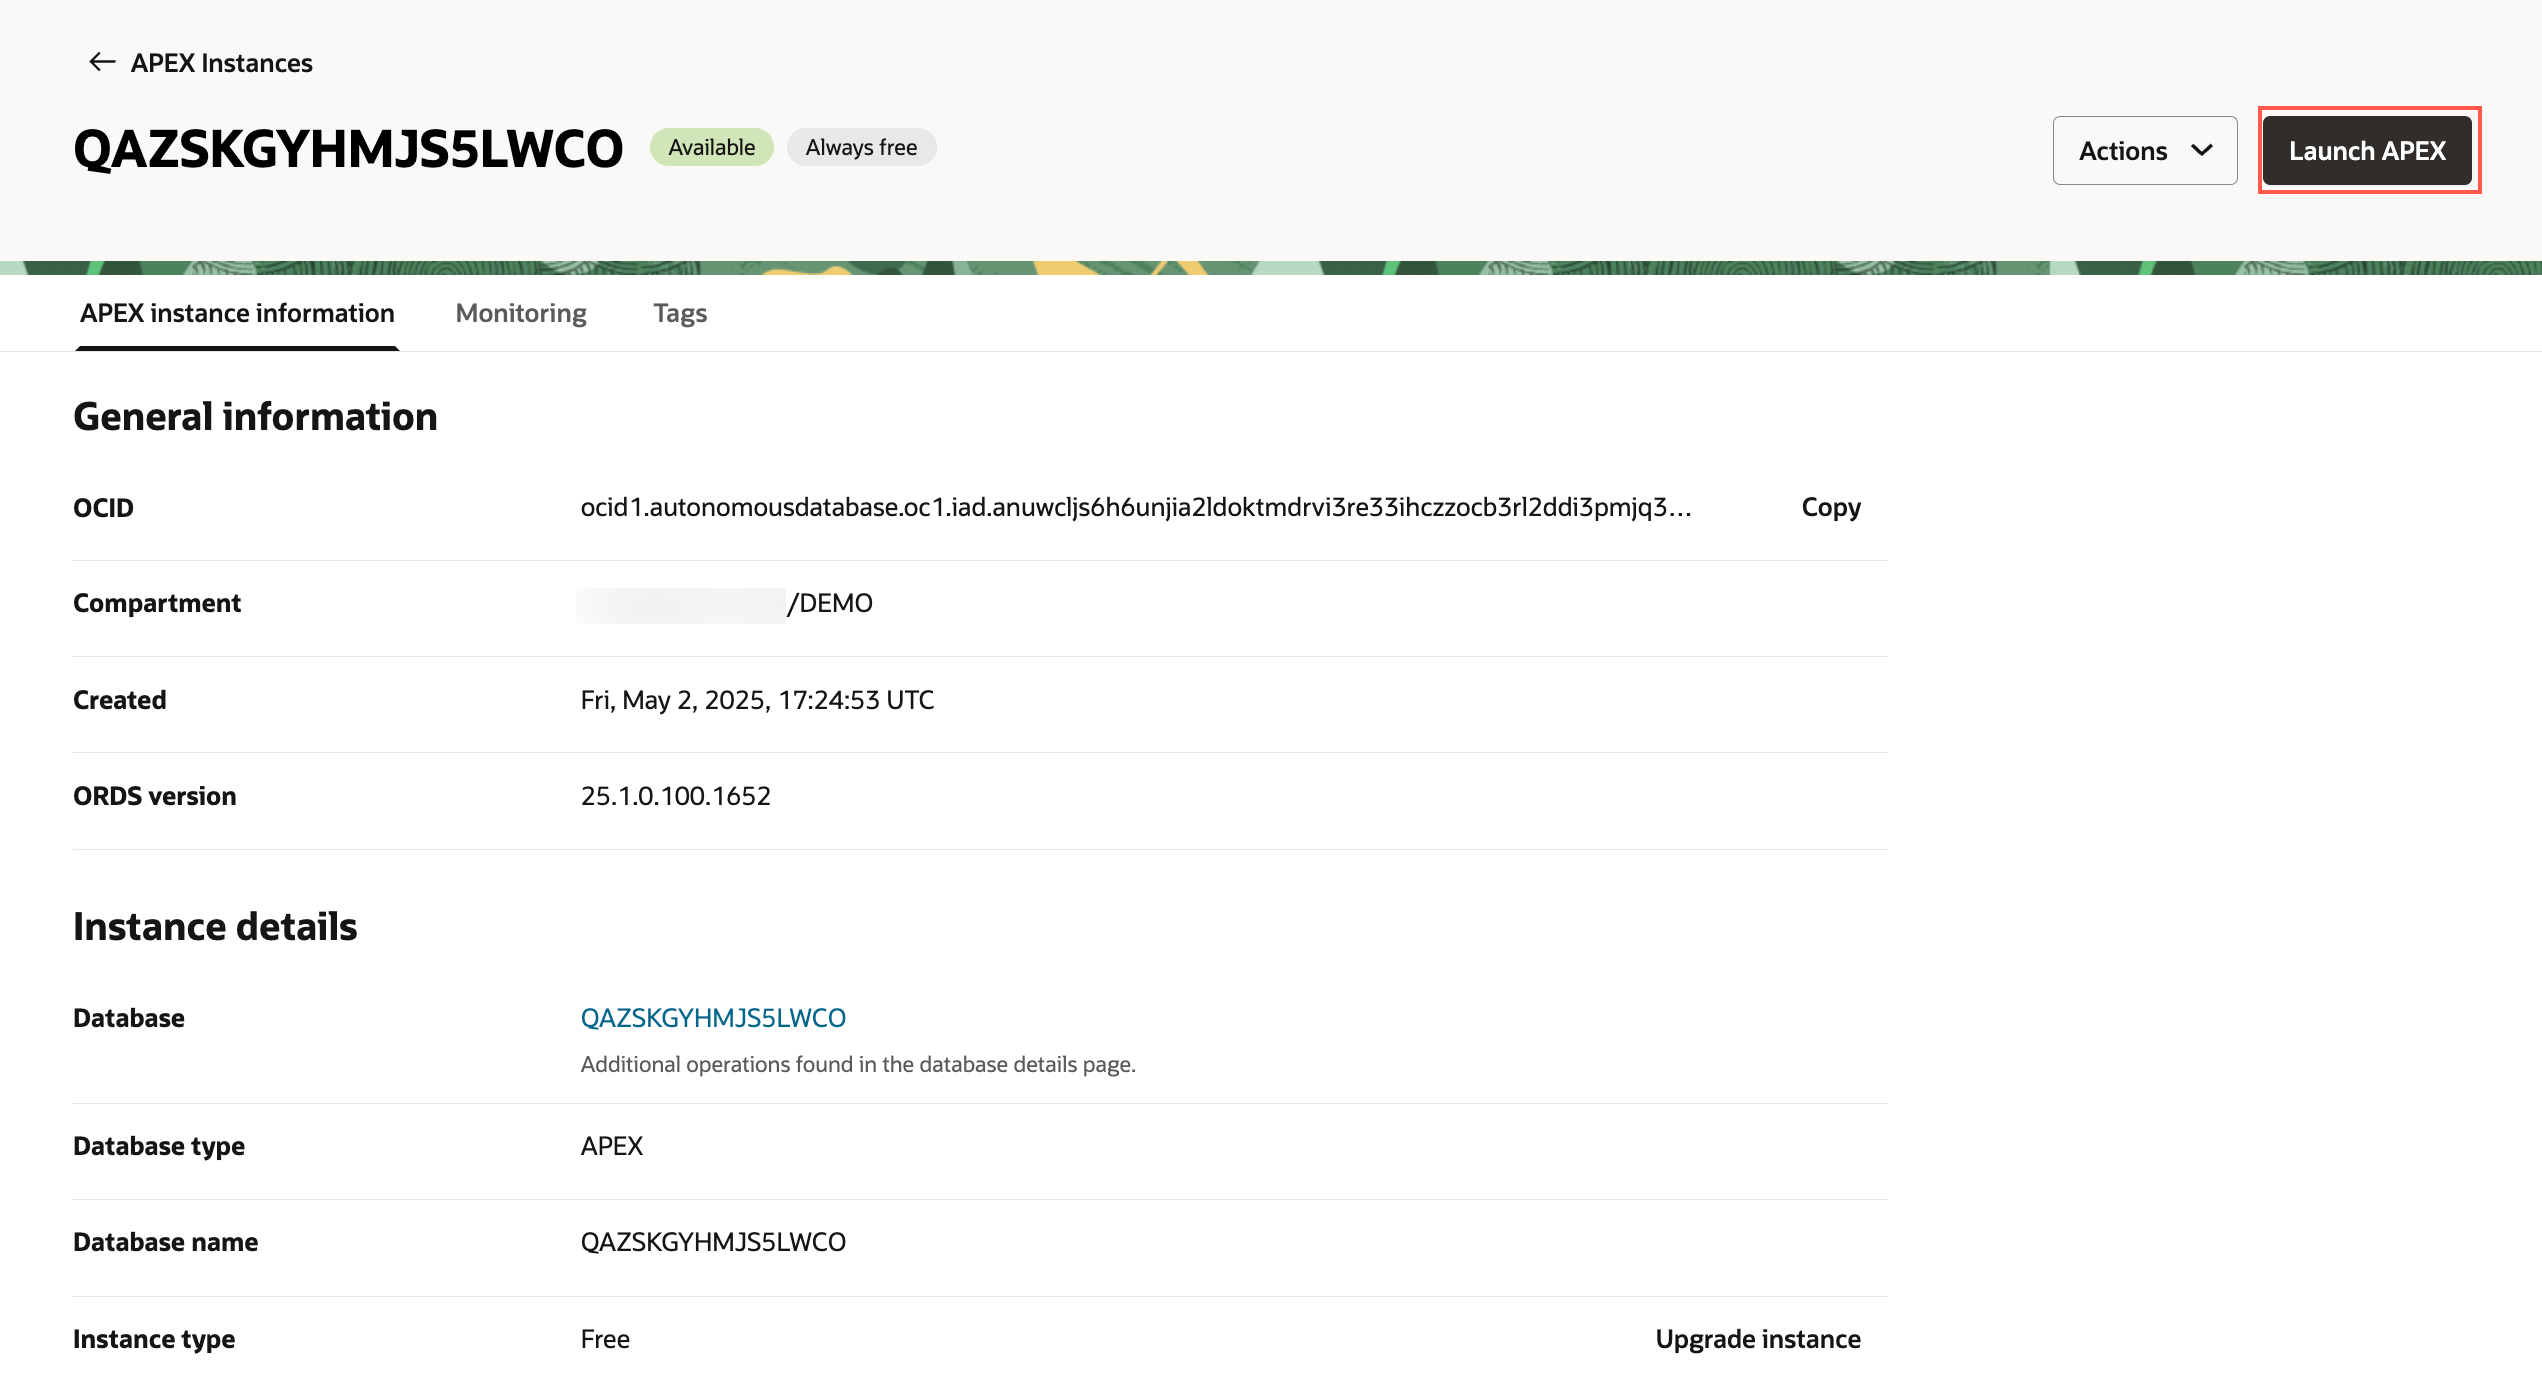
You can run this lab in any Oracle Database with APEX 24.2 installed. This includes the APEX Application Development Service, the free, "Development Only" apex.oracle.com service, your on-premises Oracle Database (providing APEX 24.2 is installed), on a third-party cloud provider where APEX 24.2 is installed, or even on your laptop by installing Oracle XE or Oracle VirtualBox App Dev VM and installing APEX 24.2.

Below are steps on how to sign up for an APEX Application Development Service, or for an Oracle Autonomous Database cloud service or apex.oracle.com service.

  • On the other hand, apex.oracle.com is also a free service; however, it is only designated for development purposes, and running production apps is not allowed. For conducting labs in this workshop, any of these options can be utilized.

  • The Oracle Autonomous Database option is ideal for learning about the Oracle Database and APEX, and it comes with a minimum of 1 OCPU and 1 TB of storage and can be extended as needed. This service can also be utilized for production applications.

  • The APEX Application Development Service is excellent if you would like to go with a flexible paid option that allows concentrating your efforts on APEX development without worrying about database management. It provides 1 OCPU and 1 TB and can be extended as needed.

Types of Cloud Accounts

We offer two types of Cloud Accounts:

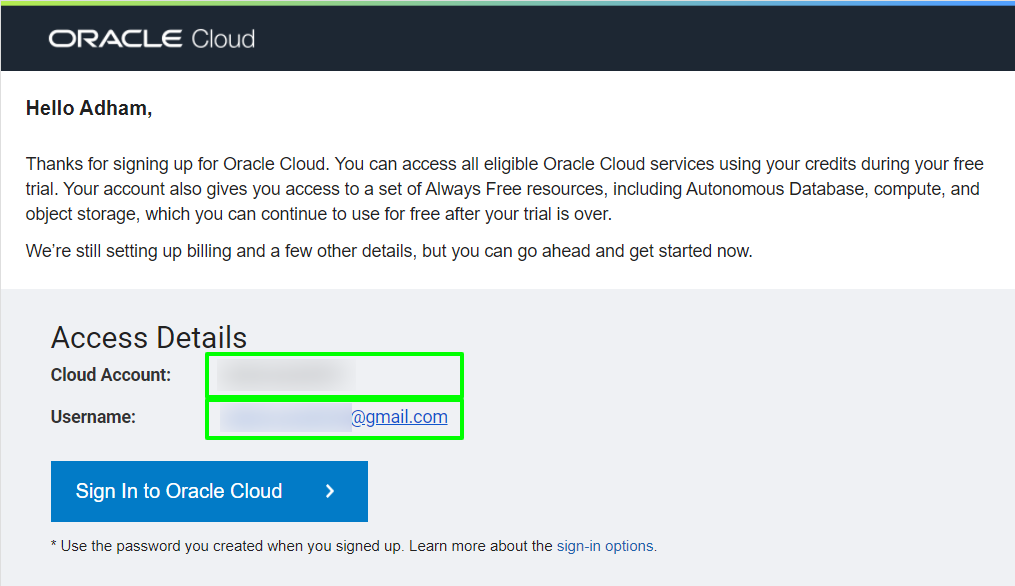
Free Tier Accounts: After you sign up for the free Oracle Cloud promotion or sign up for a paid account, you’ll get a welcome email. The email provides you with your cloud account details and sign-in credentials.

Oracle Cloud Paid Accounts: When your tenancy is provisioned, Oracle sends an email to the default administrator at your company with the sign-in credentials and URL. This administrator can create a user for each person who needs access to the Oracle Cloud. Check your email or contact your administrator for your credentials and account name.

Objectives

  • Learn how to login to your Oracle Cloud Account

Prerequisites

  • Cloud account access is required but not mandatory.
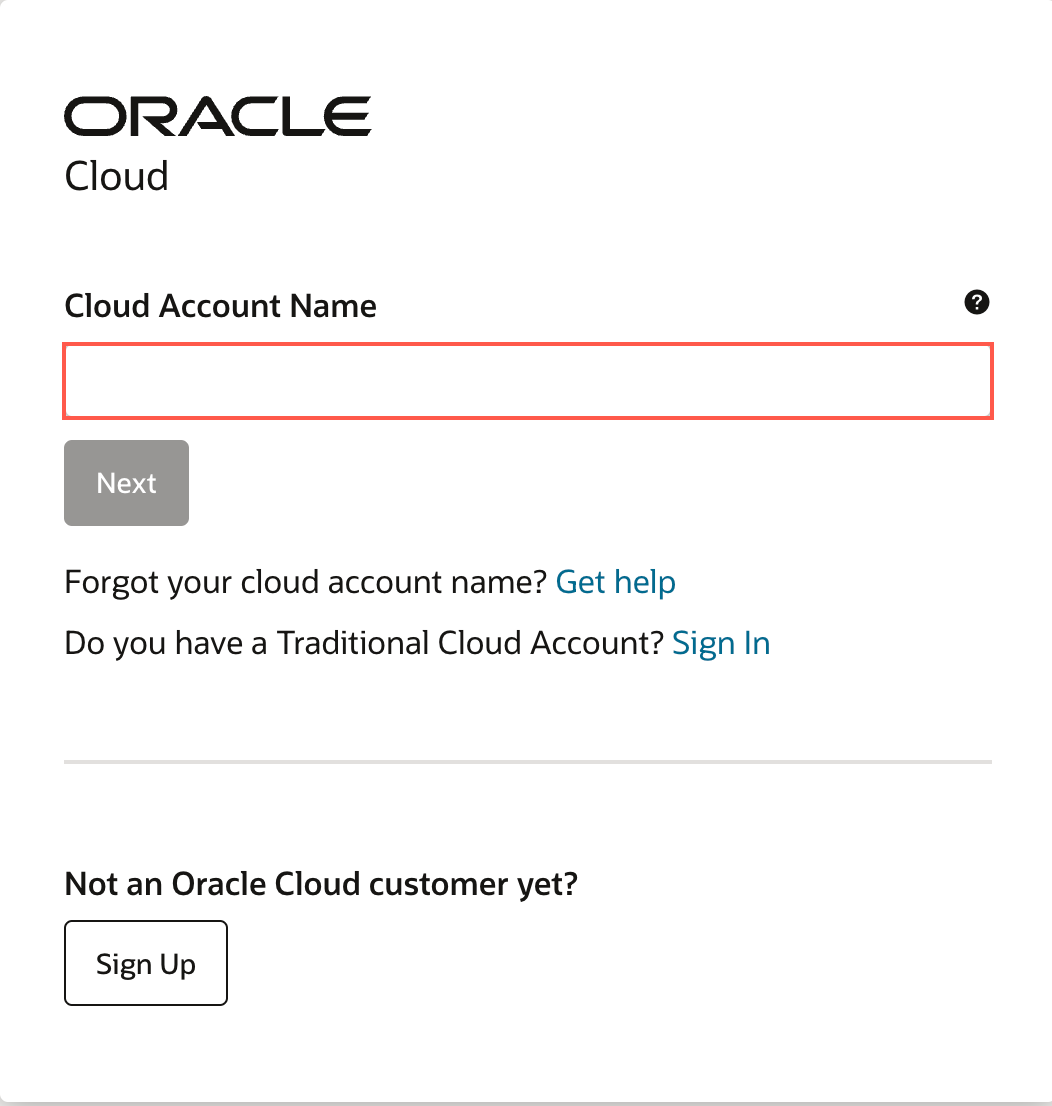
  • Cloud Account Name - The name of your tenancy (supplied by the administrator or in your Oracle Cloud welcome email).
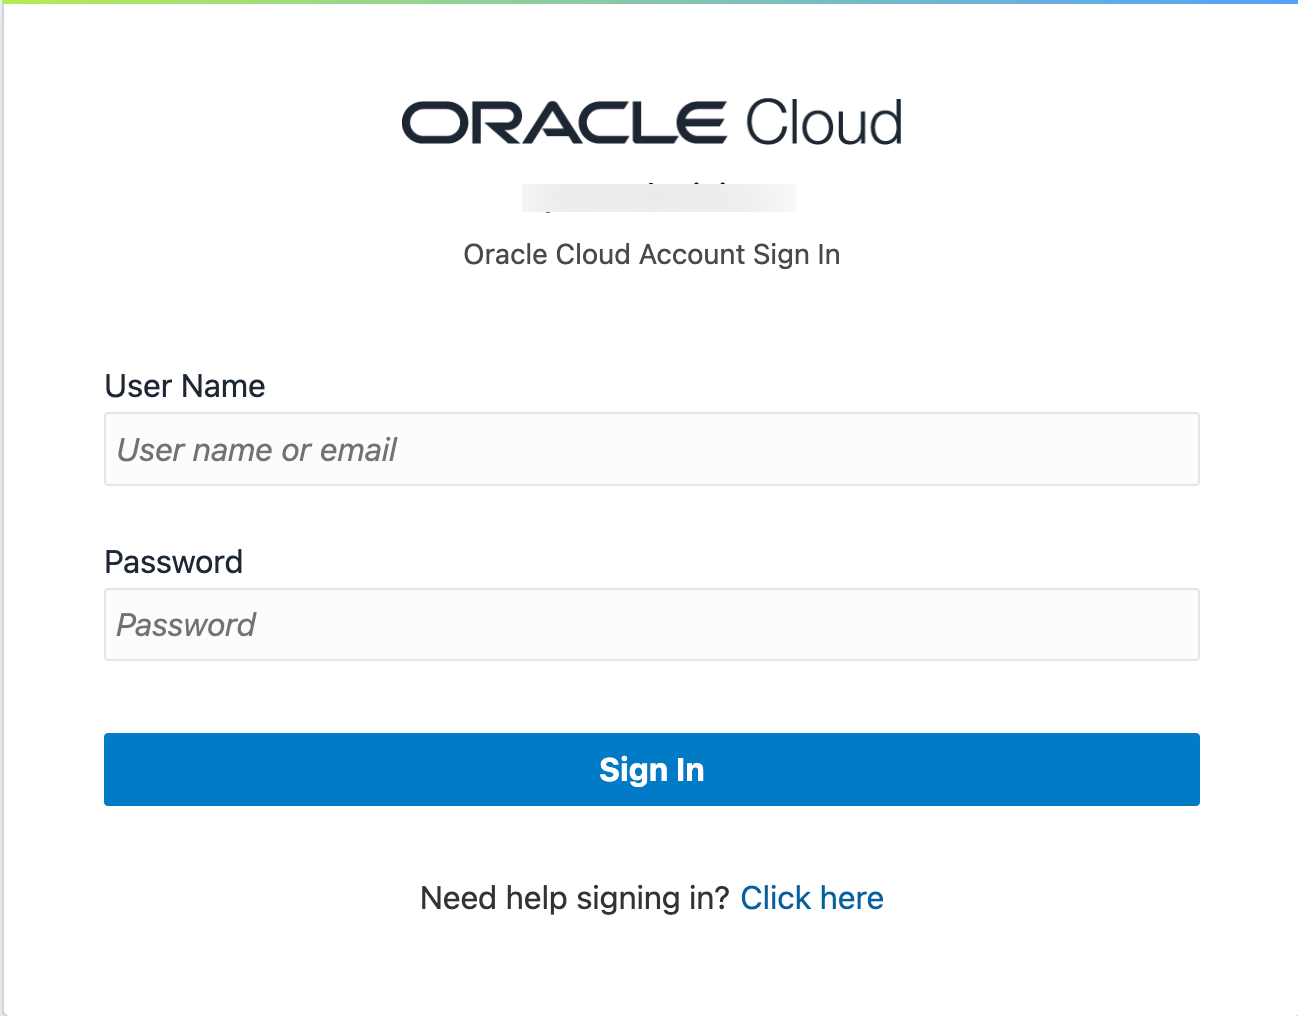
  • Username
  • Password

Click one of the options below to proceed.

Option 1: apex.oracle.com

Signing up for apex.oracle.com is simply a matter of providing details on the workspace you wish to create and then waiting for the approval email.

  1. Go to https://apex.oracle.com.

  2. Click Start for Free Today.

    Get started for free

  3. Under Free APEX Workspace, click Free Sign Up.

    Request a free workspace

  4. On the Request a Workspace page, enter your identification details – First Name, Last Name, Email, Workspace name.

    Note: For workspace, enter a unique name, such as first initial and last name.

    Click Request Workspace.

    Request a Workspace dialog

    email from Oracle APEX

  5. Check your email. You should get an email from Oracle APEX within a few minutes.

    Note: If you don’t get an email go back to Step 3 and make sure to enter your email correctly.

    Within the email body, click Create Workspace.

    email from Oracle APEX

  6. Click Continue to Sign In Screen.

    Continue to Sign In Screen

  7. Enter your password, and click Change Password.

    Change password

  8. You should now be in the APEX Builder.

    APEX Builder homepage

Option 2: Autonomous Database in Oracle Cloud

In this part, you will create an Oracle Cloud trial account. Once you have signed up for the service, you will create an Autonomous Transaction Processing database. The final step in the process is to provision Oracle APEX.

  1. Please click this link to create your free account. When you complete the registration process, you'll receive an account with a $300 credit and several "forever free" services that will enable you to complete the workshop for free. You can then use any remaining credit to continue to explore the Oracle Cloud. The forever free services will continue to work after the trial expires.

  2. Soon after requesting your trial, you will receive a Get Started Now with Oracle Cloud email.

    Make note of your Username, Password, and Cloud Account Name.

    Email with Username, Password, and Cloud Account Name

  3. Now that you have a service, you will log into your Oracle Cloud account, so that you can start working with various services.

    From any browser go to https://cloud.oracle.com/en_US/sign-in.

    Enter your Cloud Account Name in the input field and click the Next button. Select an identity provider and click Next.

    log in page for Oracle Cloud account

  4. Enter your User Name and Password in the input fields, and click Sign In.

    log in page for Oracle Cloud account

  5. From within your Oracle Cloud environment, you will create an instance of the Autonomous Transaction Processing database service.

    From the Cloud Dashboard, select the navigation menu icon in the upper left-hand corner and then select Autonomous Database.

    Cloud Dashboard

  6. Click Create Autonomous Database.

    Cloud Dashboard

  7. Select the Always Free option, enter SecretPassw0rd for the ADMIN password, then click Create.

    Create Autonomous Database page

    Create Autonomous Database page

    Create Autonomous Database page

  8. You will be redirected to the Autonomous Database Details page for the new instance.

    Continue when the status changes from 'Provisioning' to 'Available':

    Autonomous Database Details page

    to

    Autonomous Database Details page

  9. Within your new database, APEX is not yet configured. Therefore, when you first access APEX, you will need to log in as an APEX Instance Administrator to create a workspace.

    Navigate to Tool Configuration. Under Oracle APEX, click Copy to copy the public access URL and open in a different tab.

    Launch APEX instance

    Note: Always Free Autonomous Database will be stopped after being inactive for 7 days. If that happens, you need to click More Actions and then Start to start your Autonomous Database, and then Open APEX.

  10. Enter the password for the Administration Services and click Sign In to Administration.

    The password is the same as the one entered for the ADMIN user when creating the ATP instance: SecretPassw0rd

    Administration Services login page

  11. Click Create Workspace.

    Create Workspace page

  12. Depending on how you would like to create your workspace, select New Schema or Existing Schema. If you are getting started, select New Schema.

    Choose type of schema

  13. In the Create Workspace dialog, enter the following:

    Table 1: Build an Innovative Q&A Interface Powered by Generative AI with Oracle APEX | Get Started
    Property Value
    Workspace Name DEMO
    Workspace Username DEMO
    Workspace Password SecretPassw0rd

    Click Create Workspace.

    Create Workspace dialog

  14. In the APEX Instance Administration page, click the DEMO link in the success message.

    Note: This will log you out of APEX Administration so that you can log into your new workspace.

    APEX Instance Administration page

  15. On the APEX Workspace log in page, enter SecretPassw0rd for the password, check the Remember Workspace and Username checkbox, and then click Sign In.

    APEX Workspace log in page

Option 3: APEX Service

Oracle Application Development (APEX Service) is a low cost Oracle Cloud service offering convenient access to the Oracle APEX platform. Visit https://apex.oracle.com/en/platform/apex-service/ to learn more about APEX service on Oracle Cloud.

In this part, you will create an Oracle APEX Application Development Service. Once you have signed up for the service, you will create an APEX Service instance. The final step in the process is to provision Oracle APEX workspace.

  1. Please click this link to create your free account. When you complete the registration process, you'll receive an account with a $300 credit that you can utilize to create an APEX Service. You can then use any remaining credit to continue to explore the Oracle Cloud.

  2. Once the Sign up process is complete, you will be logged in automatically to the Oracle Cloud Infrastructure (OCI) Console.

    • In case you have closed the browser, you can always refer to the Get Started Now with Oracle Cloud email that you should have received to login to OCI Console. Make a note of your Username, Password, and Cloud Account Name.

    Oracle Cloud login page

    • Alternatively, you can login to your Oracle Cloud account by accessing the following URL from your browser: https://cloud.oracle.com. Enter your Cloud Account Name in the input field and click the Next button.

    Cloud login

    • Enter your User Name and Password in the input fields, and click Sign In.

    Cloud login

  3. From the Cloud Dashboard, click on the hamburger menu on the upper-left corner. From the navigation menu, select Developer Services and then APEX Application Development or APEX Instances.

    APEX instance page

  4. At the top of the APEX Instances page, click the Create APEX Service.

    APEX instance page

  5. Select the Always Free option, enter SecretPassw0rd for the ADMIN password, then click Create APEX service.

    Create instance page

    Create instance page

  6. The APEX Instances Details displays again.

    When the provisioning process completes, an orange 'Provisioning' badge changes to a green 'Available' badge. The Launch APEX button is enabled.

    Provisioning status

    Available status

  7. Before using a new APEX Service, you must set up your APEX Service instance by completing two tasks: create an initial APEX workspace and create an APEX user account.

    On the APEX Instance Details, click Launch APEX.

    APEX instance page

  8. The Administration Services Sign In page appears. Enter the password for the Administration Services and click Sign In to Administration. The password is the same as the one entered for the ADMIN user when creating the APEX service: SecretPassw0rd

    APEX instance admin login page

  9. Click Create Workspace.

    Create Workspace

  10. Depending on how you would like to create your workspace, select New Schema or Existing Schema. If you are getting started, select New Schema.

    Choose type of schema

  11. In the Create Workspace dialog, enter the following:

    Table 2: Build an Innovative Q&A Interface Powered by Generative AI with Oracle APEX | Get Started
    Property Value
    Workspace Name DEMO
    Workspace Username DEMO
    Workspace Password SecretPassw0rd

    Click Create Workspace.

    Create Workspace dialog

  12. In the APEX Instance Administration page, click the DEMO link in the success message.

    Note: This will log you out of APEX Administration so that you can log into your new workspace.

    APEX Instance Administration page

  13. On the APEX Workspace log in page, enter SecretPassw0rd for the password, check the Remember Workspace and Username checkbox, and then click Sign In.

    APEX Workspace log in page

Summary

At this point, you know how to create an APEX Workspace and you are ready to start building amazing apps, fast.

You may now proceed to the next lab.

Acknowledgements

  • Author - Apoorva Srinivas, Senior Product Manager
  • Last Updated By/Date: Apoorva Srinivas, Senior Product Manager, April 2025

How to Translate This Page

You must be on the livelabs.oracle.com domain to use translations.
They are not available on apexapps.oracle.com.

For the best translation experience, we recommend Google Chrome.

  1. Right-click anywhere on the page and choose “Translate to
    [Your Language]”
    .
  2. If that option doesn’t appear, click the ⋮ three-dot menu in the
    top-right corner of Chrome.
  3. Select “Translate” from the dropdown.
  4. Then, click the translate icon Translate icon in the address bar.
  5. If needed, click the ⋮ three-dot menu within the Google
    Translate popup and choose your preferred language.